
This is the first slot car rehab article for the site. This article is courtesy of Joe Colburn. It is a very good project that was very well done! Thanks Joe for letting us add this to the site! Hopefully this will help others with their slot car restorations and rescues.
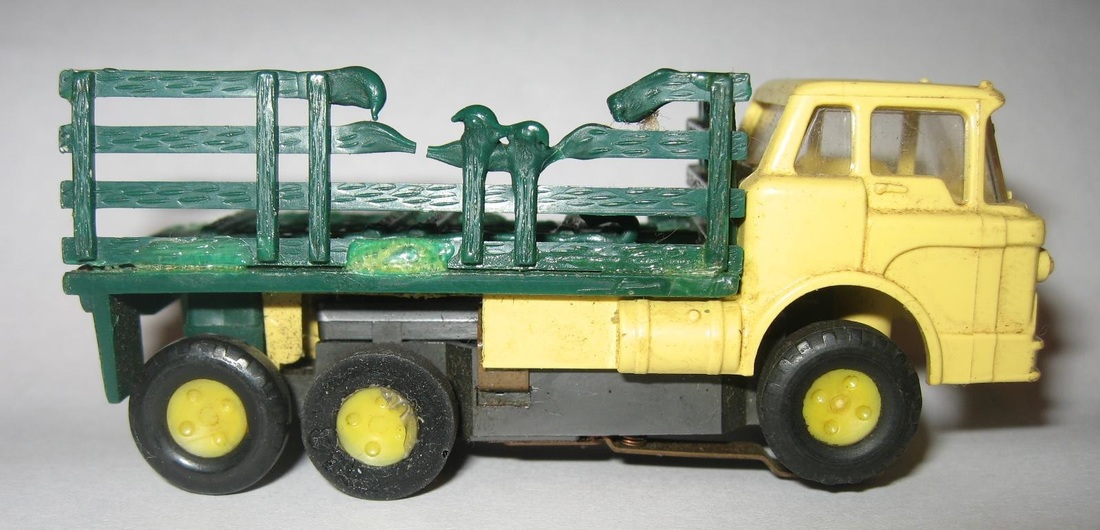
Here is where I started. I acquired this Aurora Mack (Ford) stake truck in a group purchased from a friend. As you can see, he liked transporting hot cargo with his stake truck.
The chassis never ran well, so it sat in a box for several years. One day, while reorganizing my car storage, I dragged the stake truck out again. This time, I remembered seeing another one like it. Not a slot car, but a Matchbox. After digging through my nephew’s box of toy cars, I finally found it. It was in the bag of Matchbox cars that I had passed on to my brother, and he ultimately passed-on to his son.


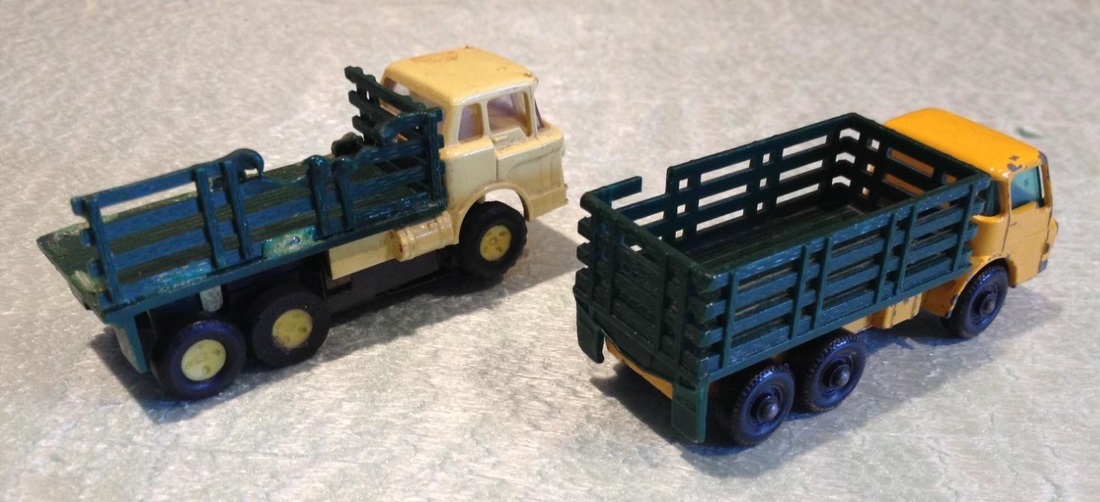
This batch of cars had not been played with in several years, so I brought the Matchbox stake body back home for closer examination. The overall dimensions of the Matchbox stake bed were identical to the Aurora dimensions, and the appearance was similar enough to allow me to substitute one bed for the other. The donor bed was not perfect, but we’ll get to that later. A quick check on eBay showed me that I was not destroying a priceless collectable, so onward I went.
Here are a few photos comparing the two trucks.

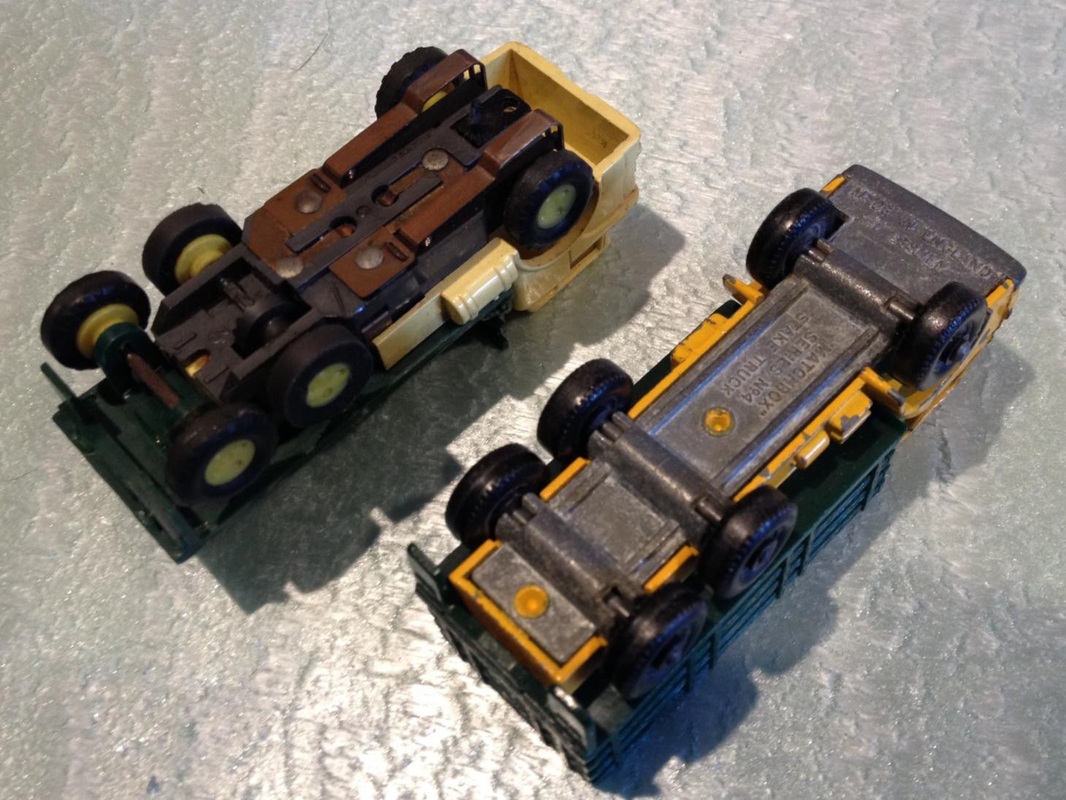
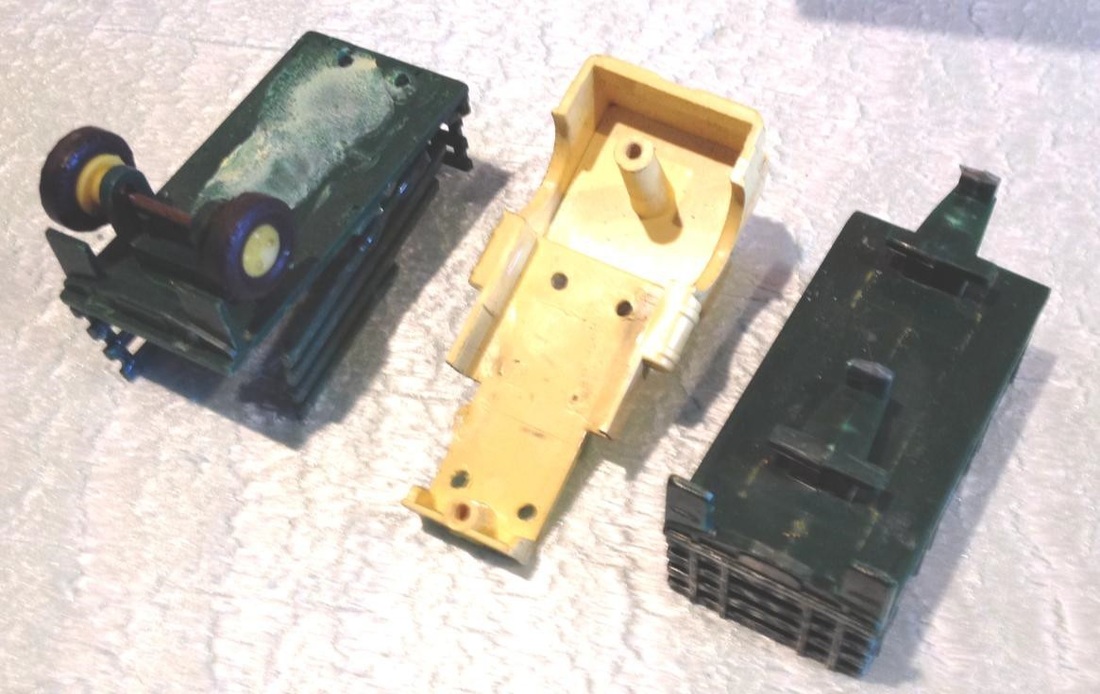
At this point, Matchbox collectors should turn away. Here are few photos detailing the dissection of both trucks.
The Matchbox body was secured to the chassis with two rivets. After drilling these out, the body assembly and chassis separated easily. The stake bed was secured by two cast-in clips. Good Job Lesney! The Aurora body had been reattached several times, so it fought me a little, but eventually I was able to pry it off. This photo shows the bed detached from both toys.
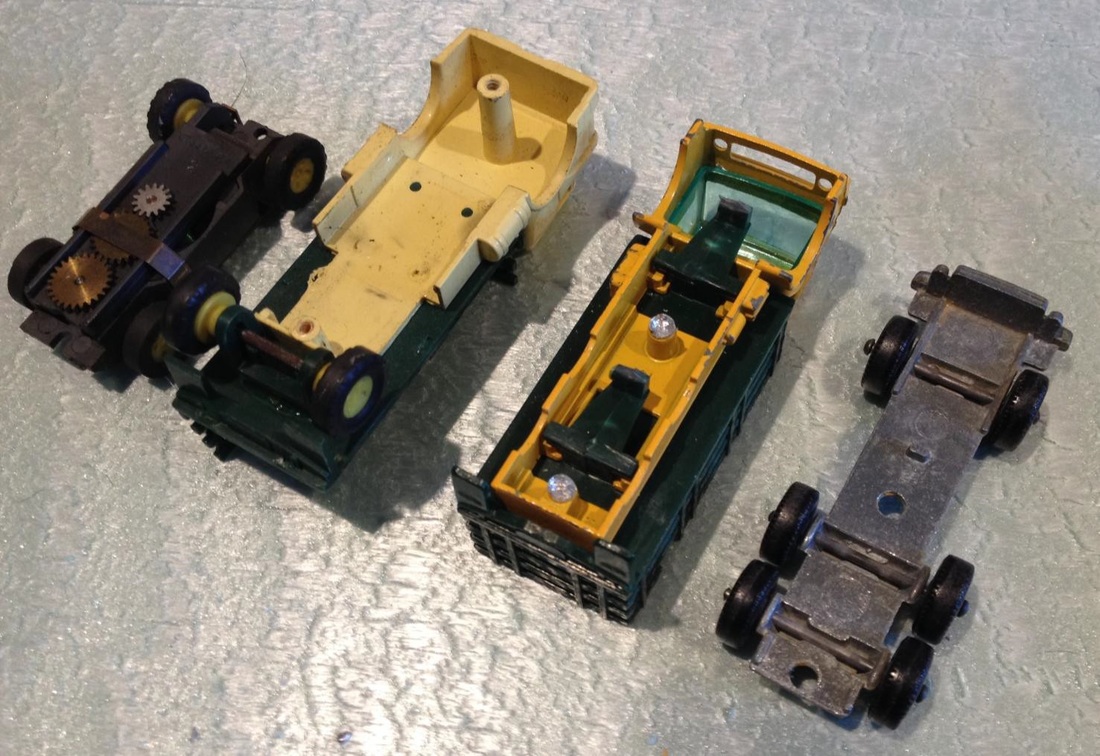
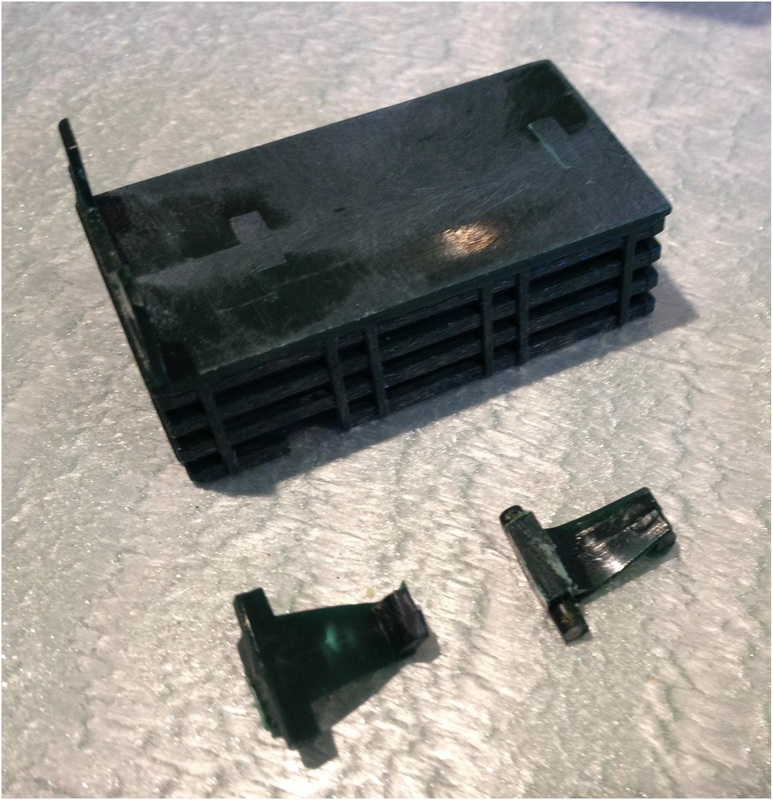
All I wanted to do was simply use liquid cement to attach the donor bed to the Aurora body. Step one was to remove the clips, and sand the bottom of the bed smooth.
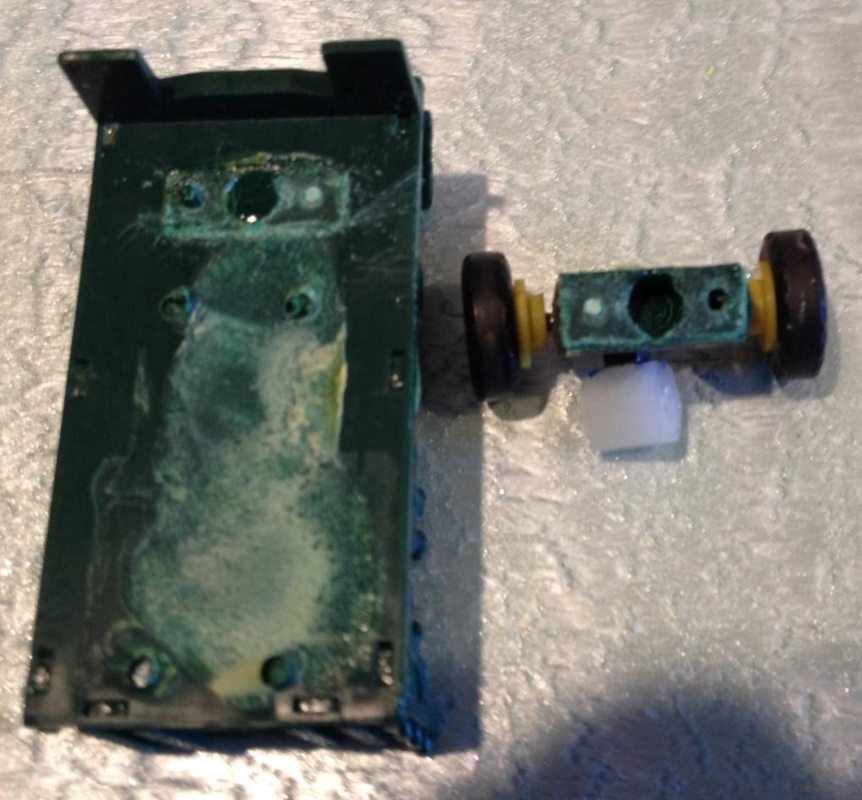
I also needed to pry the second axle carrier loose from the Aurora bed, and attach it to the donor bed with liquid cement. Once again, no locator pins, just glue.
You May have noticed in the earlier photos that the Matchbox truck bed was missing a small section of the top rail. With all of this extra green plastic floating around, I couldn’t resist mixing up a batch of green goop (plastic dissolved in Testor’s liquid cement). I used the goop, and a small section of rail from the Aurora stake bed to make the repair. It isn’t perfect, but it makes it a little more complete.
I also used a silver Sharpie marker to do a little highlighting.
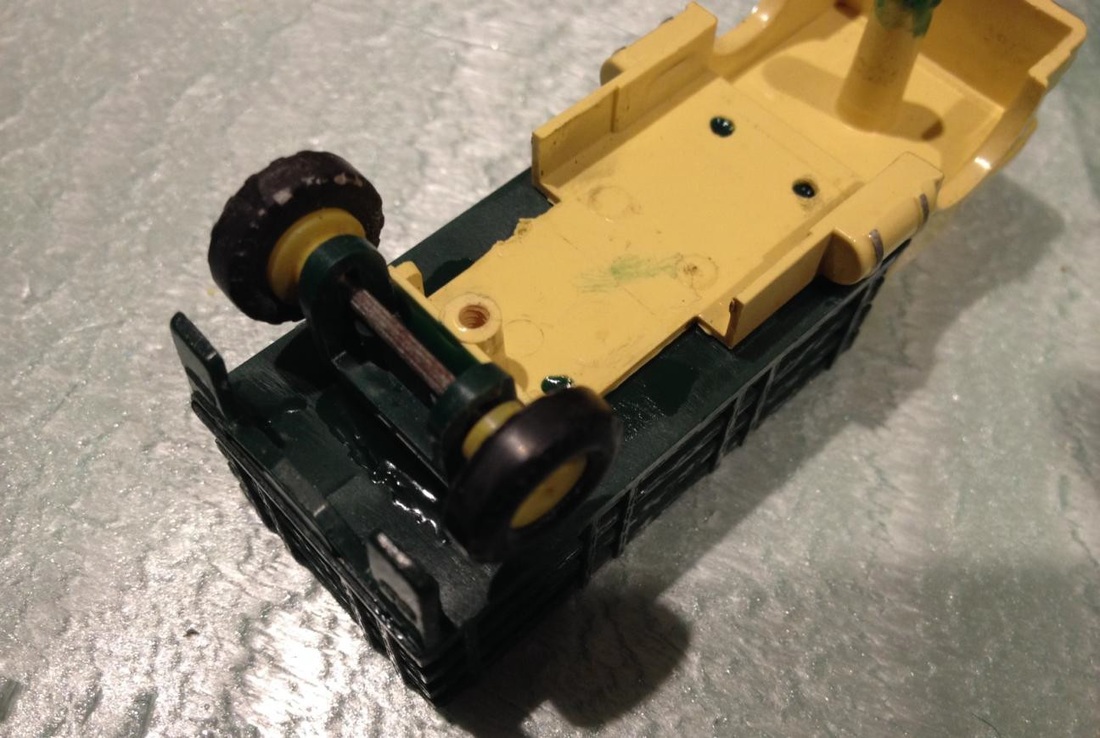
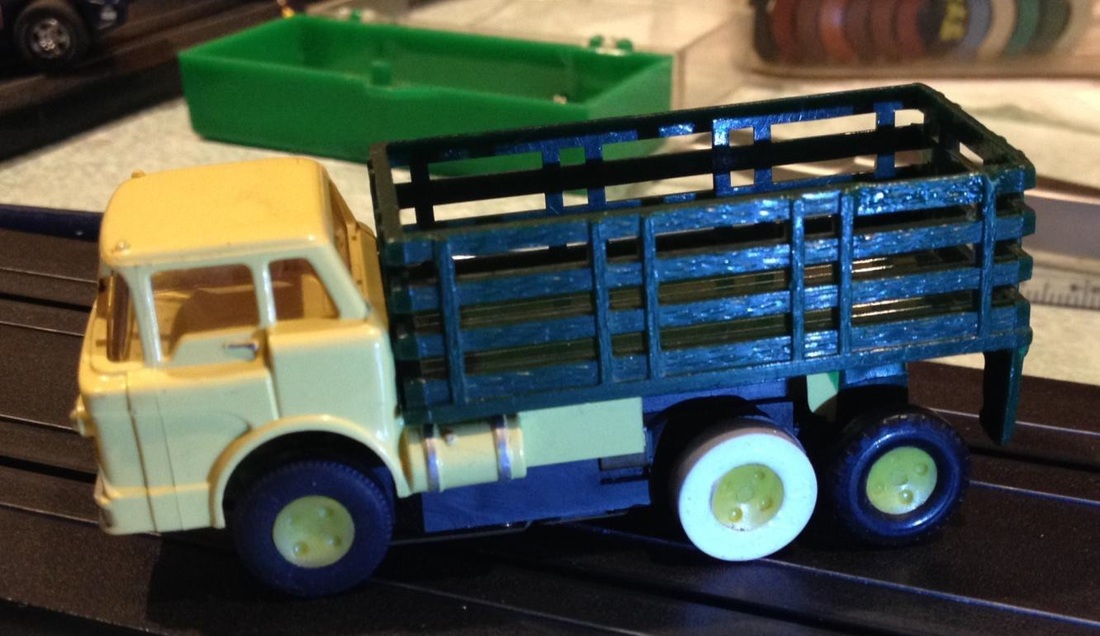
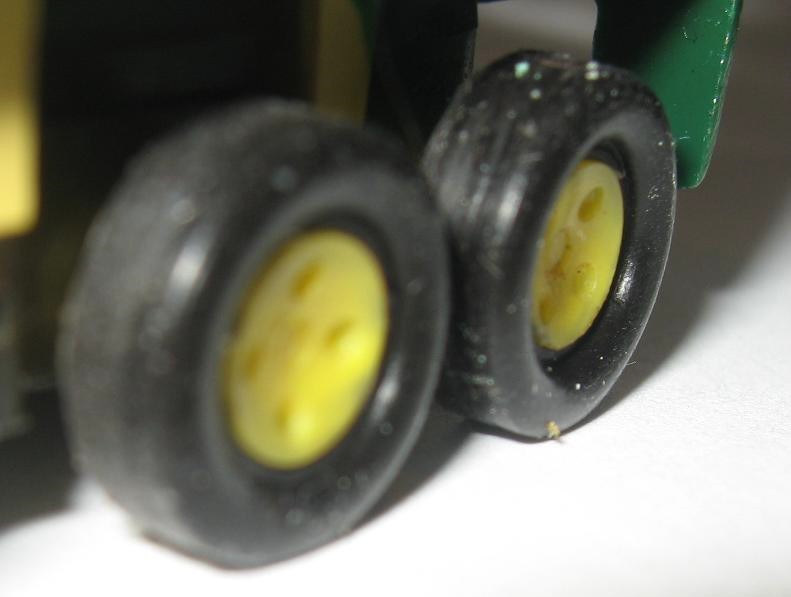
Now, about those tires. The fronts and the sleeper axle in the rear both have Aurora “truck tires”, at least that is what I always called them. None of them give you any traction. That is why the drive axle has a big ugly silicone donut. I saw this as an opportunity to do something I have always wanted to do. For years now I have been planning to make something similar to the “wide oval” tire that came in the Aurora Hop-Up kits. It had a bulgy side, and something that looked like tread on the contact surface. I tried casting them, but that never turned out right. This project inspired me to actually make the necessary tooling to mold a silicone tire with a similar sidewall. The next photo features a close up of the new tires. I am very pleased with them.
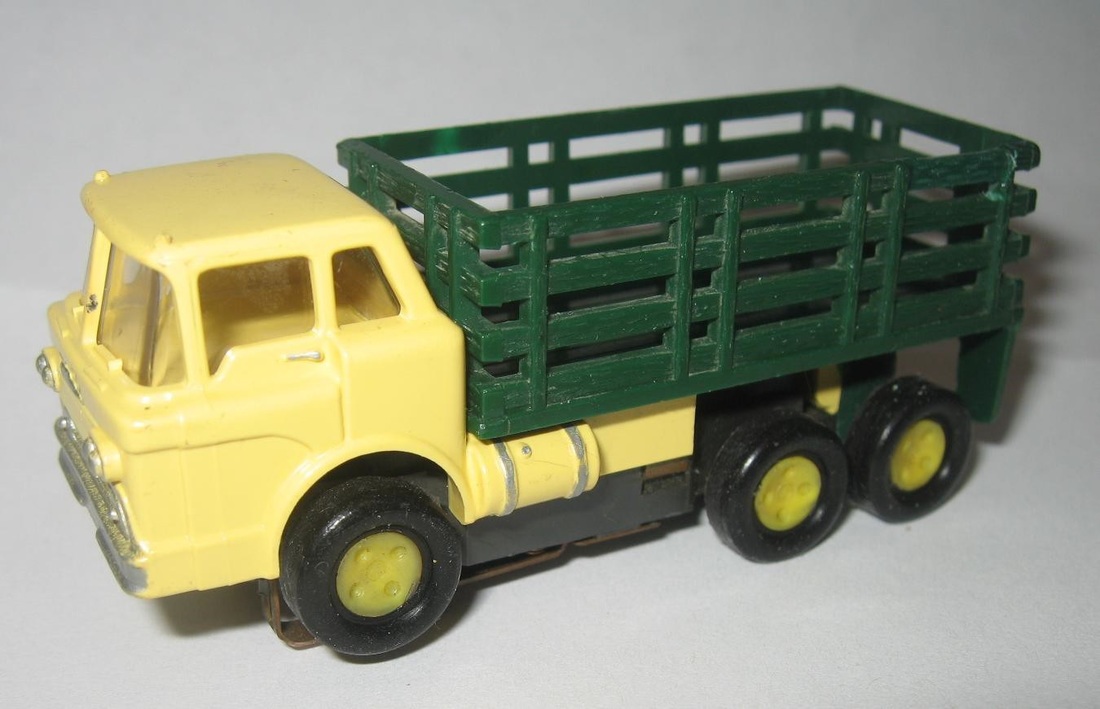
Here is the finished truck. I even tuned it a little, so it runs well now.
Again this article was written and contributed by Joe Colburn. Thanks again Joe!
 RSS Feed