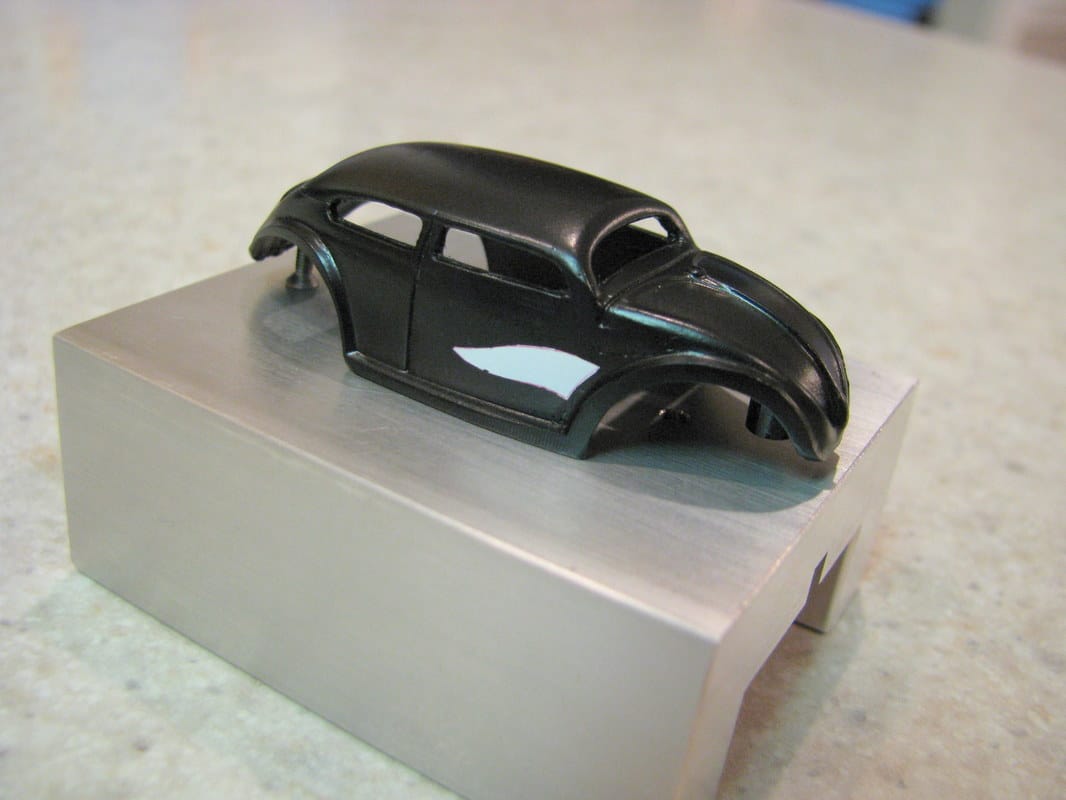
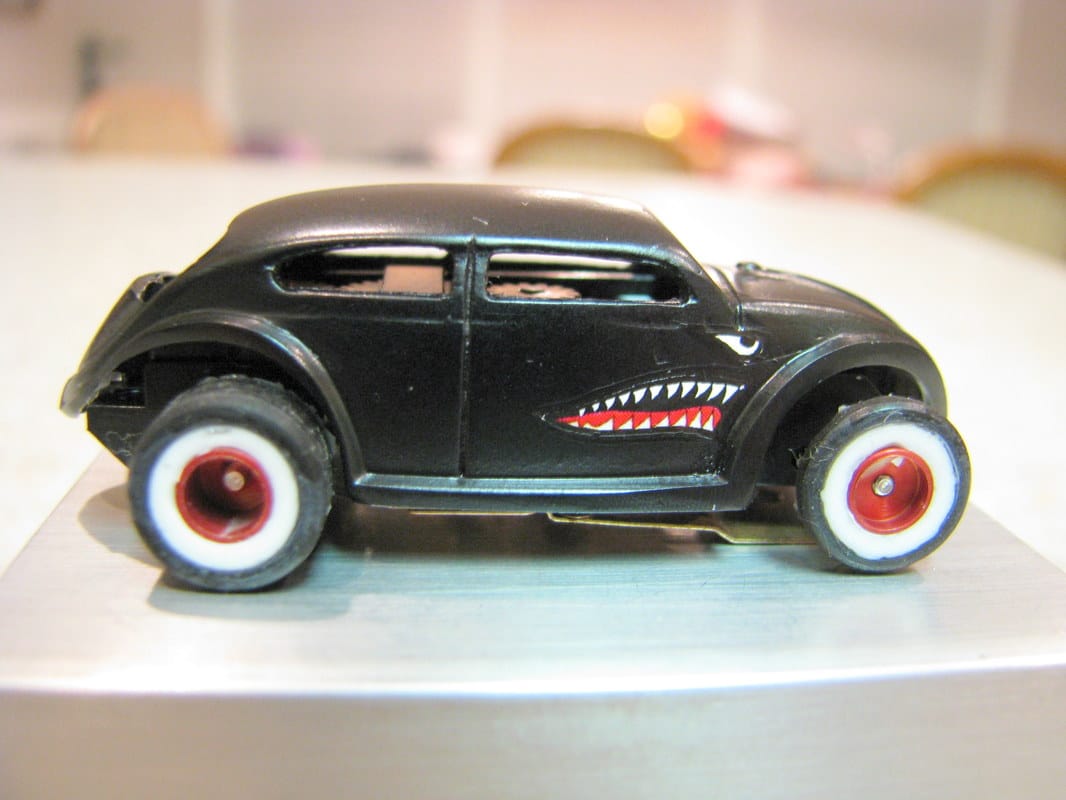
| I have finished the VW Rat Rod and it is painted a Semi-Gloss Black. Now it's time to apply the decals. This is where the challenge now starts. I want to put some tiger teeth on the sides so in order for the decals to stand out I have two choices when printing and applying the decals. If your interested in my solutions then read on... | 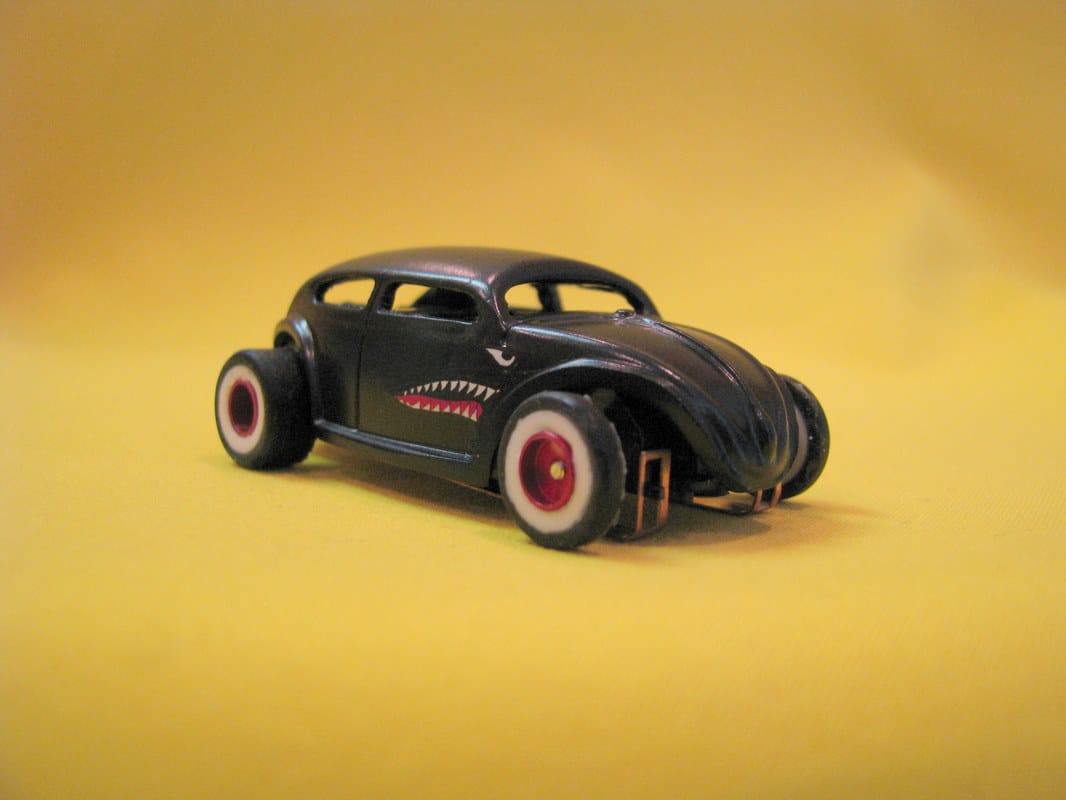 |
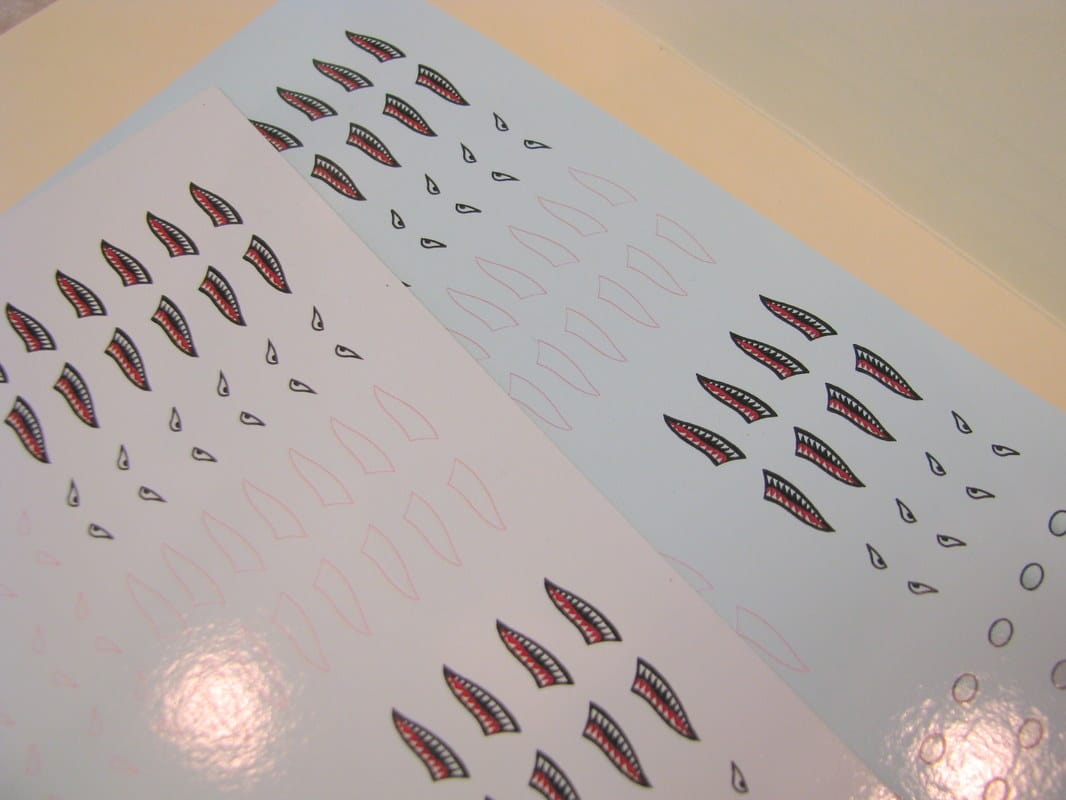
Several years ago you could purchase an Alps printer... the great thing about these printers were that they printed colors like most printers but the Alps would also print white. Color printers today do not print white. They print colors and count on the white in the paper for that color. This is great until you try to print your decal on clear decal paper. That brings us to the second type of decal paper which is white decal paper. This paper provides the white that you need. In the picture below you can see the difference in the two decal papers. The paper on top with the bluish tint is the clear decal paper and then paper on the bottom is the white paper. When compared side by side they are easy to detect.
I have two possible solutions here because of the color. I can print the decal on white paper, cut it out, then carefully touch up the edges of the decal with black paint. When cutting out the decal on white paper the white edge of the paper will show. With black color and black edge on the decal getting an acceptable match is pretty easy. However if I was dealing with another color for this example yellow that would be a little more difficult. That said, I would then print a white solid decal as a base and then apply the clear decal over the white decal to provide the white needed for the teeth and to make sure the red color is seen also.
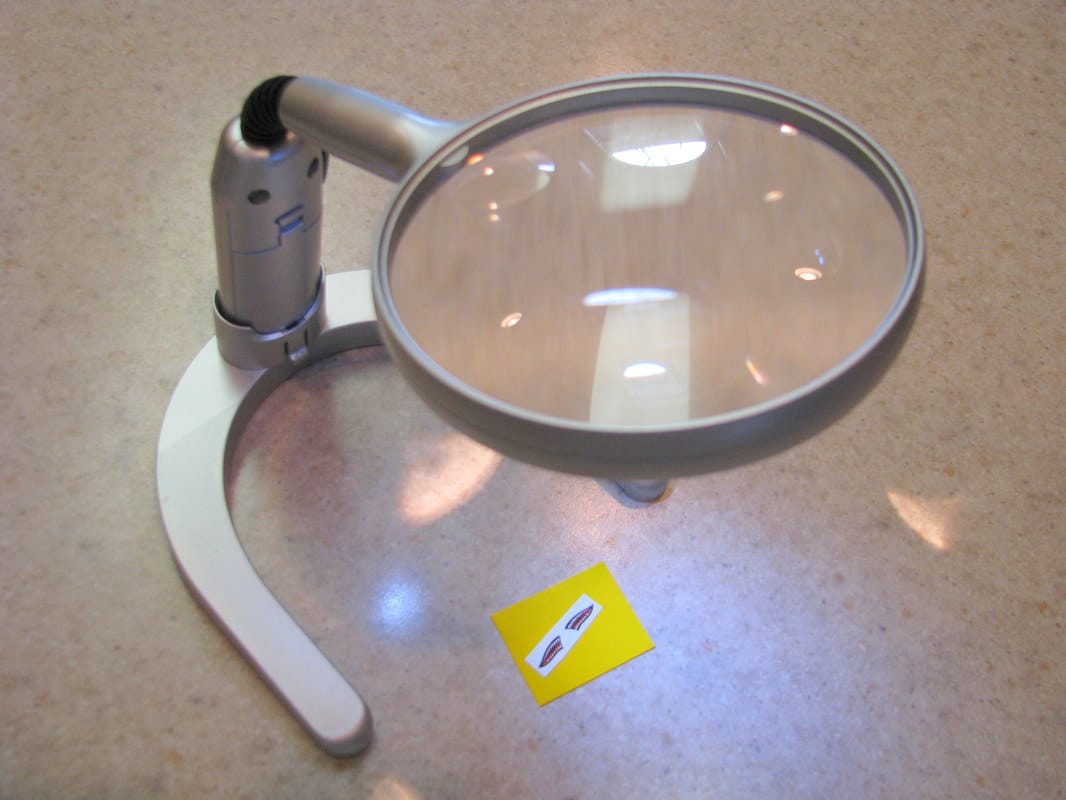
When cutting decals at this scale here is my go to tool a magnifying glass. It really helps when you have to carefully cut the decal. When cutting DO NOT hurry... take your time it will pay off with a better job and much less frustration.
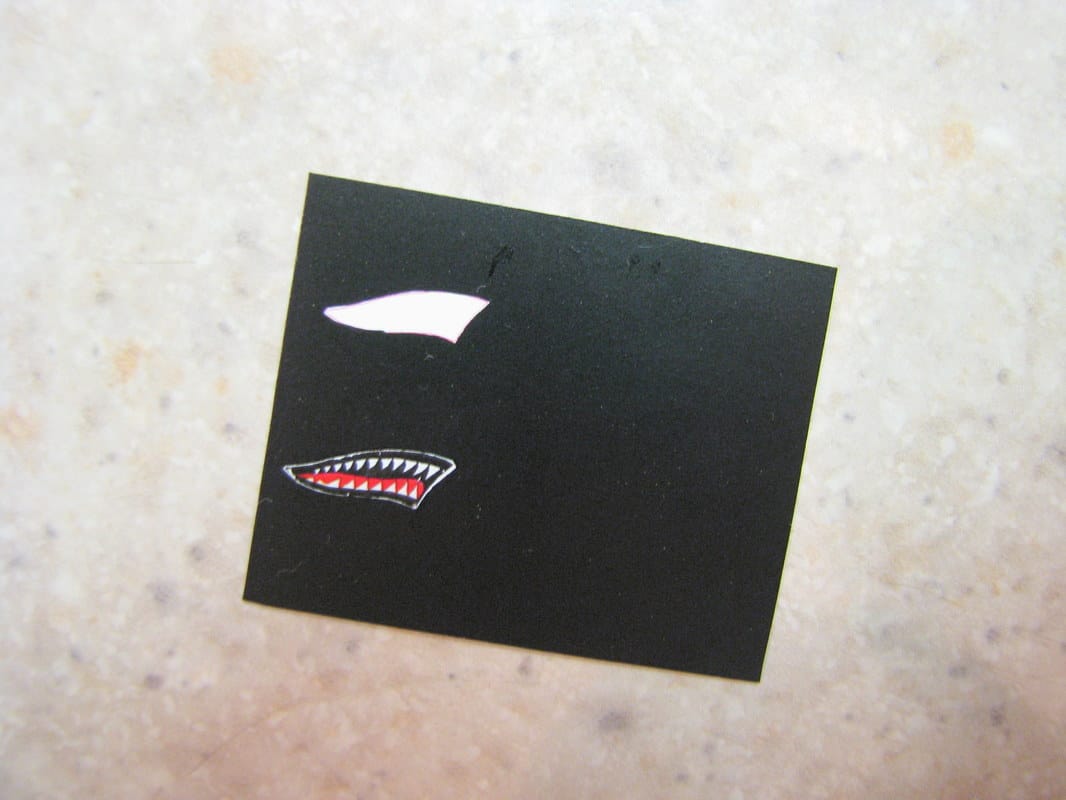
In the picture below you will see where I have started the two different approches. The blank white outline on top is the underlying white outline of the tiger teeth. I will apply the printed clear decal over this underlying shape. The decal printed on white paper and then cut is applied. Notice the white edges of the white decal paper... these will have to be touched up with some matching black paint before sealing the decal. This works fairly well with black but if you have another color besides black it does become more difficult.
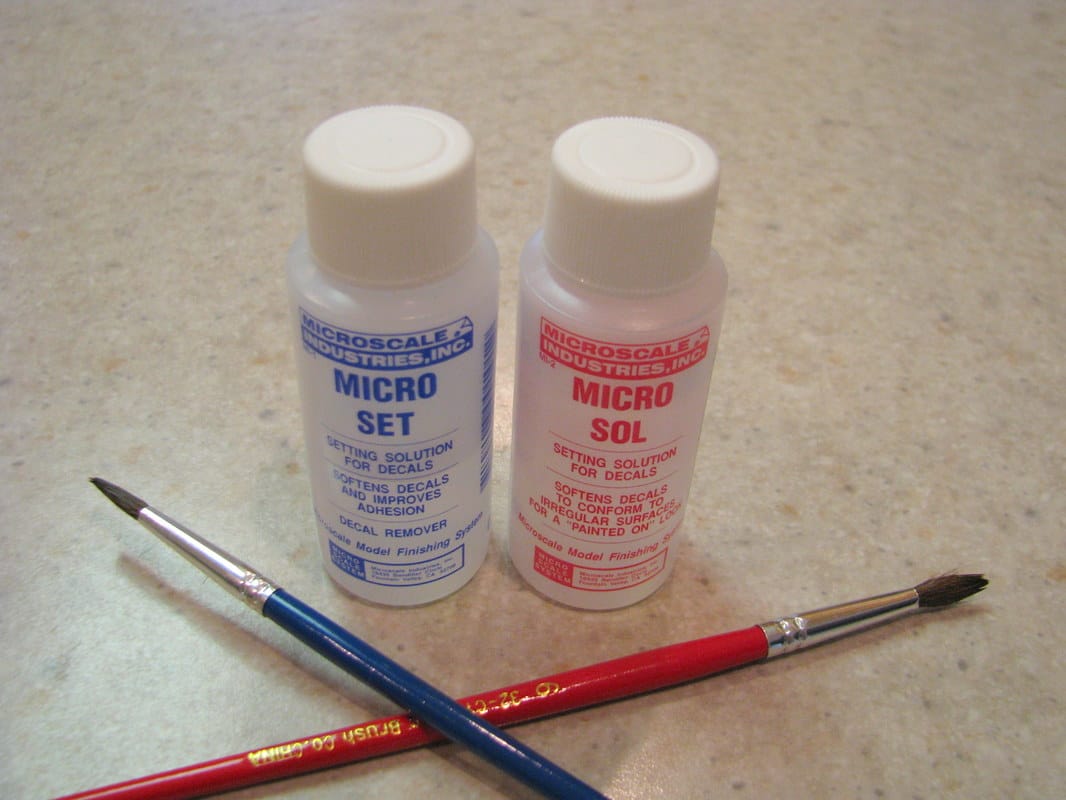
When applying decals including applying a clear decal over a base underlying decal, I use the following decal solutions. The Micro Set solution on the left is what I apply to the surface before dipping and applying the decal. It helps the decal slide easier and help with placement of the decal. When the decal is placed I let the solution and decal dry. When the decal is dry and is stationary I then appy the Micro Sol solution on the right. This solution basically melts the decal to the body. It makes the decal look like part of the paint job. For a nice results I highly recommend these two solutions. They are made and sold by Microscale. By the way I color coordinate my paint brushes with the print on the bottle so I won't get the two mixed up.
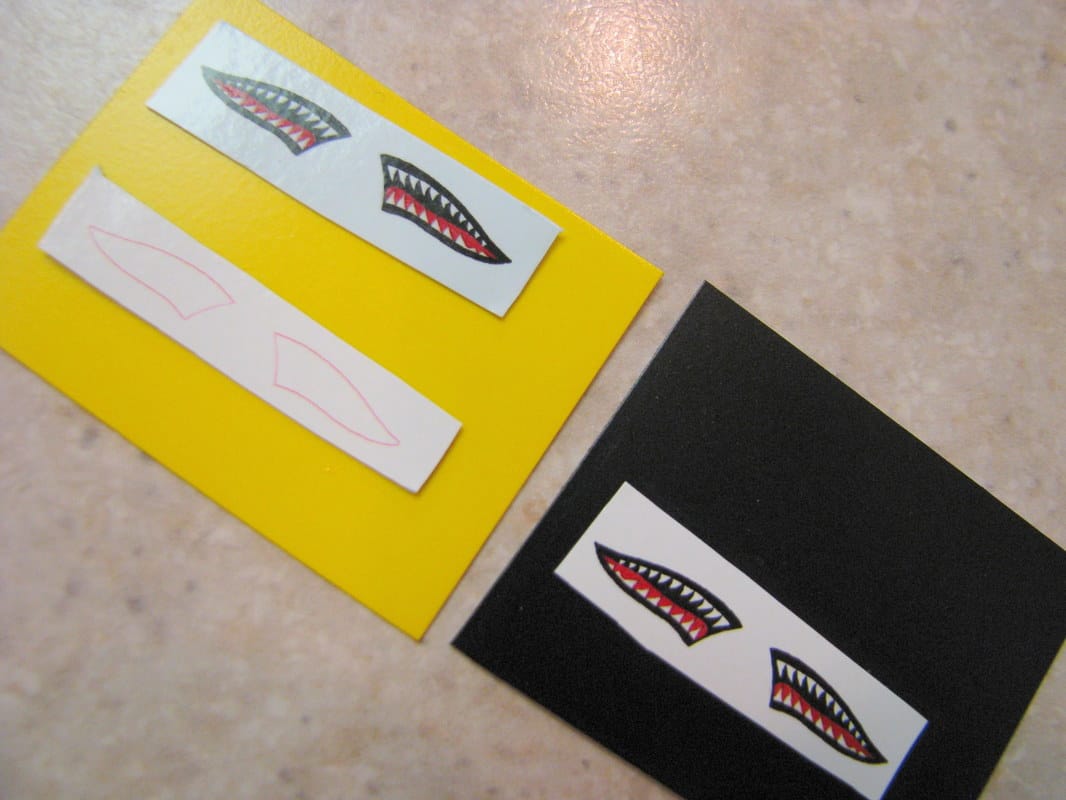
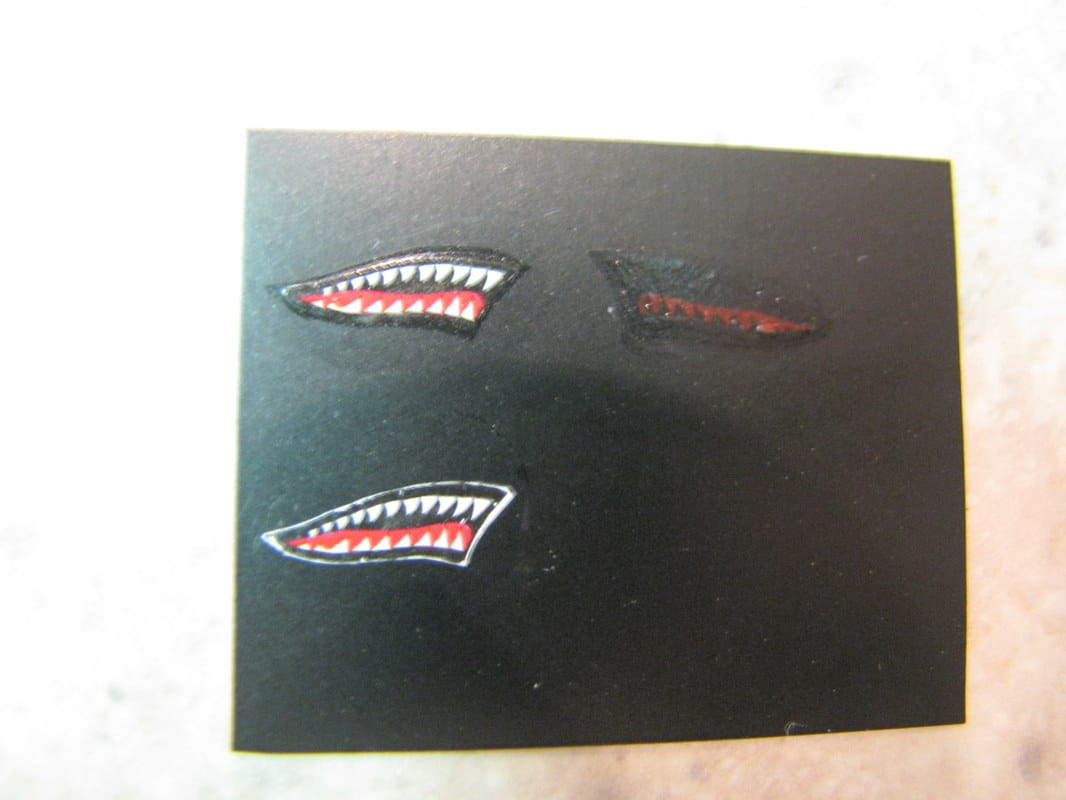
In the picture below you will see three different sets of tiger teeth. The one on the top left is the completed set with the white decal backing and the clear decal overlay. The tiger teeth set in the top right is for reference when using clear decals on dark colors. The clear lets the underlying color show through. In this case the black is coming through and the teeth do not exist as well as the red color is subdued. The third set of tiger teeth on the bottom left shows the results when printing on white decal paper and the kind of touch up that is required when using this method. I appologize for the picture but It was the best one.
Hopefully this will help you decide what method is best for your circumstances. For me It is the solution in the top left. Apply the white shape and then the clear decal. For me it gives me the best results with what I have to work with. So let't get started... below is a picture of the white underlying decal applied to provide the white for the teeth and to bring out the red.
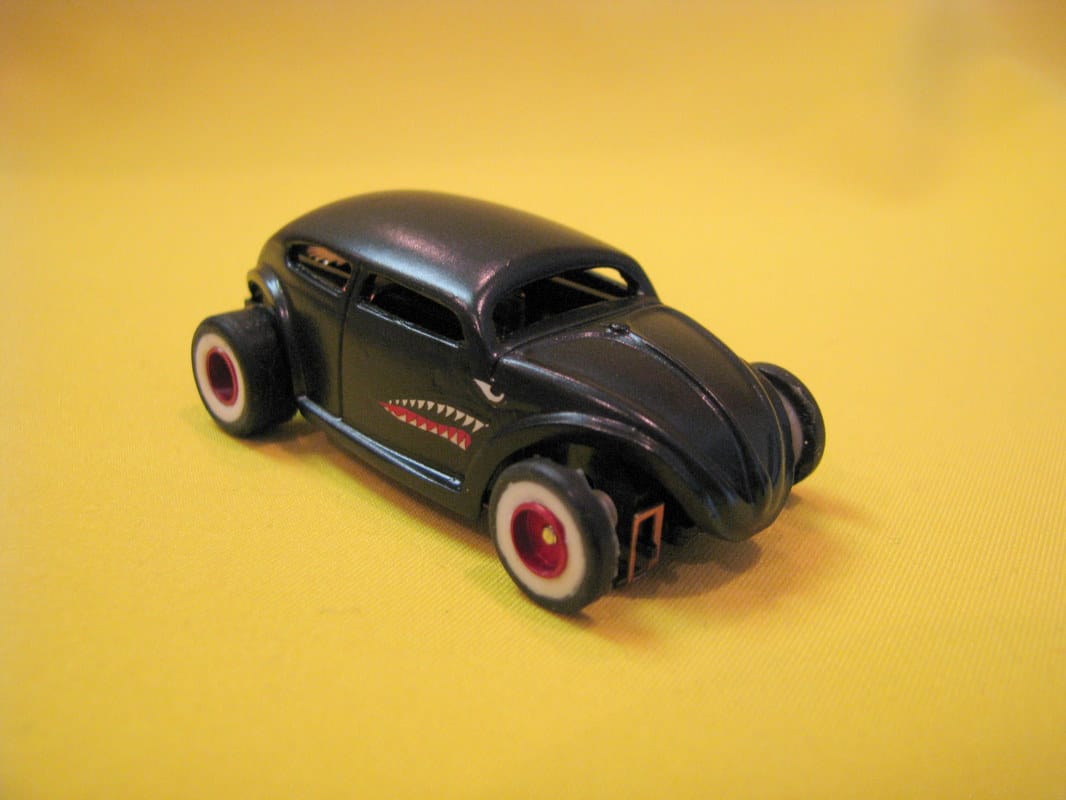
Next is the finished decals completed to include the tiger teeth and eyes. The eyes were done the same way with the white underlying decal and then clear decal overlay.
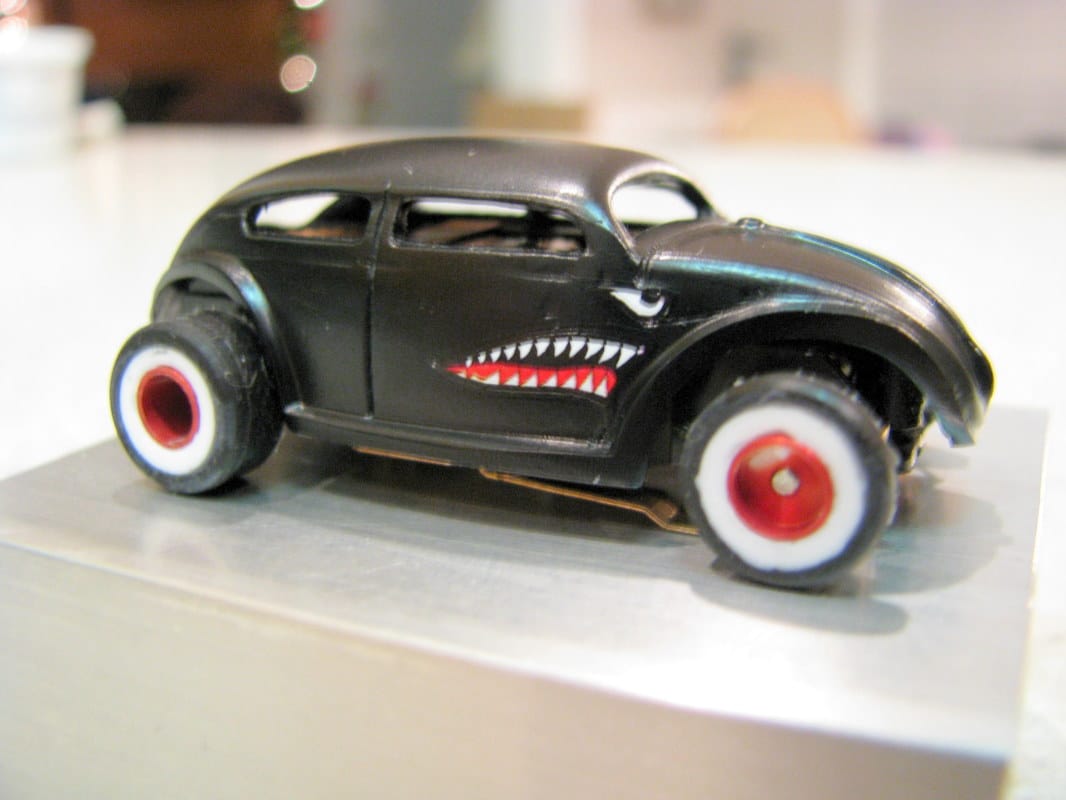
Just a little clean up, touch up, satin clearcoat and of course windows. and it will be good to go. Hope this little article might encourage some of you to give it a try. :-)

 RSS Feed