
This is my first decal project. It has been a learning experience is an understatement! A lot has changed with decals and the decaling process since I was a kid in the 60's. Thanks to technology and computers, I was able to design and print my own decals... that was unheard of back then.
The first thing I learned was I needed a software program that would let me create the graphics I needed as well as enable me to adjust the size of the graphic and still maintain the clarity even in extremely small images. Your average piece of software will not do that so I researched and came upon some vector software that was open source. It is called Inkscape. Vector software uses formulas and equations to draw images as compared to using pixels.
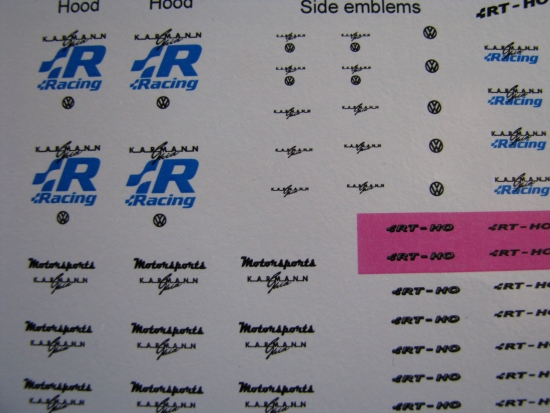
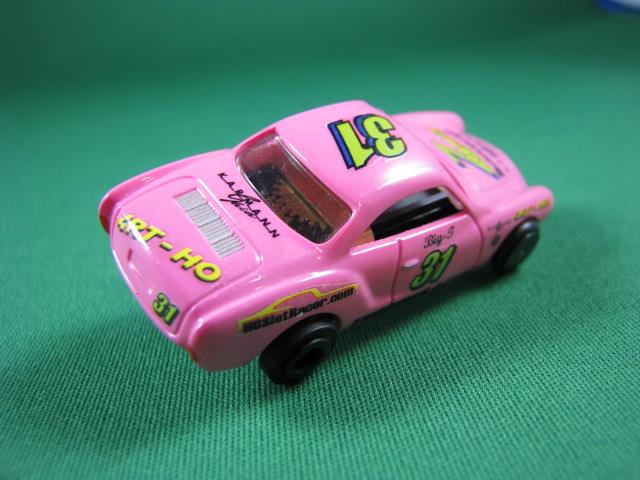
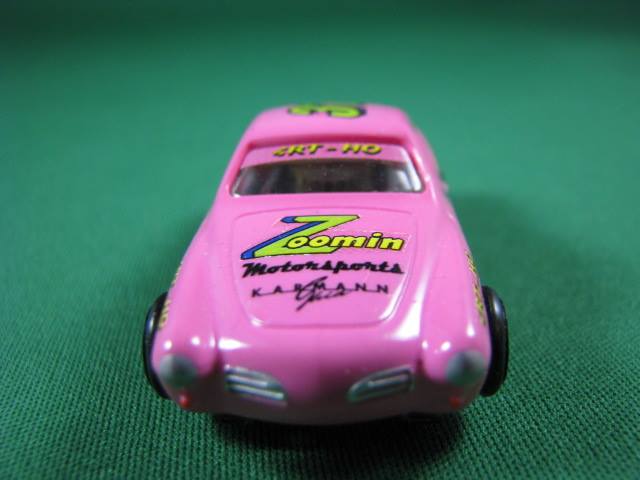
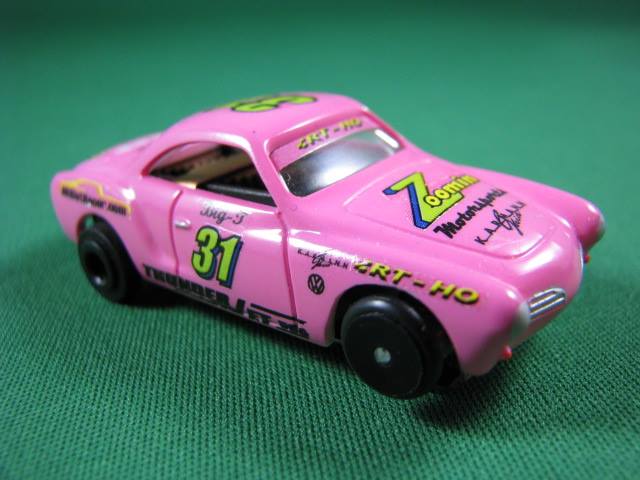
After some thought, I came up with a theme... just as you have real sponsors in 1:1 racing, why not have HO race sponsors on the car? I used Zoomin Motorsports front end, RT-HO tires and wheels, Thunder Jet motor and chassis. So these would be my main sponsors along with the Karmann Ghia Logo.
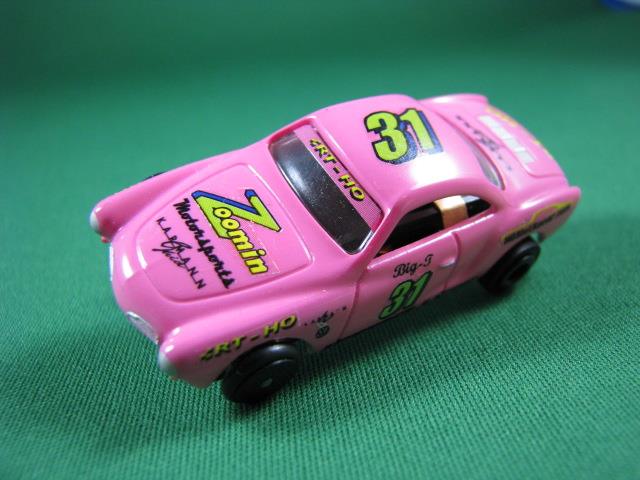
The next decision was what color scheme. I am extremely challenged in this area, so I went to the web and found this great web site called Color Scheme Designer 3. This is a great web based application that will help you determine your car color scheme. I had a pink base and started from there and worked with different color combinations until I came up with the one you see here.
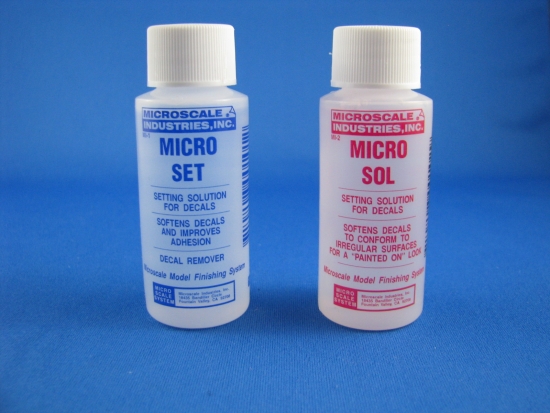
Next, I went online to research the most current information about decaling and learned that there were decaling systems that would make the decals look almost painted on the car. I highly recommend them. I used Microscale's Micro Set and Micro Sol. The Micro Set help with placement of the decal and the Micro Sol basically melts the decal to give it that painted on look. This is particularly helpful on uneven surfaces such as door, hood, and rear deck seams on the car.
I used decal paper from Bare-Metal Foil Co. I had a color laser jet printer so I got the laser decal paper. I purchased clear and white decal paper. After some struggle with printing, I finally got the right settings on the printer (Heavy Glossy) and it worked like a champ. I then sealed the decals on the paper by spraying a couple of light mist coats of sealer over the top surface of the printed images. I used Testors Glosscote as recommended by my local hobby shop guru. I had read that this was not necessary however at this point I was not going to take any chances.
Once all the decals were applied I let them dry overnight then applied several coats of gloss clear acrylic to protect the decals and keep them from rubbing off with handling.
Anyway for a first attempt things turned out fairly well... I think? :-)
Anyway for a first attempt things turned out fairly well... I think? :-)
 RSS Feed