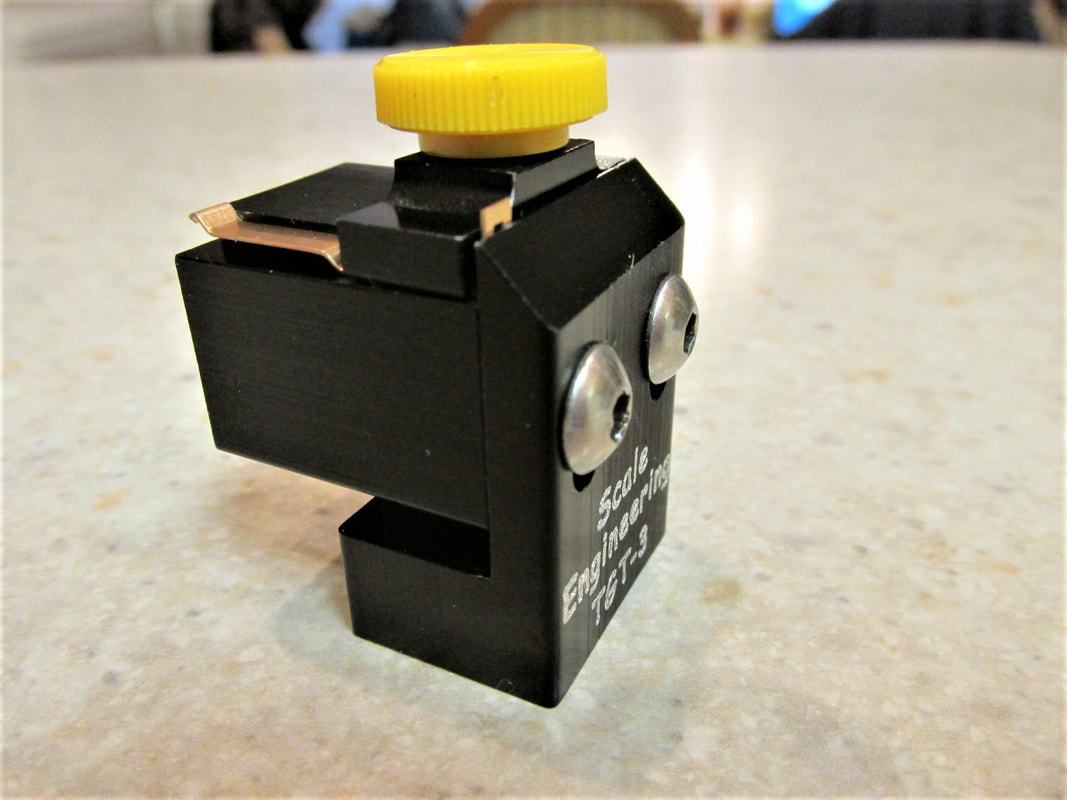
I don't know about you but when I got back into this hobby the technology for these little cars had skyrocketed exponentially. One part of this included pick-up shoes especially with bending and limiting shoe travel. I started looking at one particular tool to bend the shoe from Scale Engineering. At first didn't know quite how it was supposed to work, but with time and help I was able to figure it out. Also when I came back to this hobby I didn't realize the importance of shoe travel. That said, If you're interested in this then click the read more link.
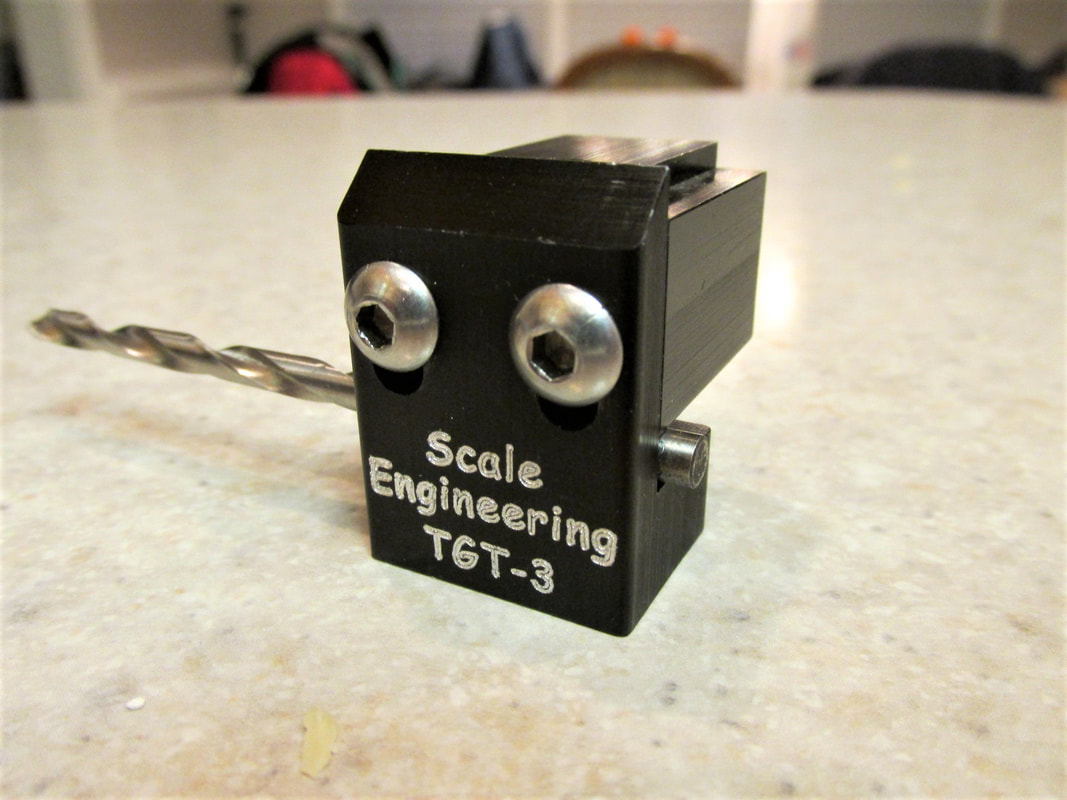
For me, the initial part was setting the tool for bending. I use RT-HO front ends so to adjust the tool so the shoe would bend at the appropriate place I used a 5/32 inch drill bit to adjust the tool. See picture below on how I did this. Base on the front end you use and the size of the tires you have on the front your adjustment will be different. Use your drill bit to set the bend height and then tighten the Allen Screws.
The next step is to put your pick-up shoe in the bending tool tighten the clamp and then make the initial bend on the shoe.
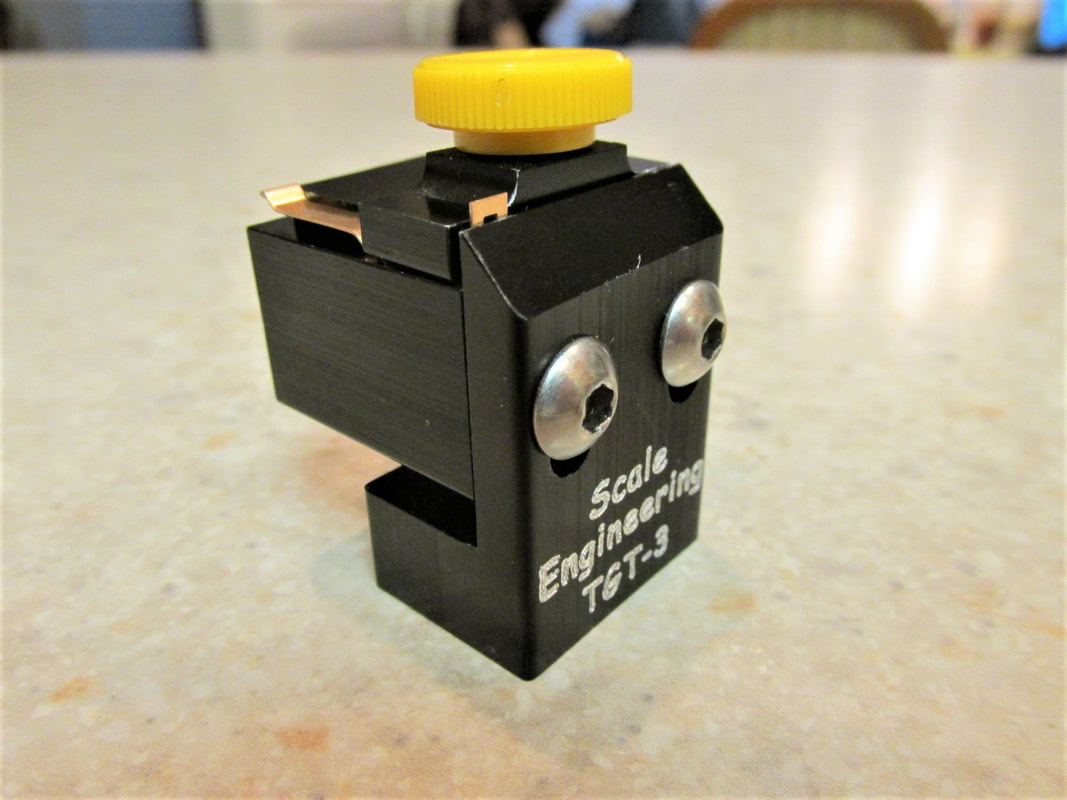
After making the initial bend on the shoe, your shoe should look something like the picture below.
Then using your pliers and a little trial and error fitting you will adjust the bend in or out to fine tune the travel on the pick-up shoe.
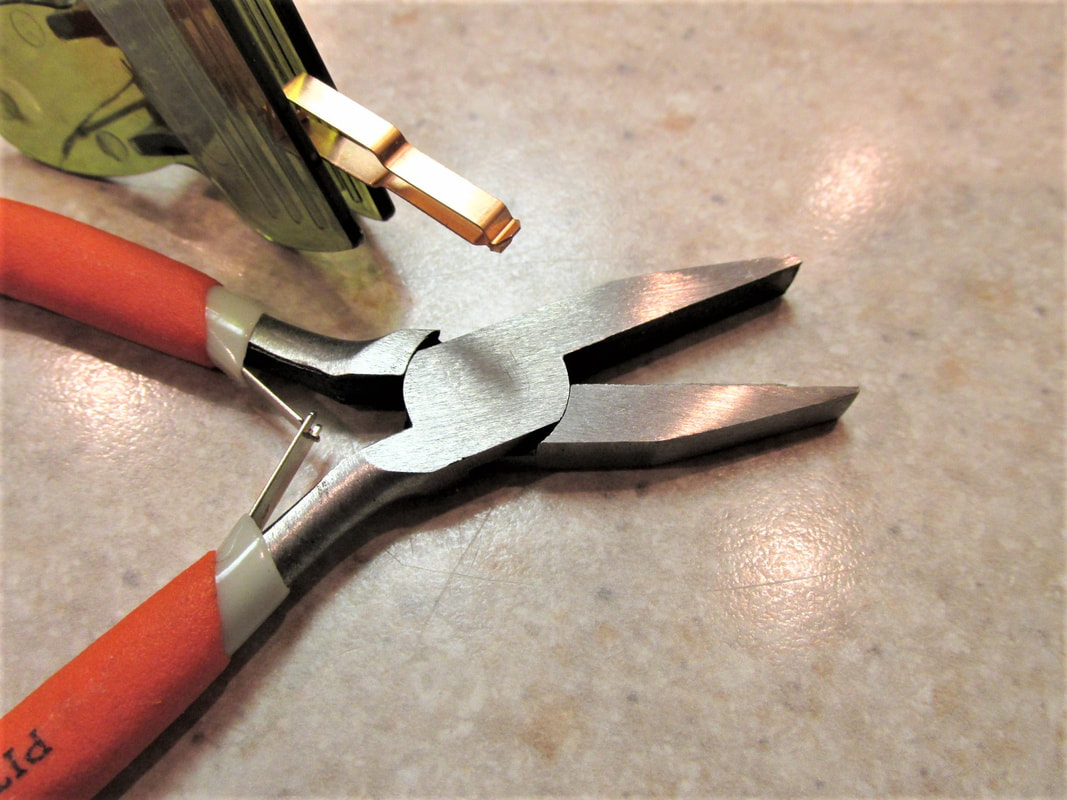
Anyway... for me, I like the shoe to be even with the bottom of the front tire. The reason I like this adjustment is I need all the help I can get with minimizing de-slots. As soon as that front wheel comes off the track I want the power to shut down and the car to settle back on the track.
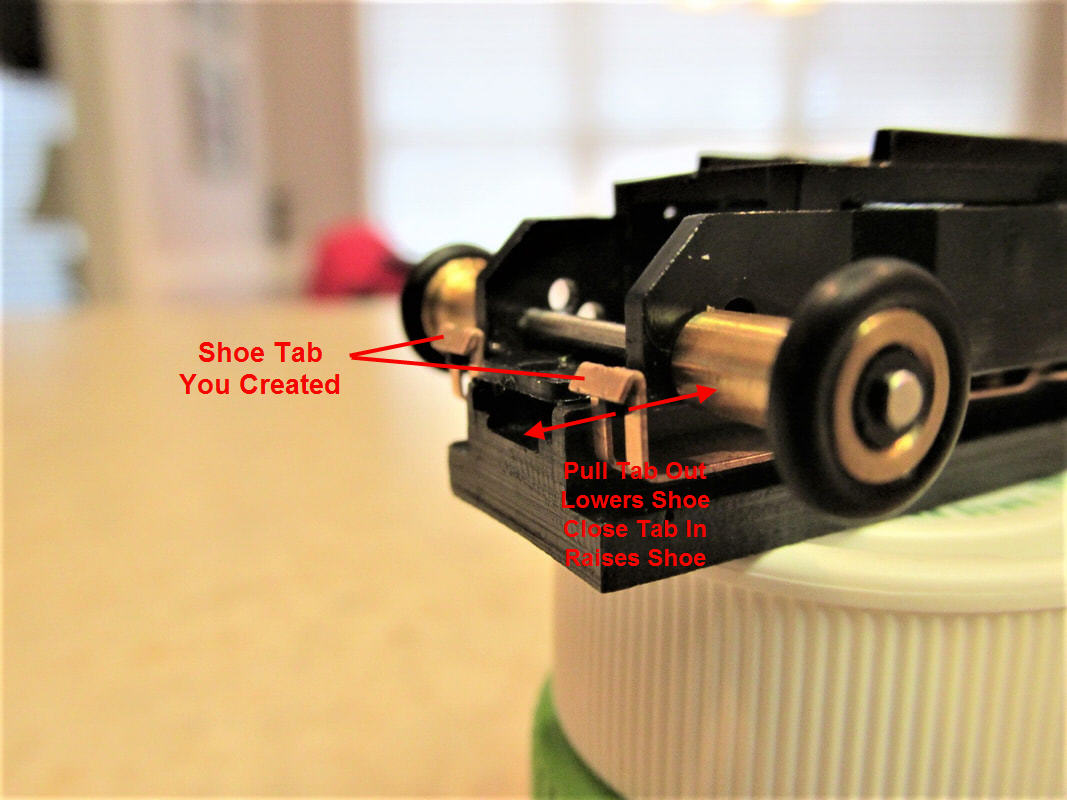
By moving the shoe tab you have created out you will lower the shoe and conversely moving the tab in you will raise the shoe. This will help you fine tune the travel.
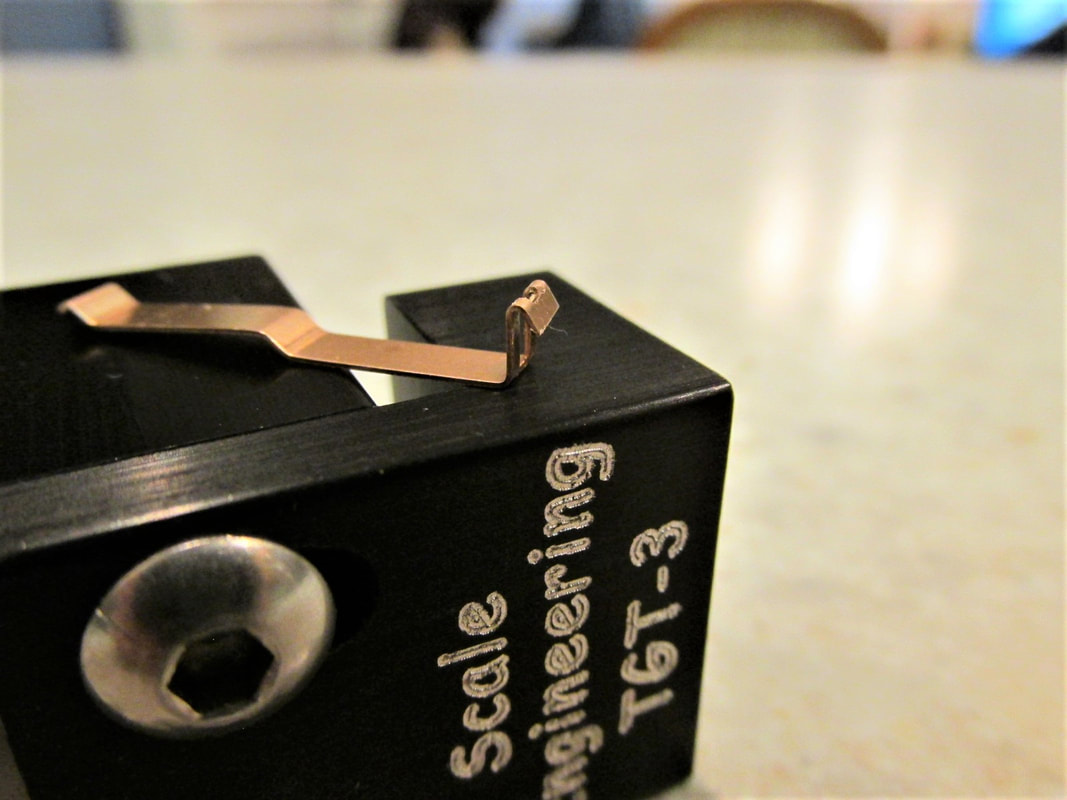
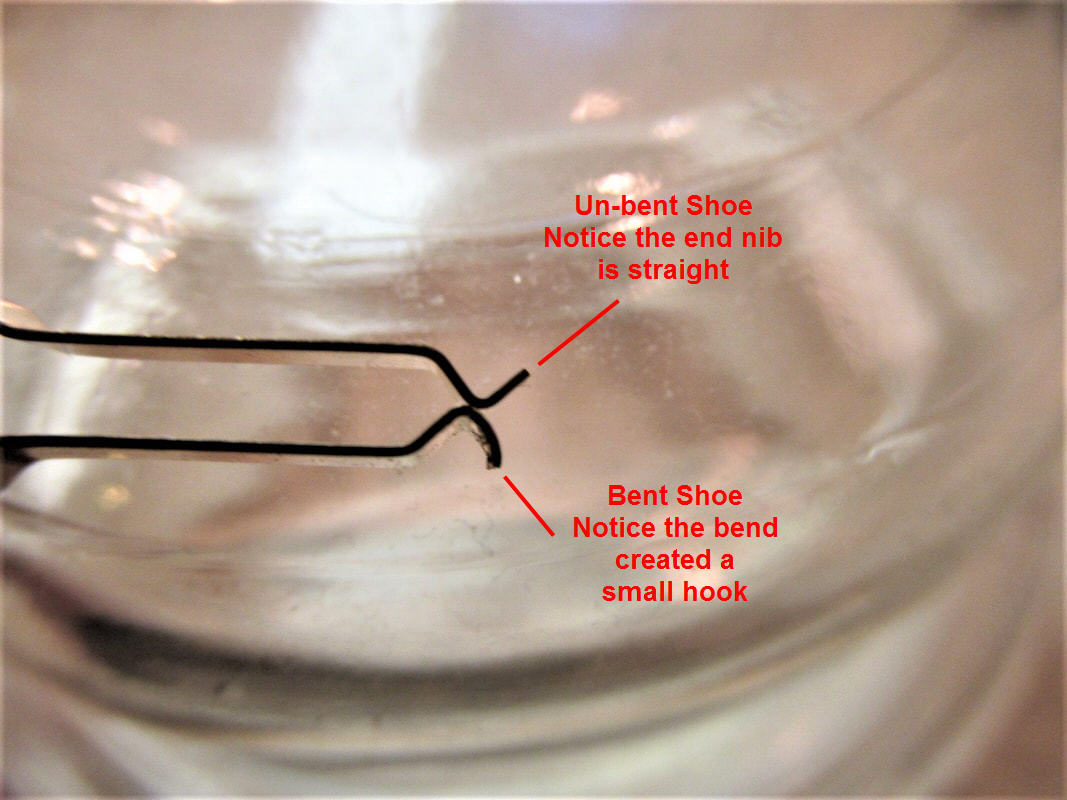
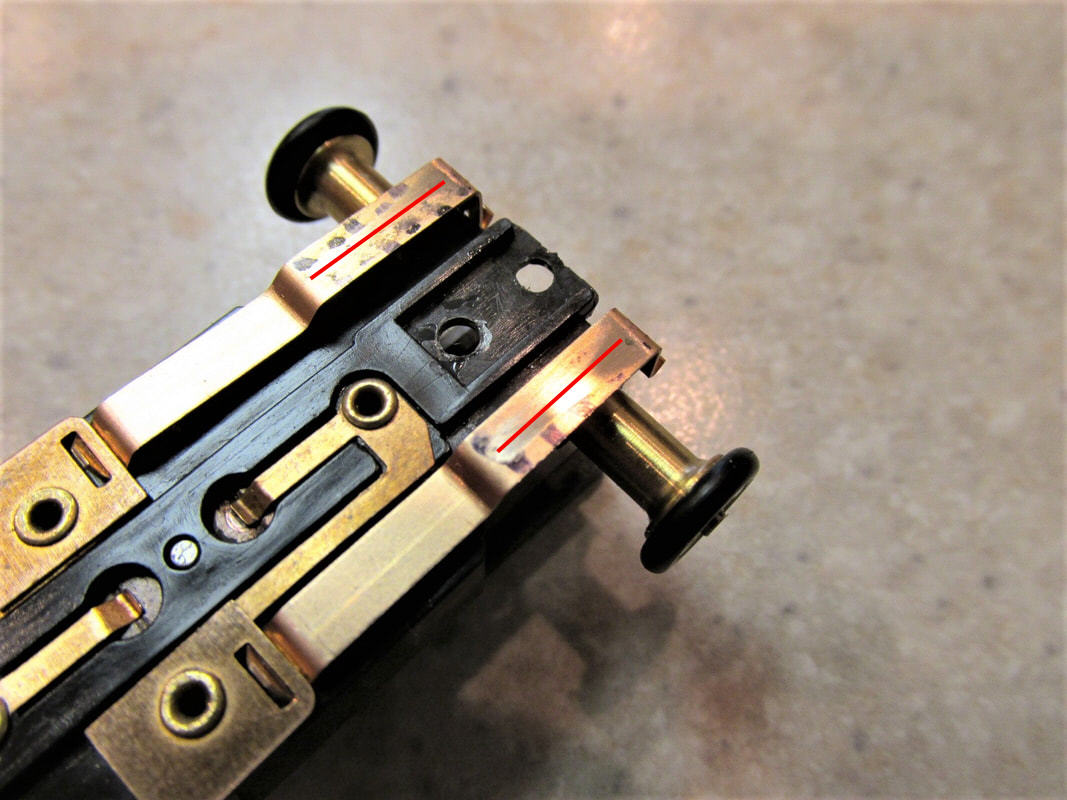
The next adjustment I make is to minimize the front to back travel of the pick-up shoe and create a better contact between the shoe itself and the pick-up shoe hanger. Again I use my pliers and make a very small bend at the back of the shoe. You can see the difference between the bent and unbent shoe in the picture below. The top shoe is the unbent shoe and the bottom shoe is the bend one. As you can see the bottom has a ever so slight hook. This helps to keep contact with the shoe hanger on the chassis.
Here's a great video on this subject from slotking22 also known as Mike King. Take a look at his video below. It will be time well spent!
After adjustment you should get a wear pattern on the shoes similar to the picture below. Plenty of contact the full length of the shoe to maximize contact and therefore maximize current going to the armature.
Anyway guys... happy bending and adjusting!!! :-)
 RSS Feed