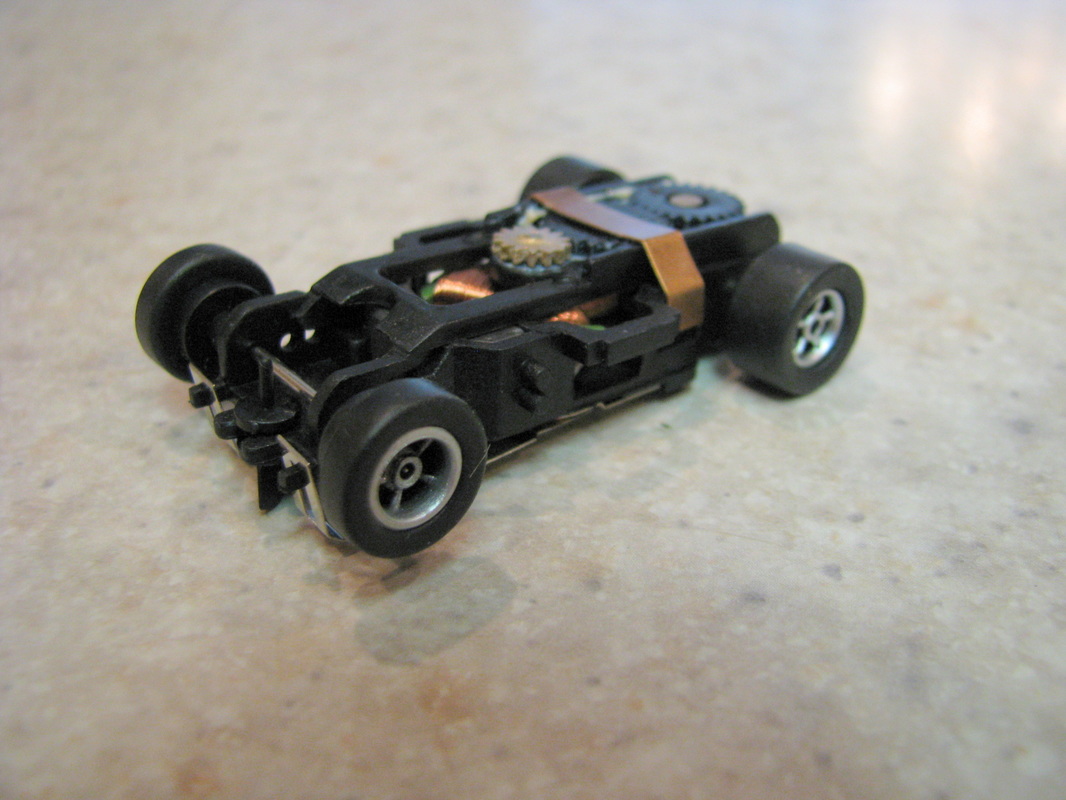
Over the course of the past few months I have come to like the Auto World X Traction chassis. Initially I was not impressed with the chassis out of the box. But then I remembered that Christmas in the early 60's when we got our Thunder Jet racing set. All Christmas day we worked to make those cars go around that track. I was fortunate as a kid to have a Dad that was mechanically and electrically inclined. By the end of the day we had those cars running pretty good. That said, I thought I would try the basics to improve the performance of the X Traction... and you know they actually run pretty good!
So let's get started with the small stuff and work our way to the larger stuff. The first small items are the brushes. More often than not the small brushes will have a very fine ridge around the top outside edge as seen in the picture below.
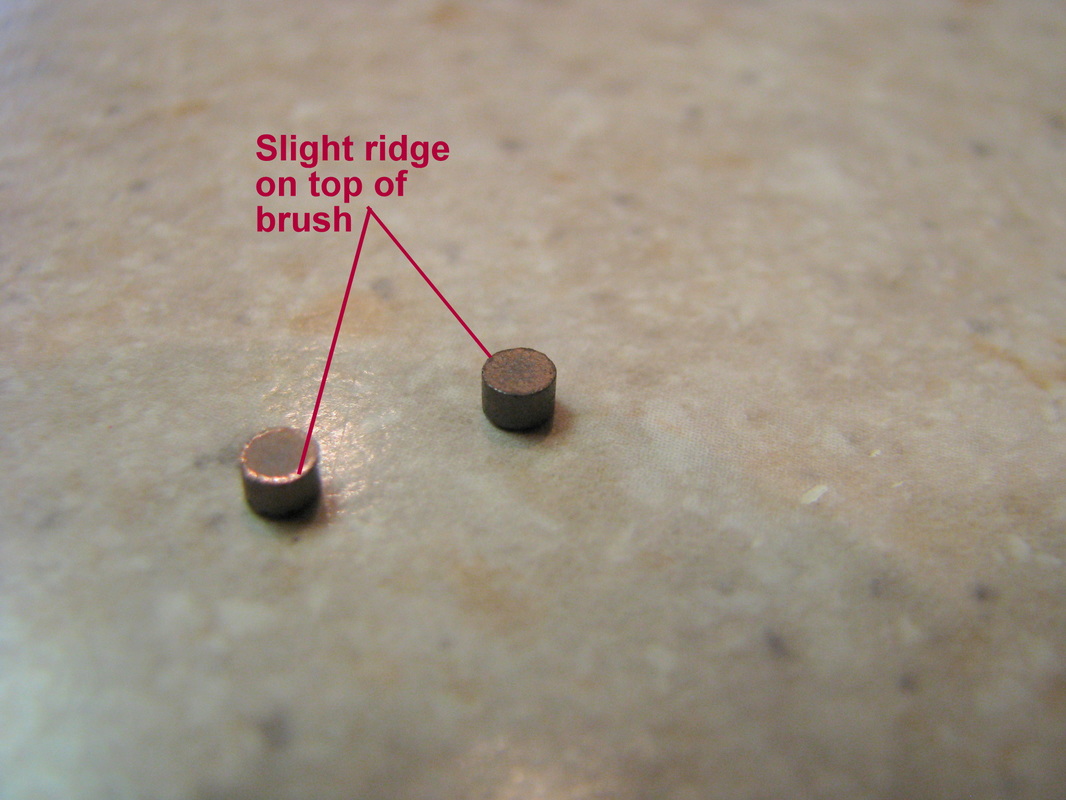
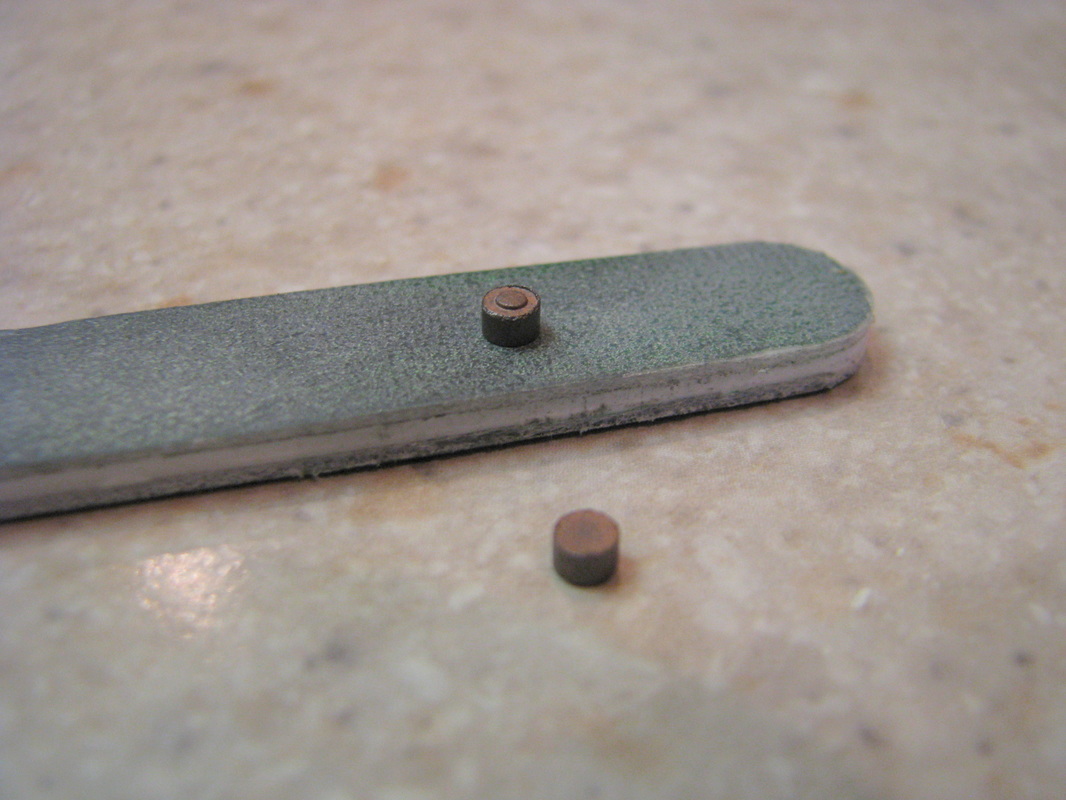
What you would like to do here is remove the ridge without rounding the top of the brush. You want to make sure the top of the brush remains flat so that you have maximum surface contact with the comutator plate of the armature... maximum surface contact means maximum flow of electricity. I usually take a very fine nail file and carefully remove the ridge only. In the picture below I am removing the ridge from the top of the brush only. The little tab on the bottom of the brush you want to leave alone. That's the bottom of the brush that goes into the brush cup of the chassis.
The next thing I check is the armature shaft and pinion gear. More often than not, if you push the armature up against the bottom of the gear plate you will notice a gap between the bottom of the pinion gear and the top of the gear plate. When this occurs, try spinning the armature by hand and you will notice a considerable amount of "slop". To minimize the "slop" I use a gear press and reduce the amount of gap between the bottom of the pinion gear and the top of the gear plate. Do not make it snug. You still want a very small gap and you want the armature to spin freely.
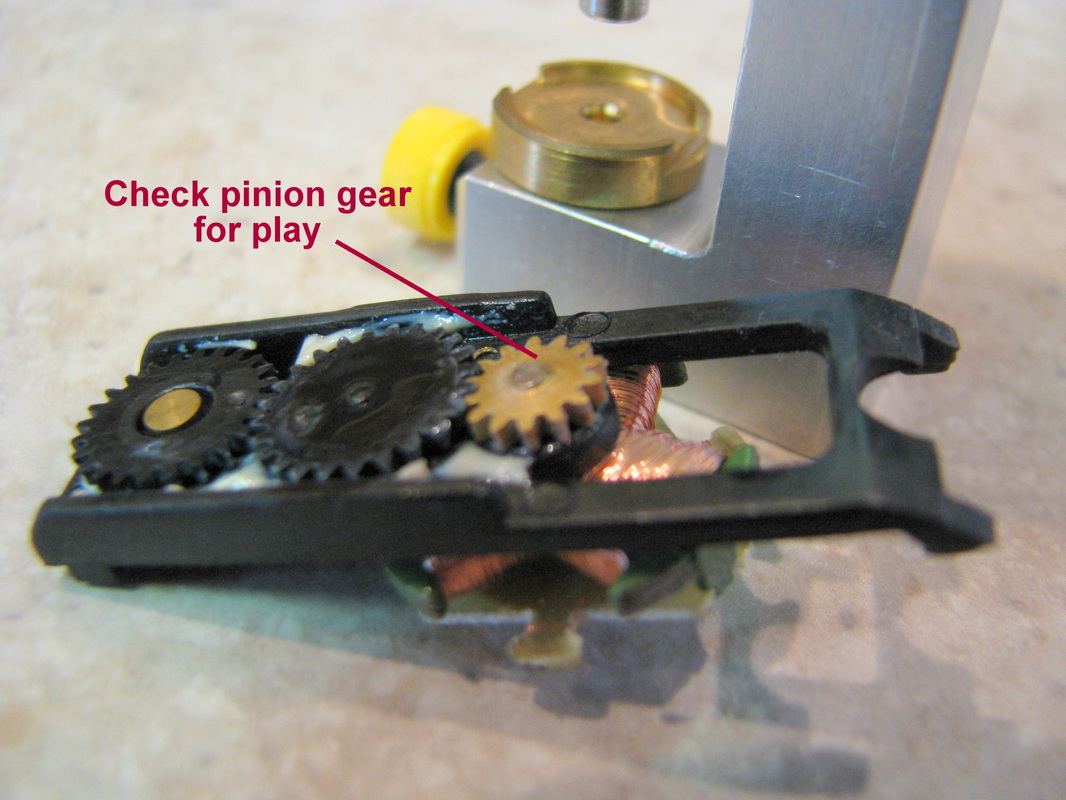
While we are working on the gear plate, then next thing I check is the cluster gear and cluster gear shaft. Again I check for play and or "slop" in the gear.
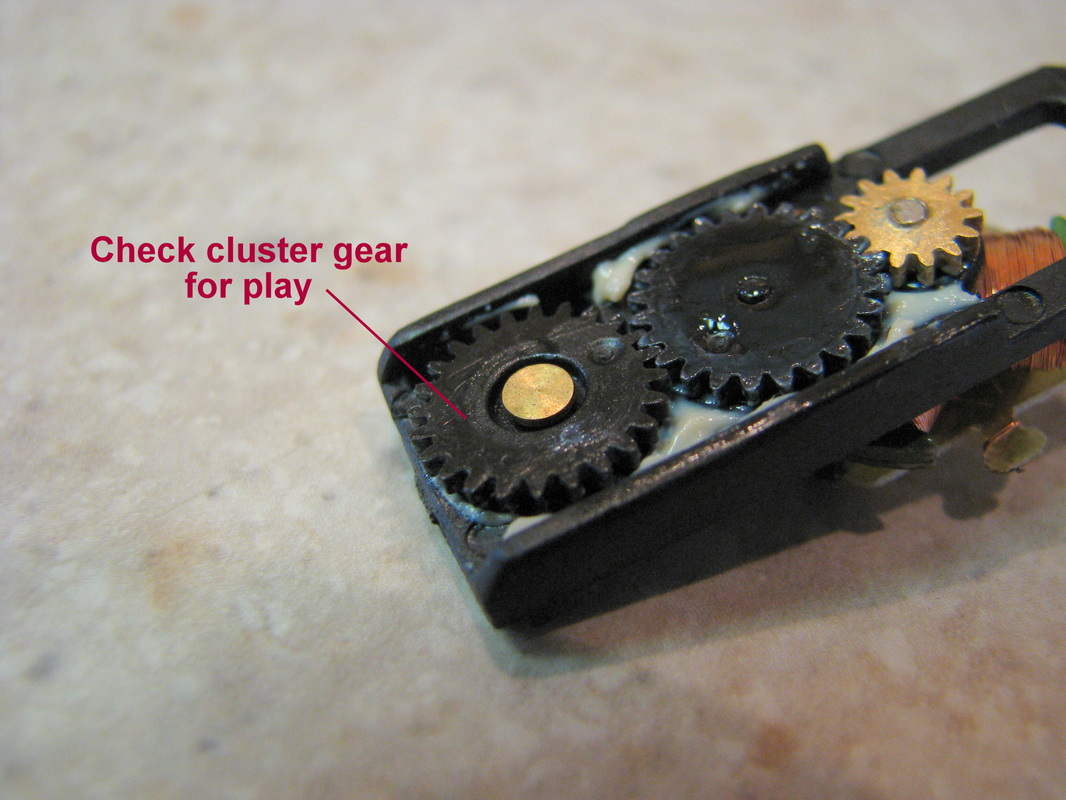
Most of the time the cluster gear could stand some adjusting. To reduce the play in the cluster gear you will have to tighten the cluster gear shaft. The shaft is a rivet and when tightening you will need to put the bottom of the rivet on a hard metal surface and lightly and I mean lightly tap the top of the rivet.

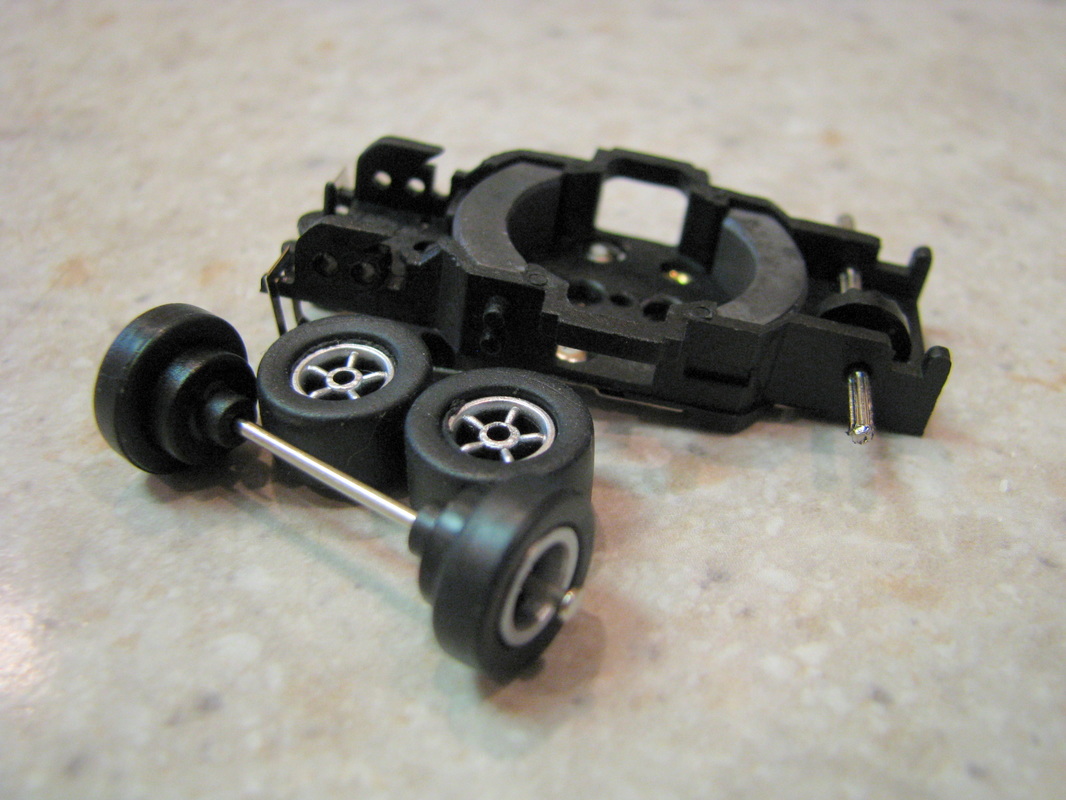
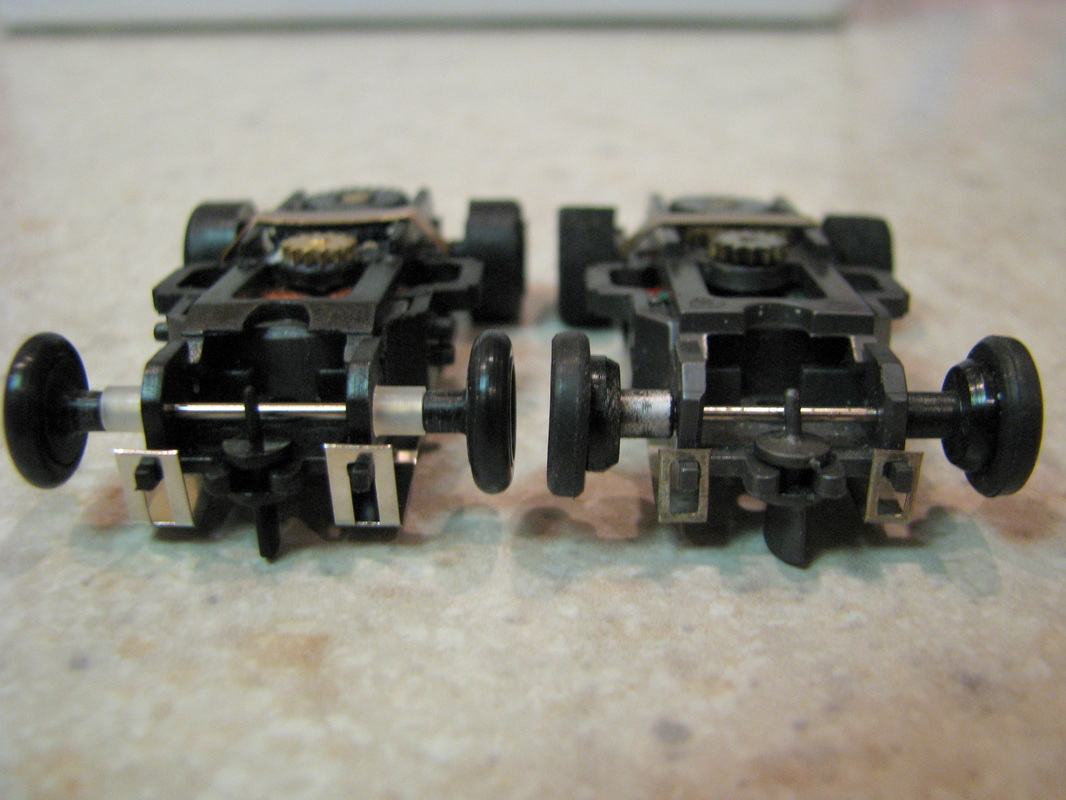
The next thing, and probably where you will get most of your gains, is to replace the wheels and tires. Auto World's quality control is really lacking here. The wheels and tires do not run true and they are not centered so they rotate smoothly. In other words you need to replace the "wobbly wonky" wheels and tires.
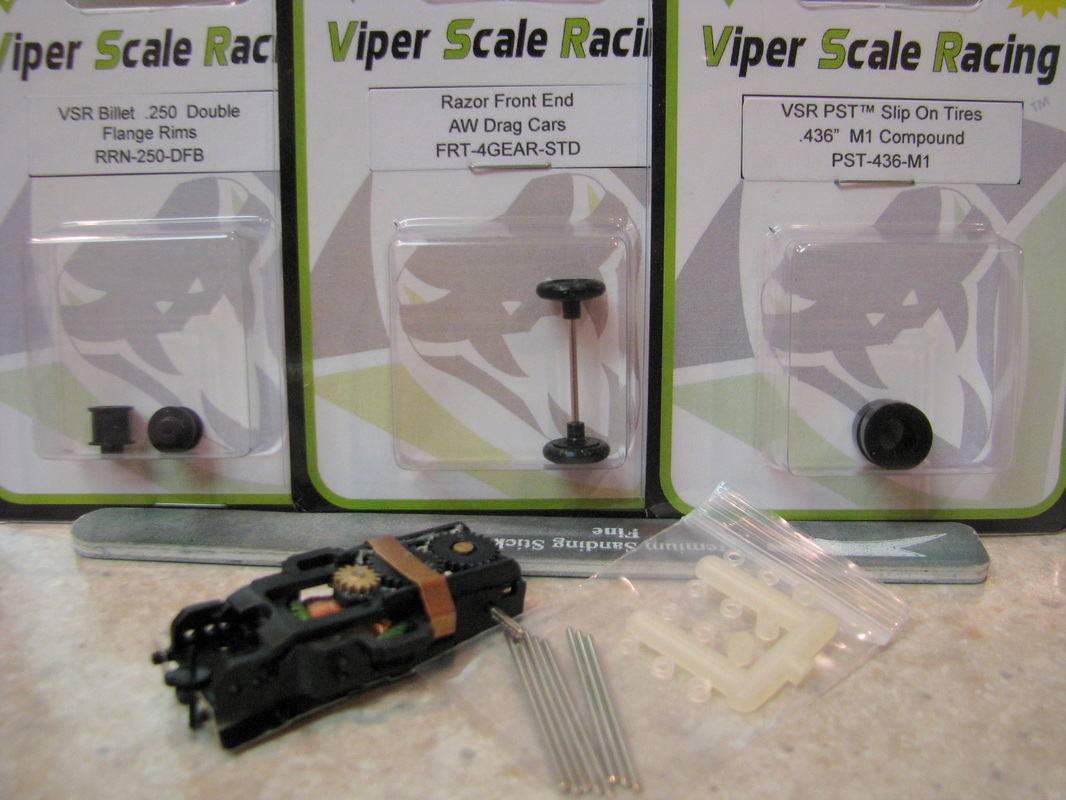
I tried the following products from Viper Scale Racing. The Razor Front End for AW Drag Cars, VSR Billet .250 Dbl. Flange Rims, and some of their standard long axles by themselves that they were kind enough to let me order. I also used some spacers because the wheel shanks were not long enough.
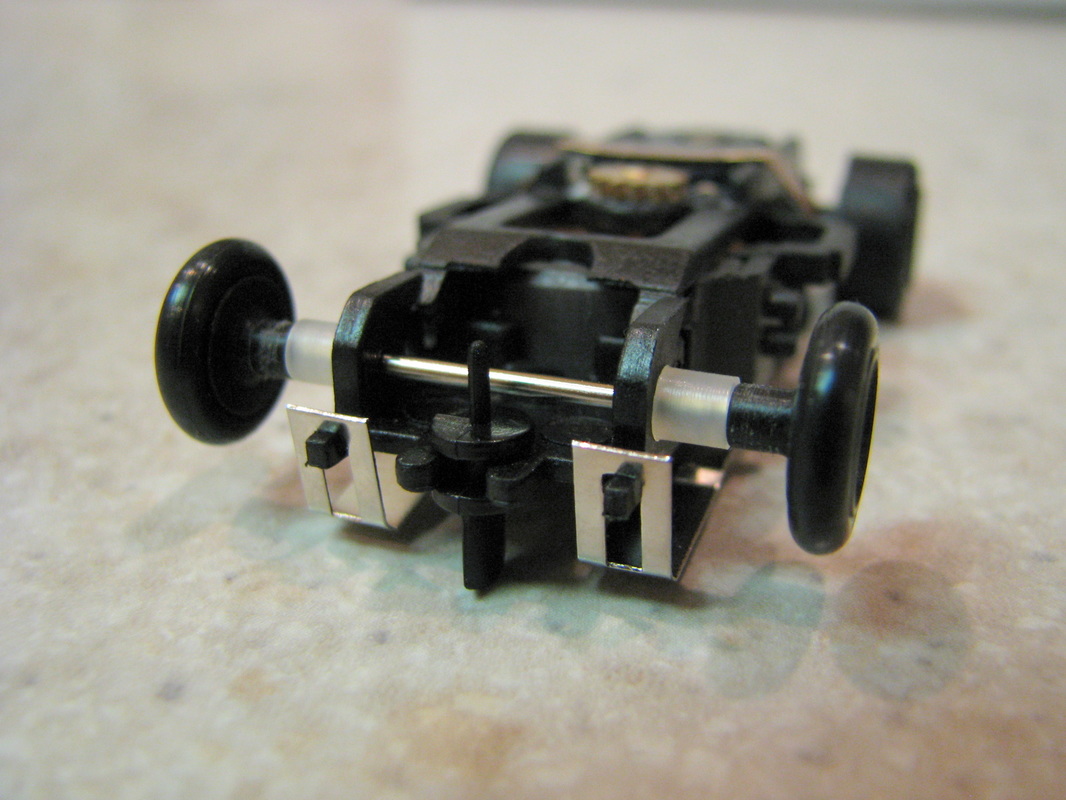
I replaced the AW Standard Front and rear tires with the Viper Scale Racing products. You can see how and why I needed the spacers below. When installing I took my time to mount the wheel carefully so they were straight.
Below you can see how the AW front now compares to an original Aurora Magna-Traction. Front end overall width and front tire outside diameter is identical.
The last little thing left to do is adjust the pick-up shoes and let it rip!! One other note... When running on a plastic Tomy track you will need to run the standard AFX .474 tires on the rear, however if your running on a routed track with a lower rail height like in the video below I run the Viper Scale Racing .436 M1 compound tires on the rear.
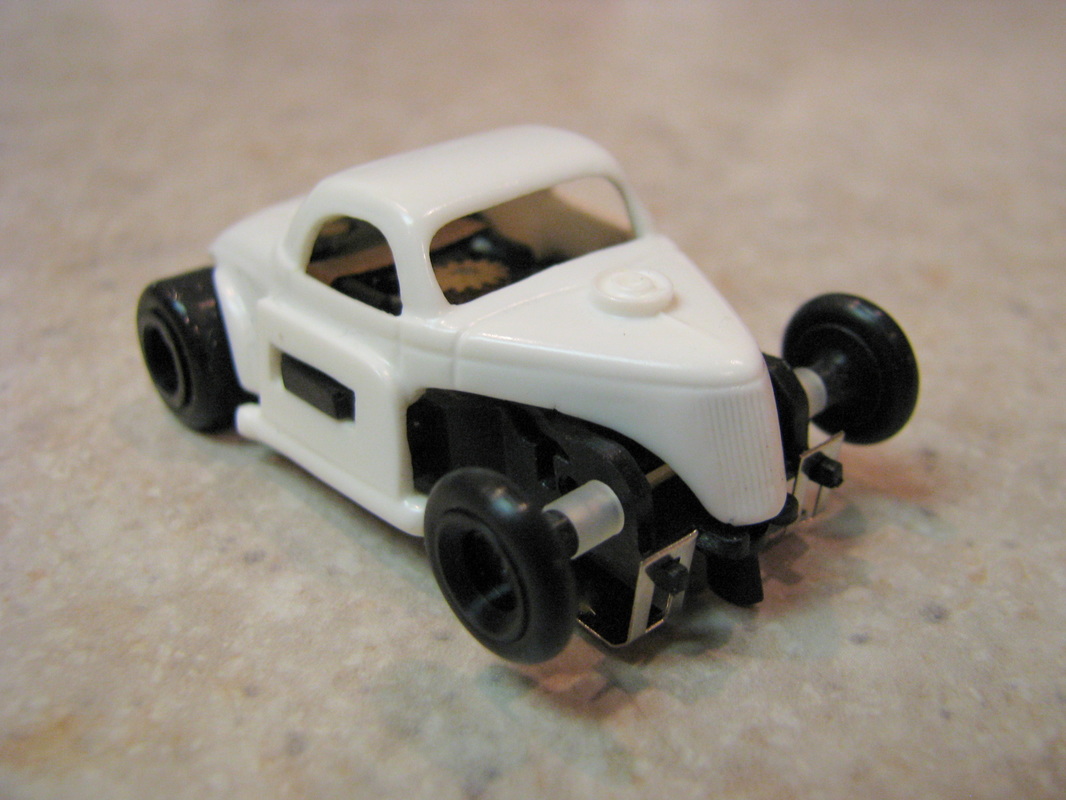
Below is a video of the end result of the basics. Not too shabby!!!
 RSS Feed