
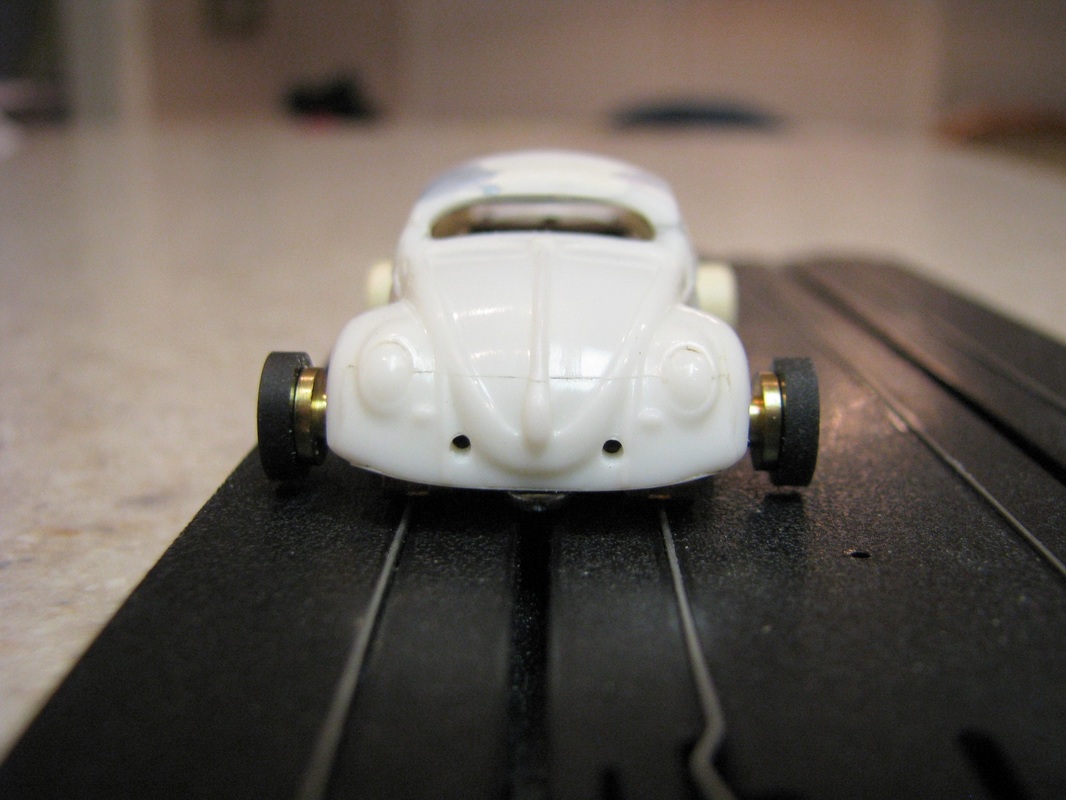
I don't know about you guys, but to me, there's something about a good chop that just makes a car. I think it just improves the stance of the car. That said, I had a Dash VW Bug that I wanted to lower the overall look of the car so that means lowering the body on the chassis and chopping the top. I also chose the Dash body because it has a long wheel base which is a must for racing when it comes to T-Jets. The biggest challenge of this project is maintaining the curvature of the top.
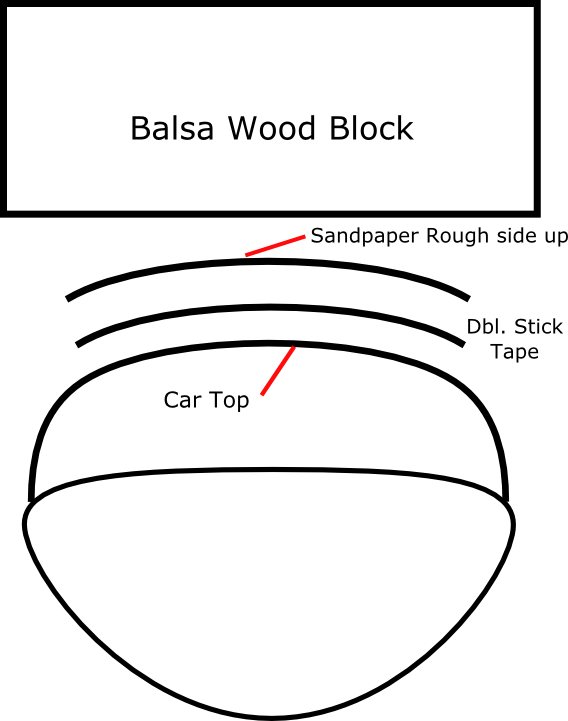
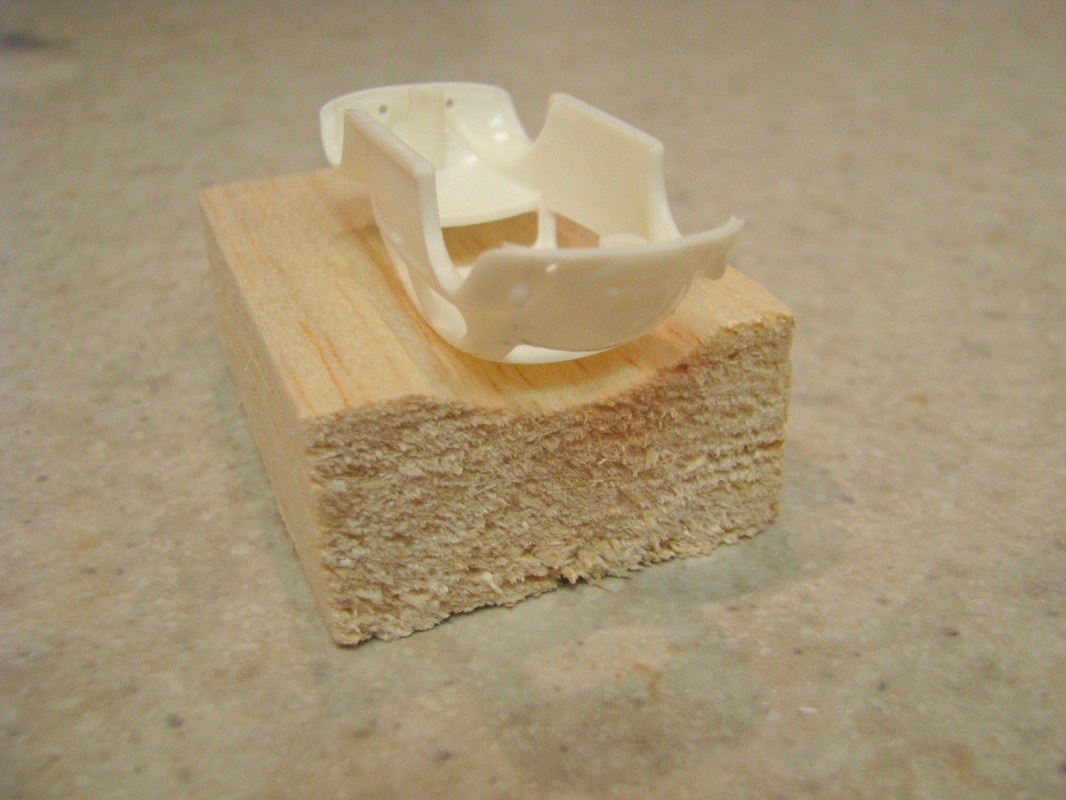
Before I start cutting I have to come up with a way to replicate the curvature of the top when putting the pieces back together. To do this I cover the top of the car with a piece of double stick tape. Then I cut a piece of sand paper to match the tape and stick that to the tape rough side up. I then cut a piece of balsa wood and start the sanding process. This will duplicate the curvature of the roof into the piece of balsa wood. I take my time with this because this block of balsa wood will help me maintain the curvature of the roof when putting the pieces back together. See diagram below followed by a picture of my finished shaping block.

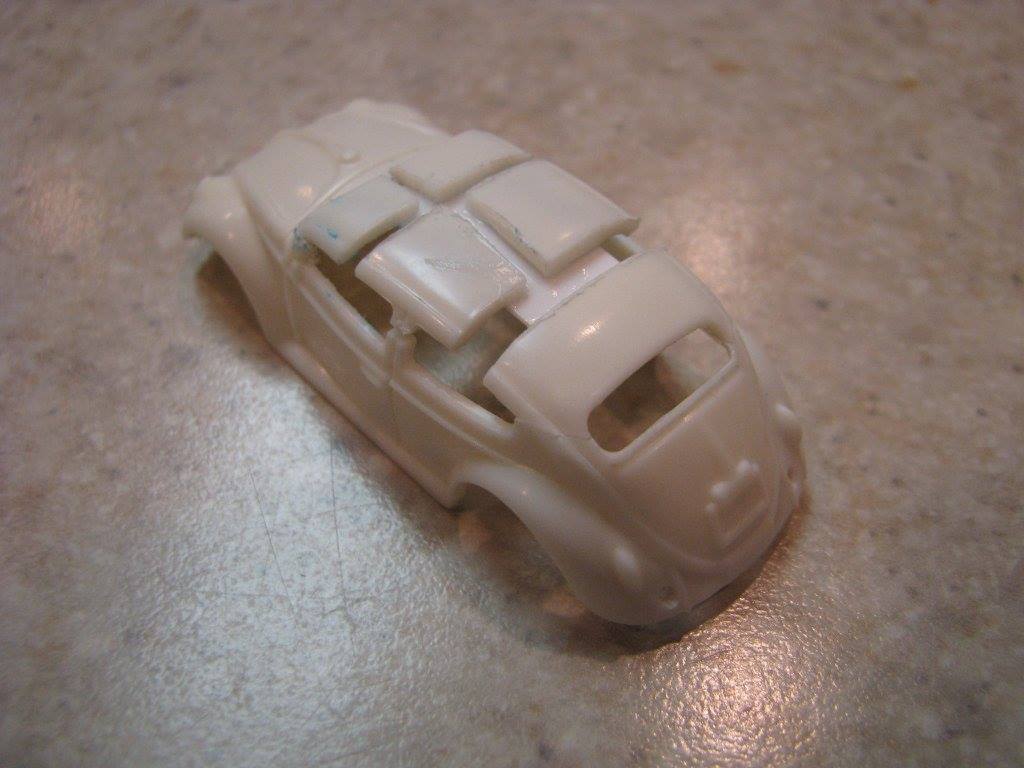
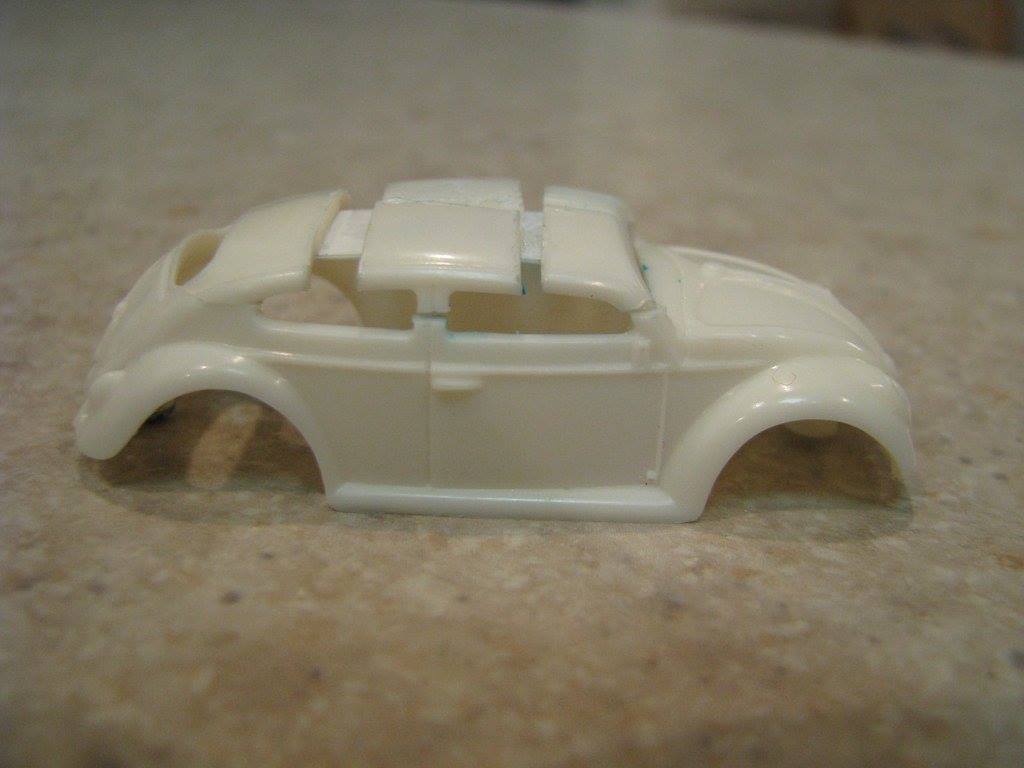
Chopping a HO scale slot car is not mush different than chopping a 1:1 car. When chopping the top you have to lengthen and widen the top when lowering it. The first thing I do is use my Dremel to cut the top off and section the top also. If you would like more in depth information about this you can look here.

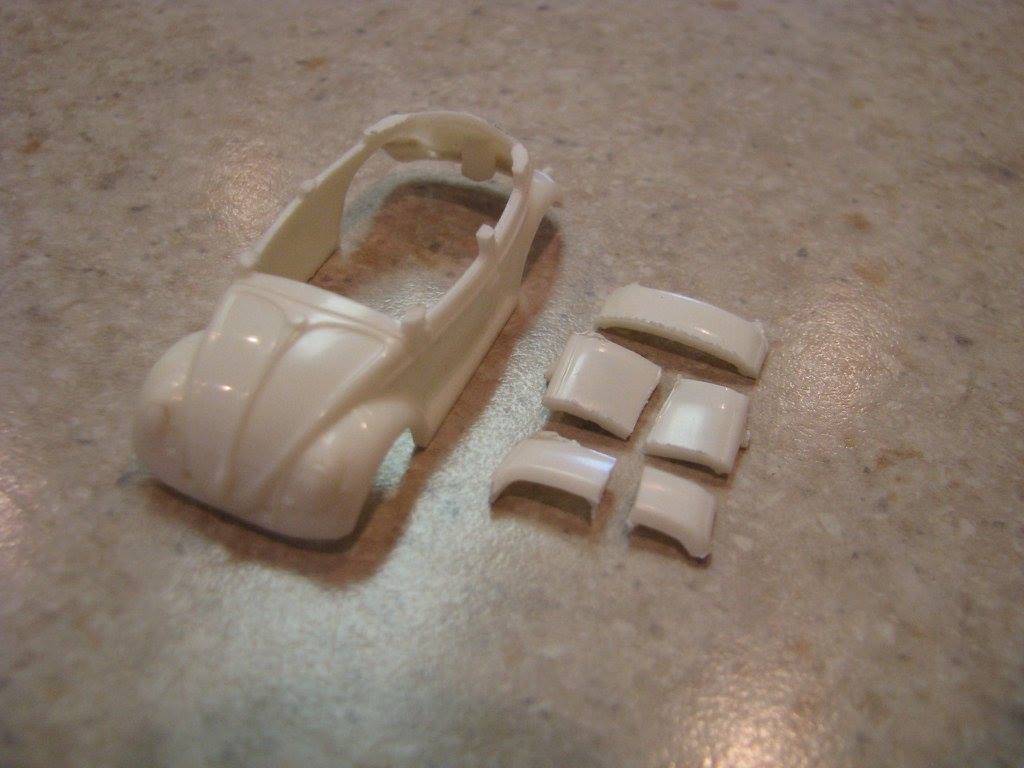
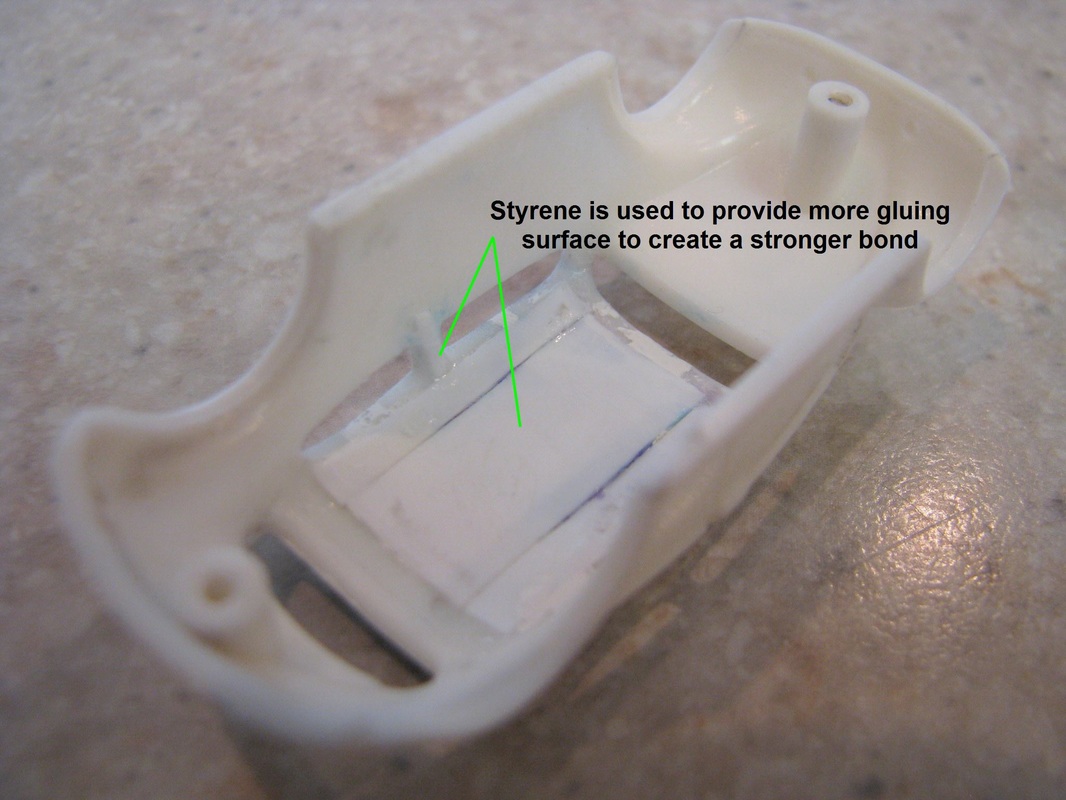
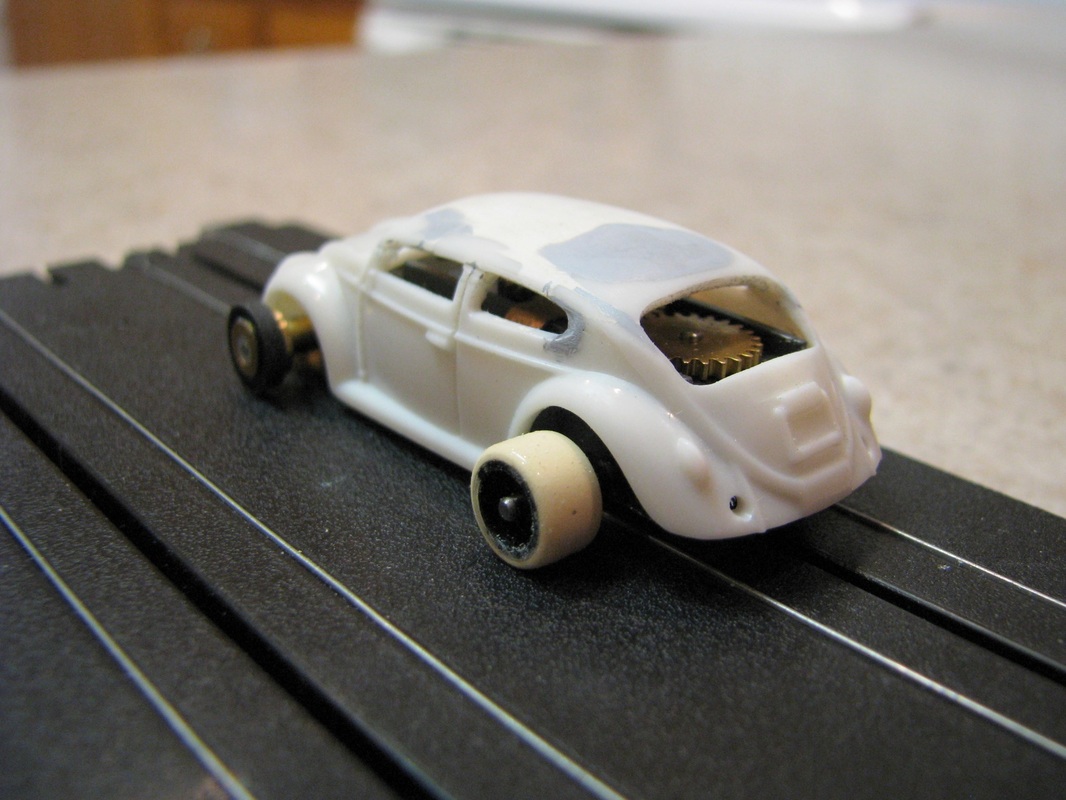
Because of the many pieces, the secret to this chop is the under side. I use a very thin piece of styrene. The sectioned roof pieces were glued to this.
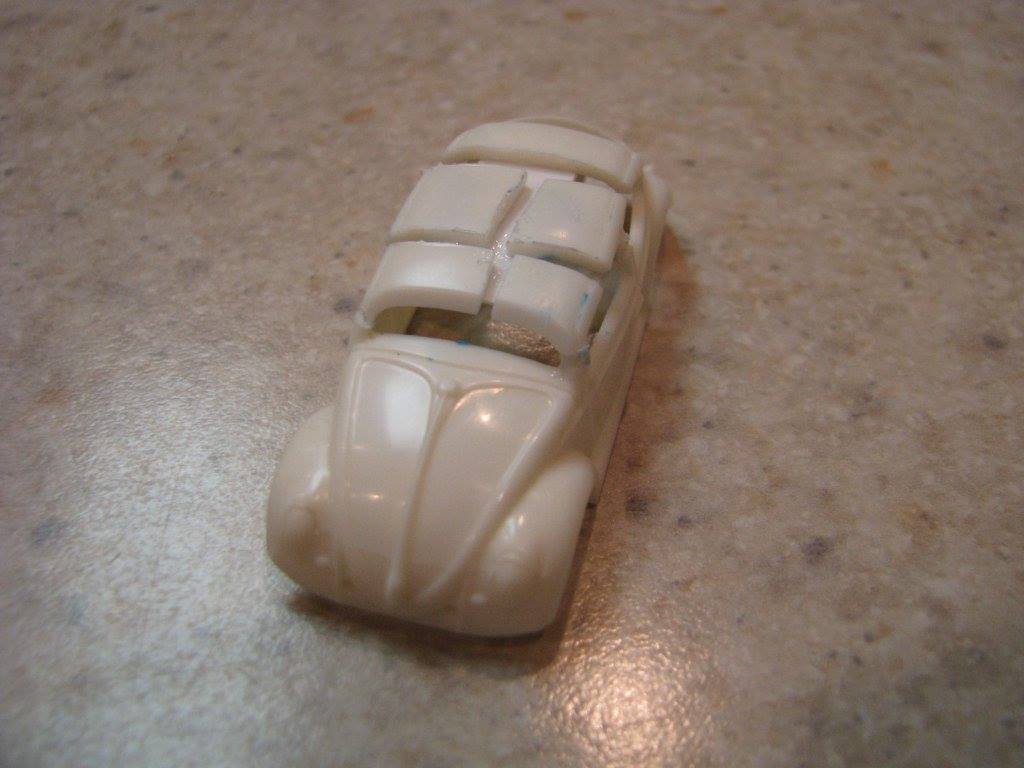
Also notice the styrene post reinforcement. These pieces allow for more glue surface area which translates into a stronger more sturdy top.
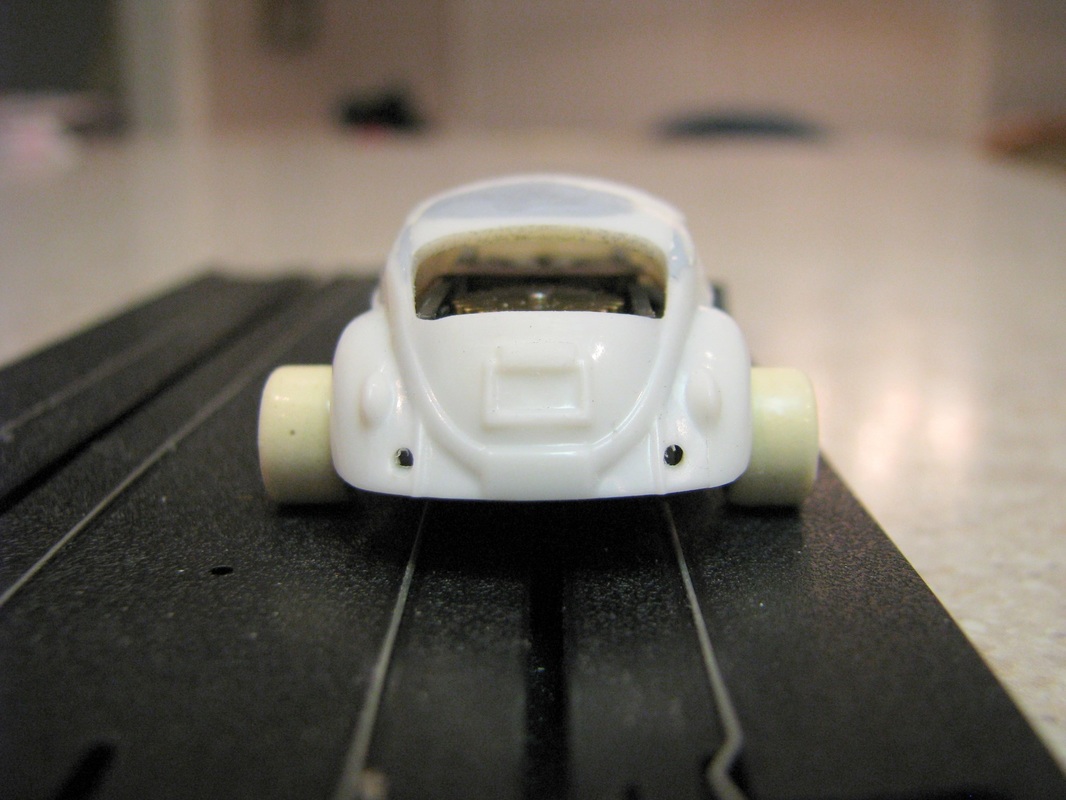
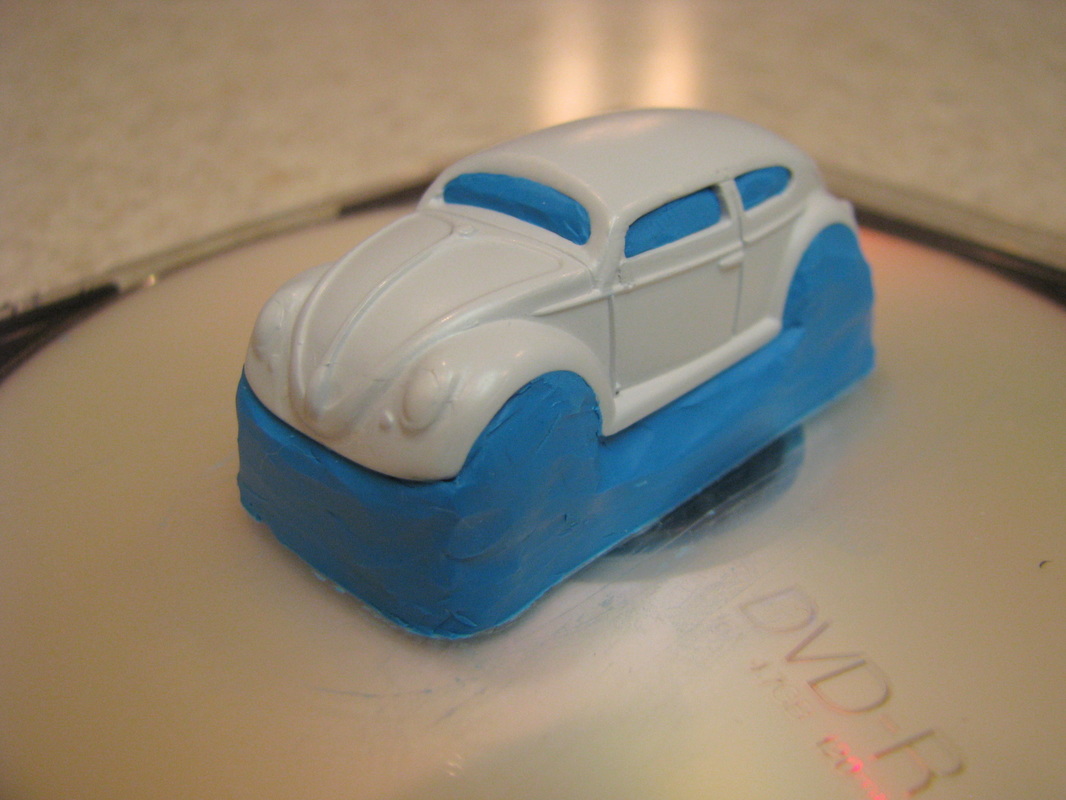
After the top is re-attached to the body. I start filling the gaps. I use Milliput (Superfine) epoxy putty. It is water soluble and you can work it much like the clay we used in grade school. When applying it, wet your finger with water you can then shape it easily. With a little practice after shaping there will be very little sanding left to do.
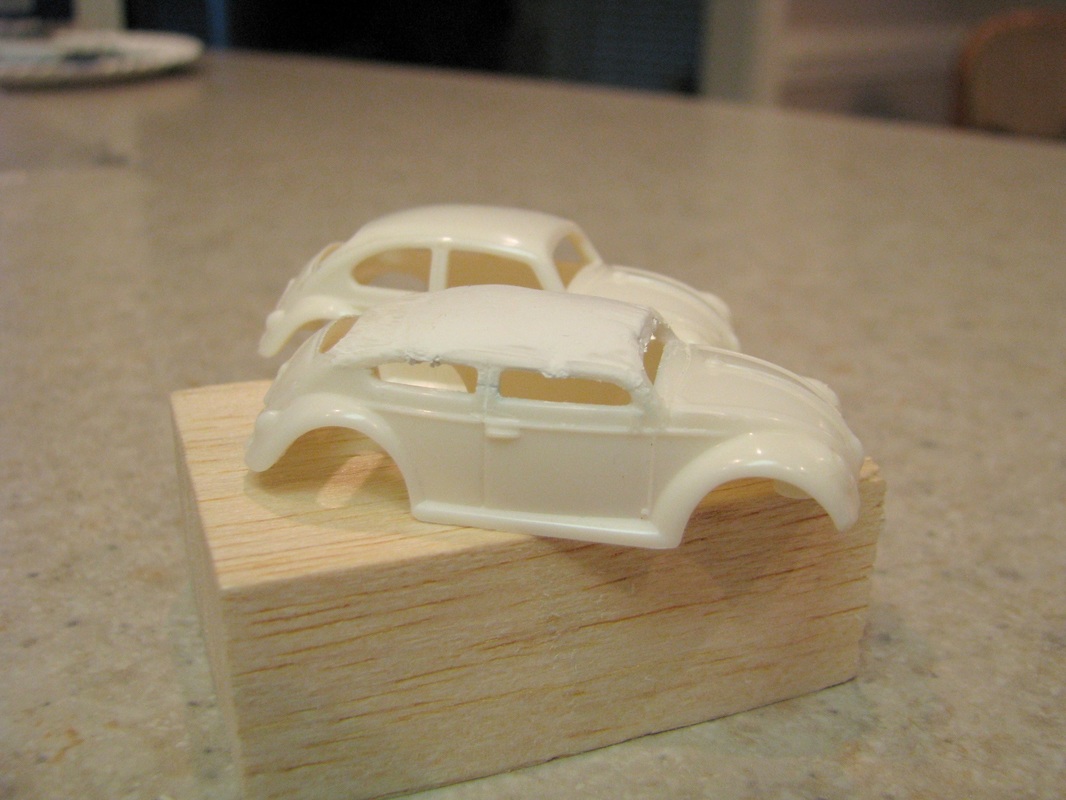
After the Milliput has hardened you can sand it and shape it. This is where the sanding block comes in so you can put the correct curvature back in the top.
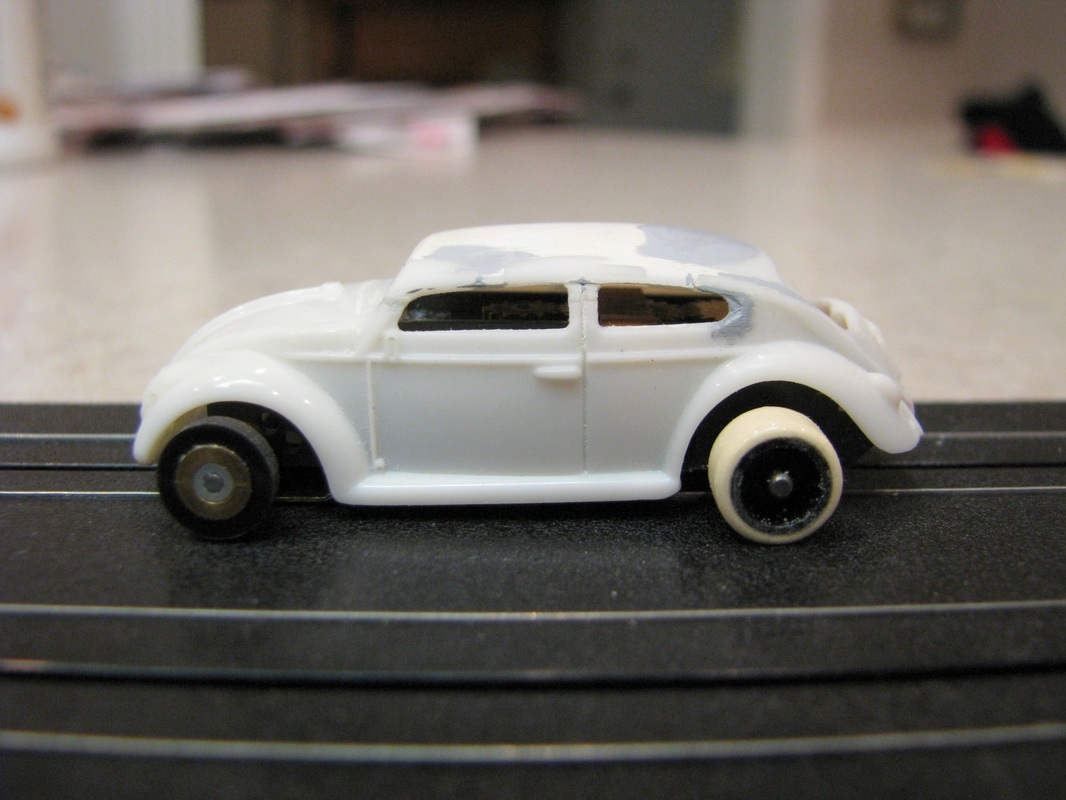
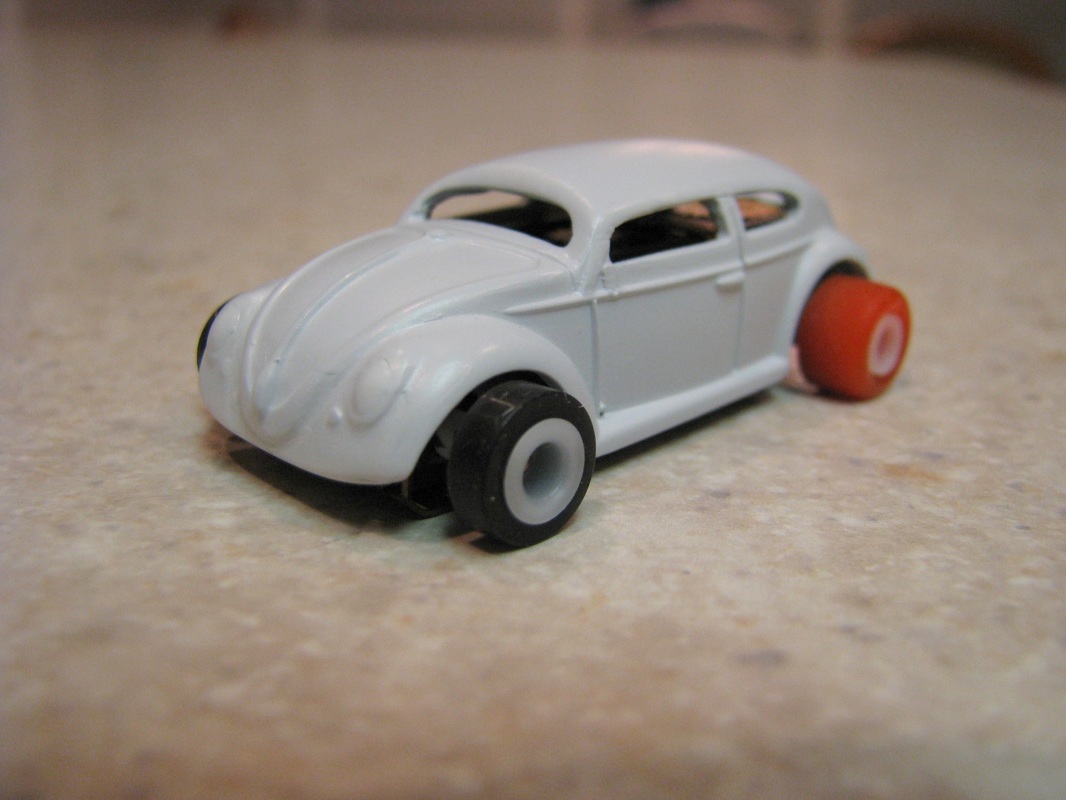
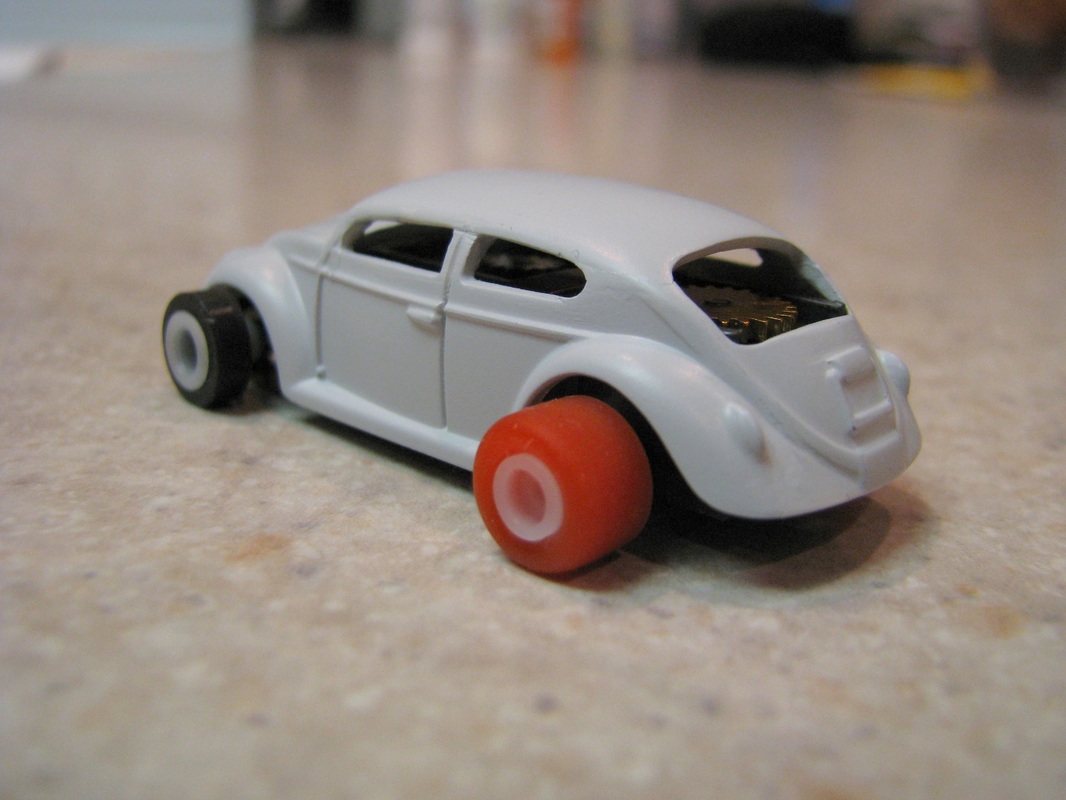
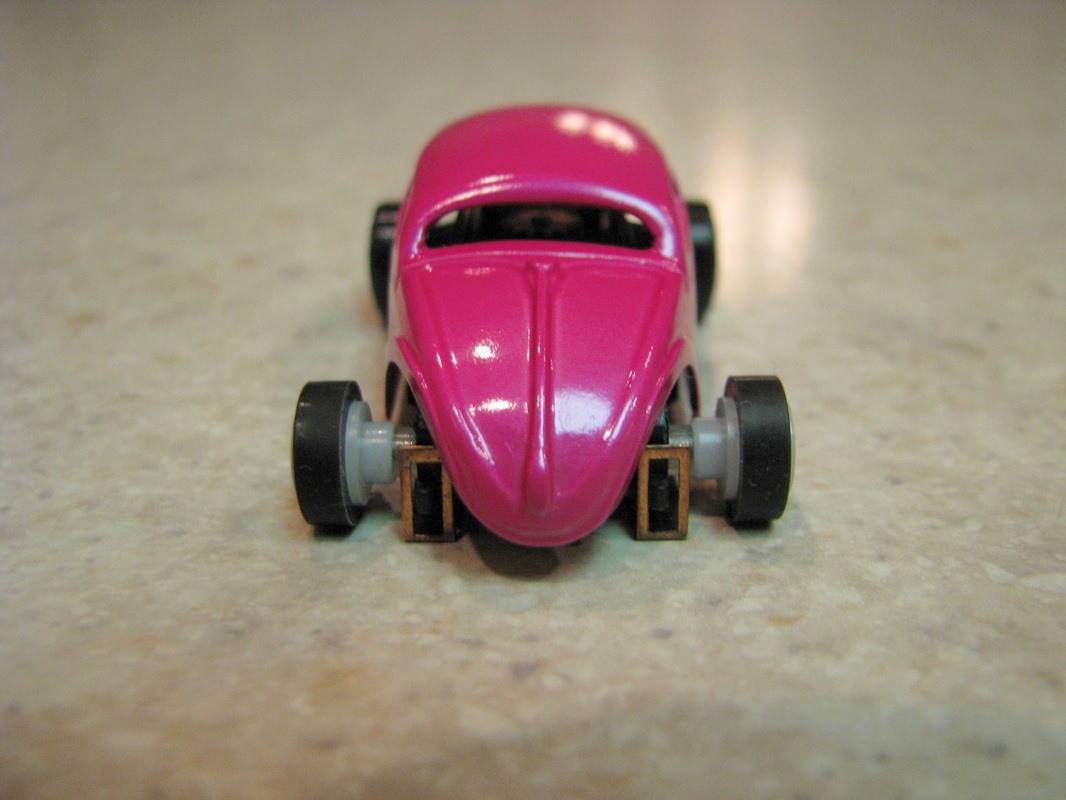
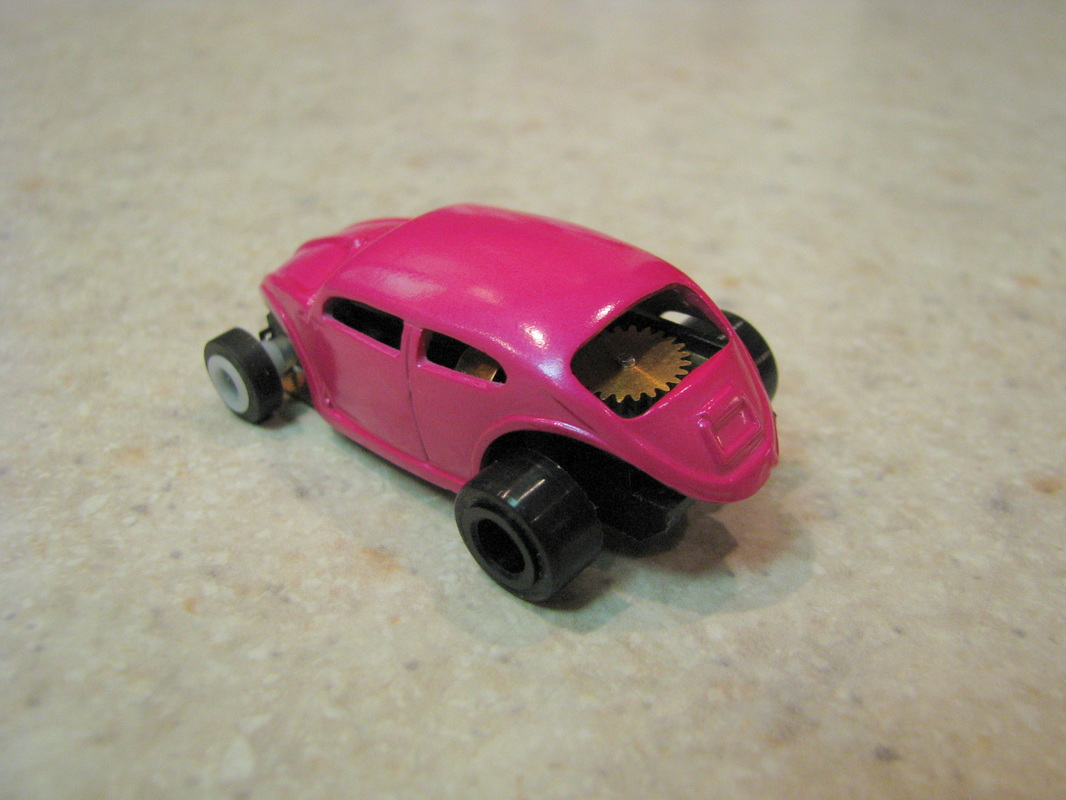
Notice in the pictures below that I have enlarged the back window you can compare with pictures above. this was done to lower the body. I would have liked to kept the small rear window but just couldn't make it work.
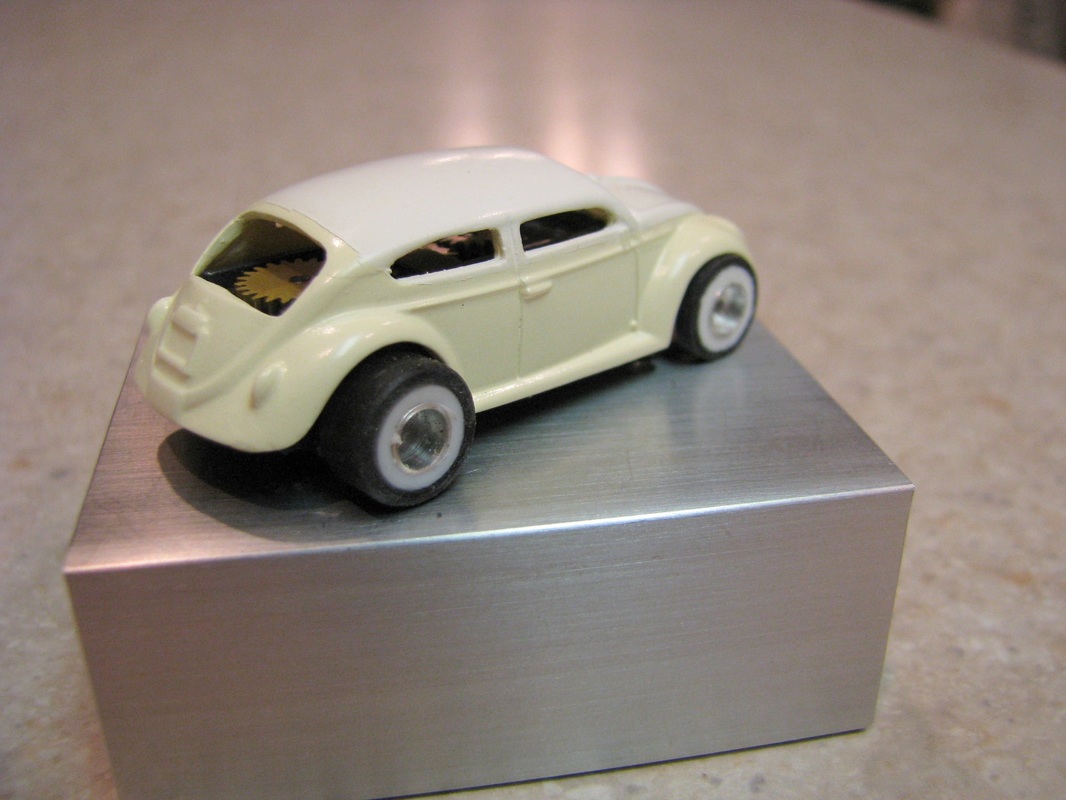
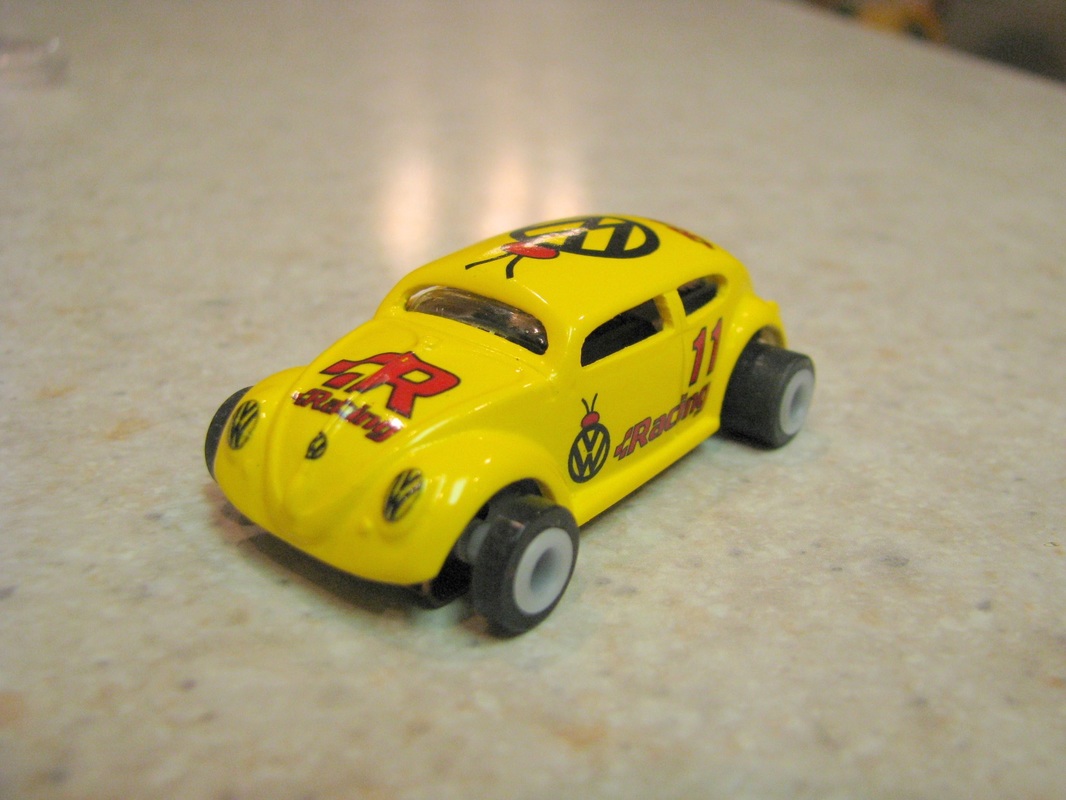
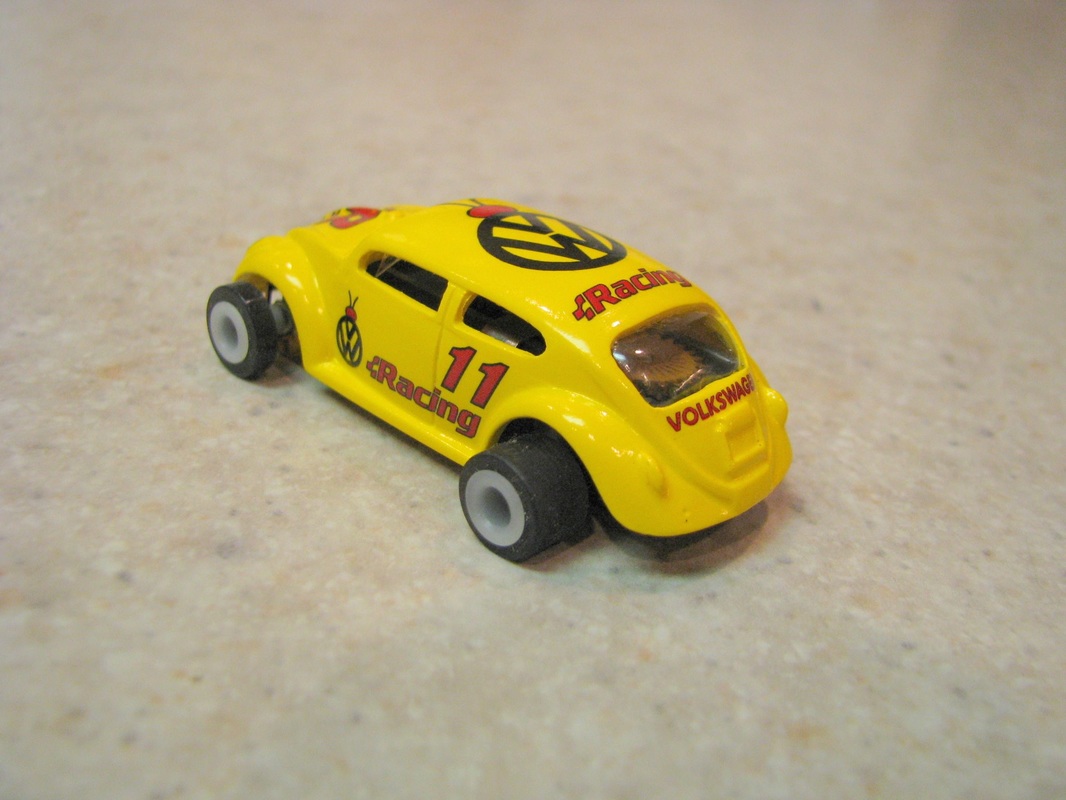
A little filler, primer and polishing and that about winds this one up except for some paint and decals.


And the process of casting begins... if you would like more detailed information on casting click here.
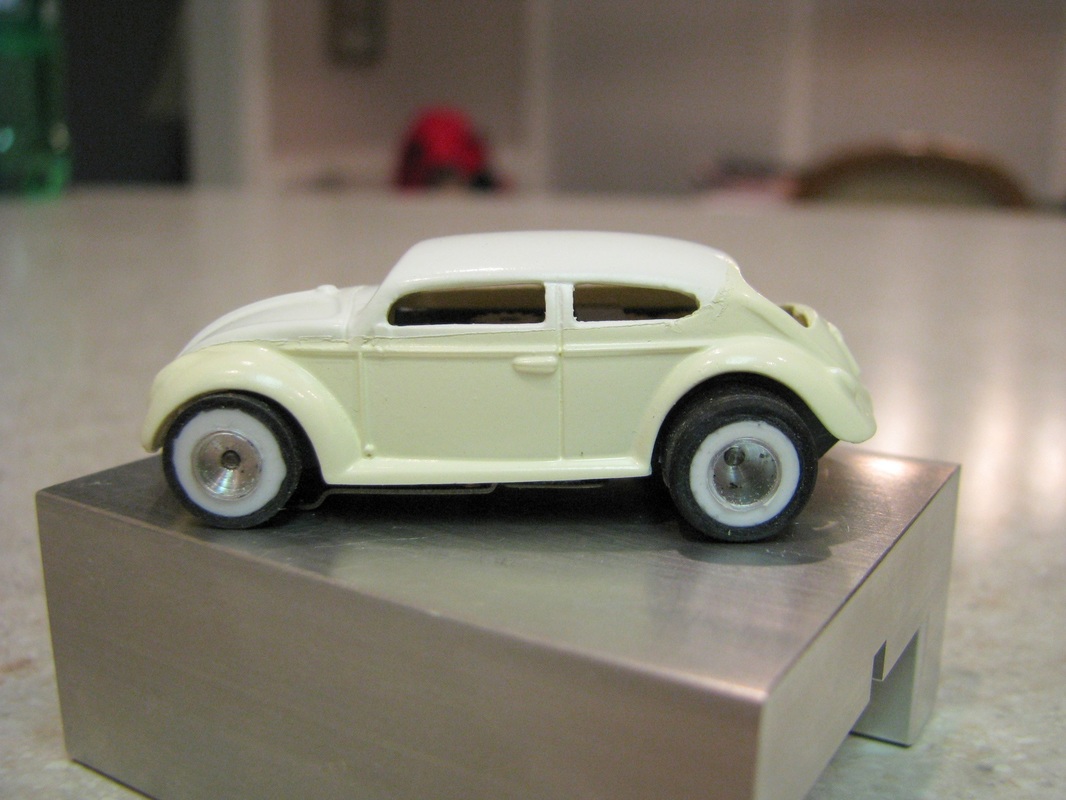
The picture below shows the cast along with the original Dash body that I started with.

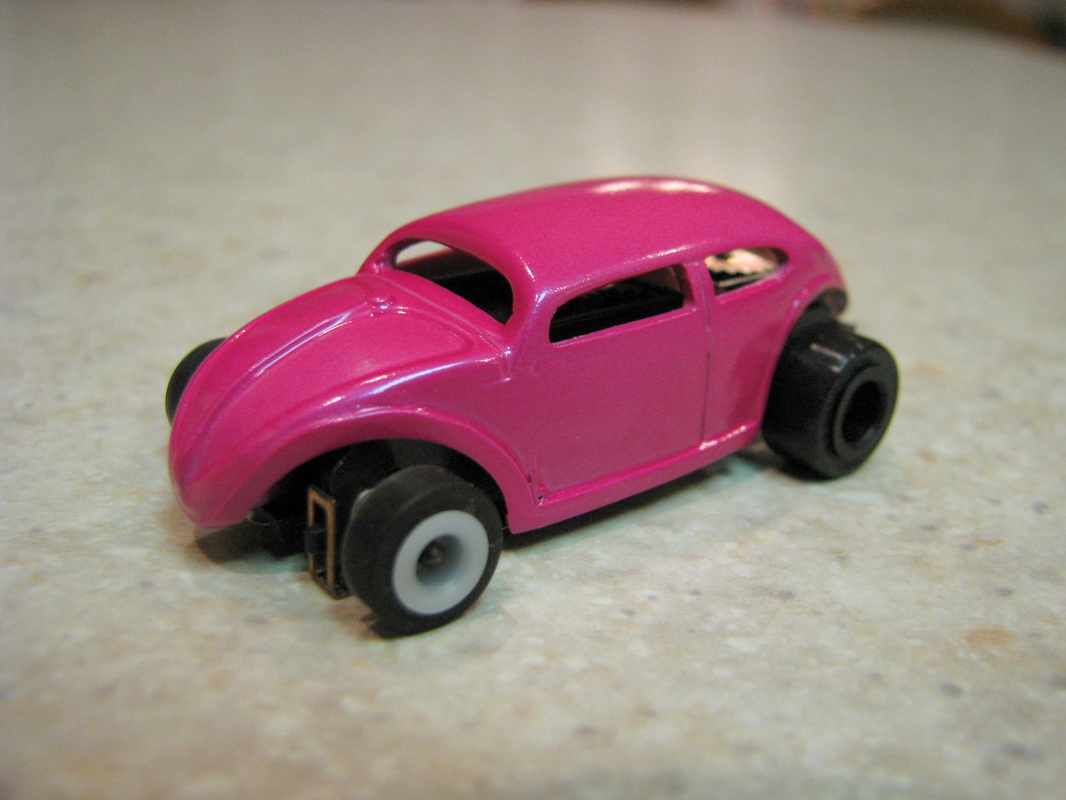
I took the first cast and removed the fenders to create a "Volks Rod".
 RSS Feed