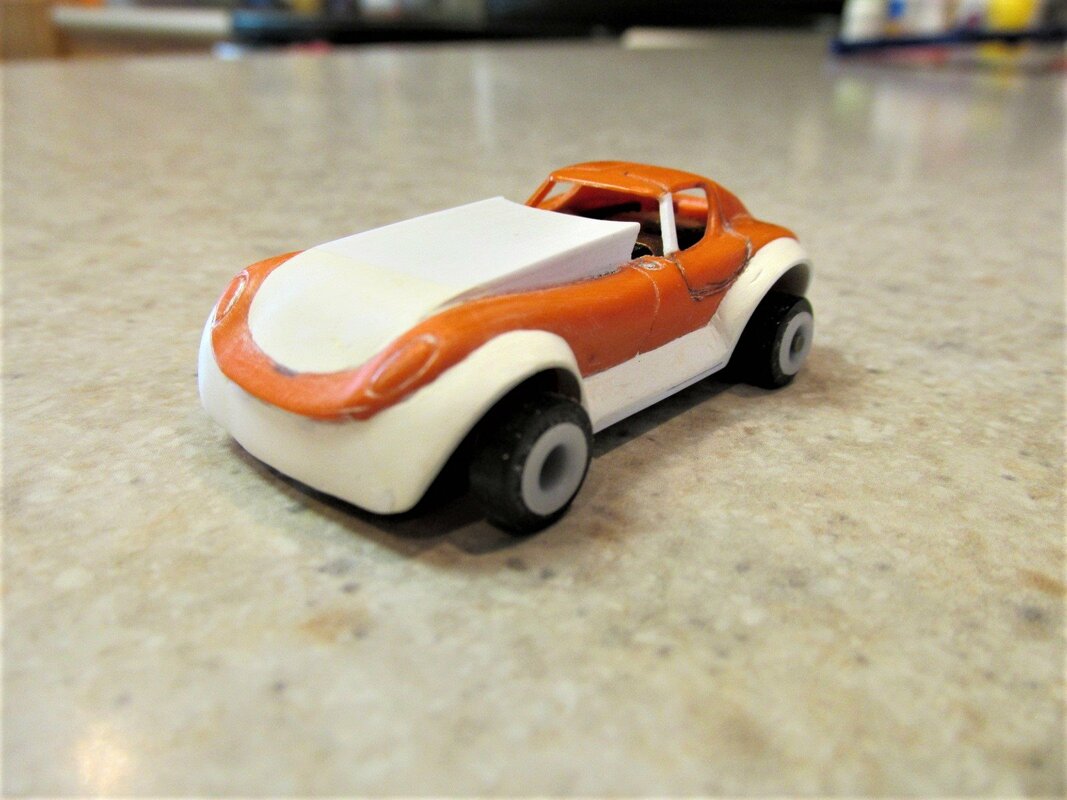
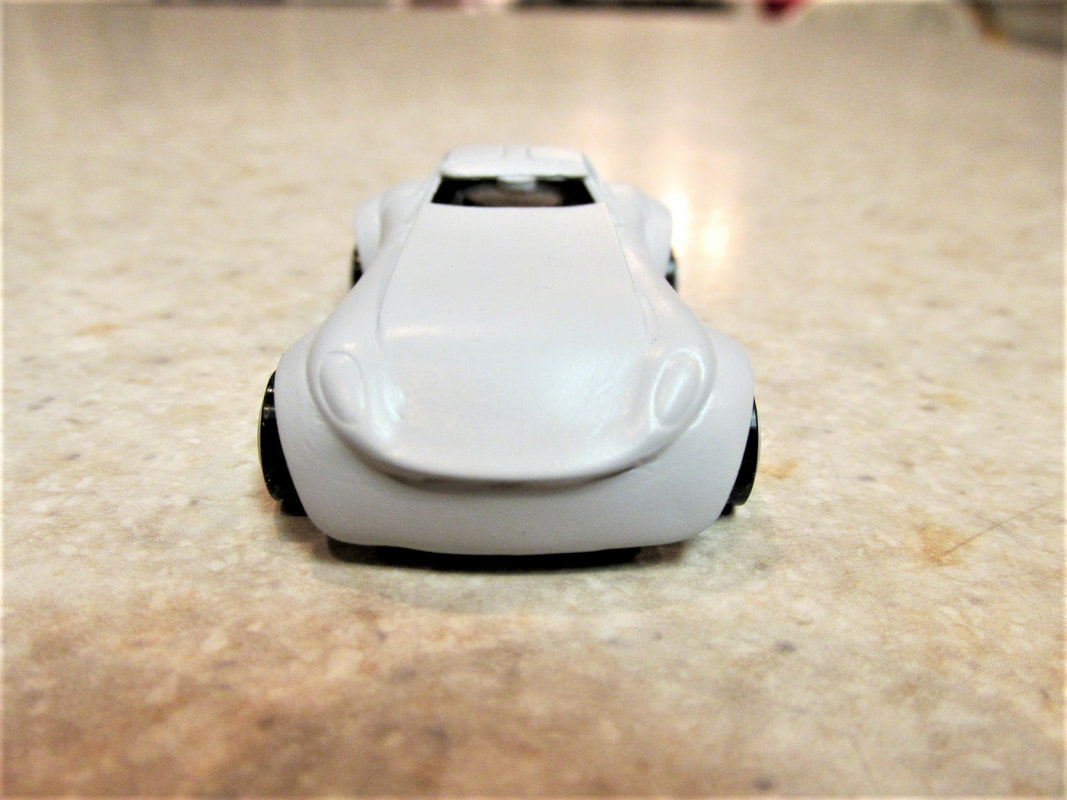
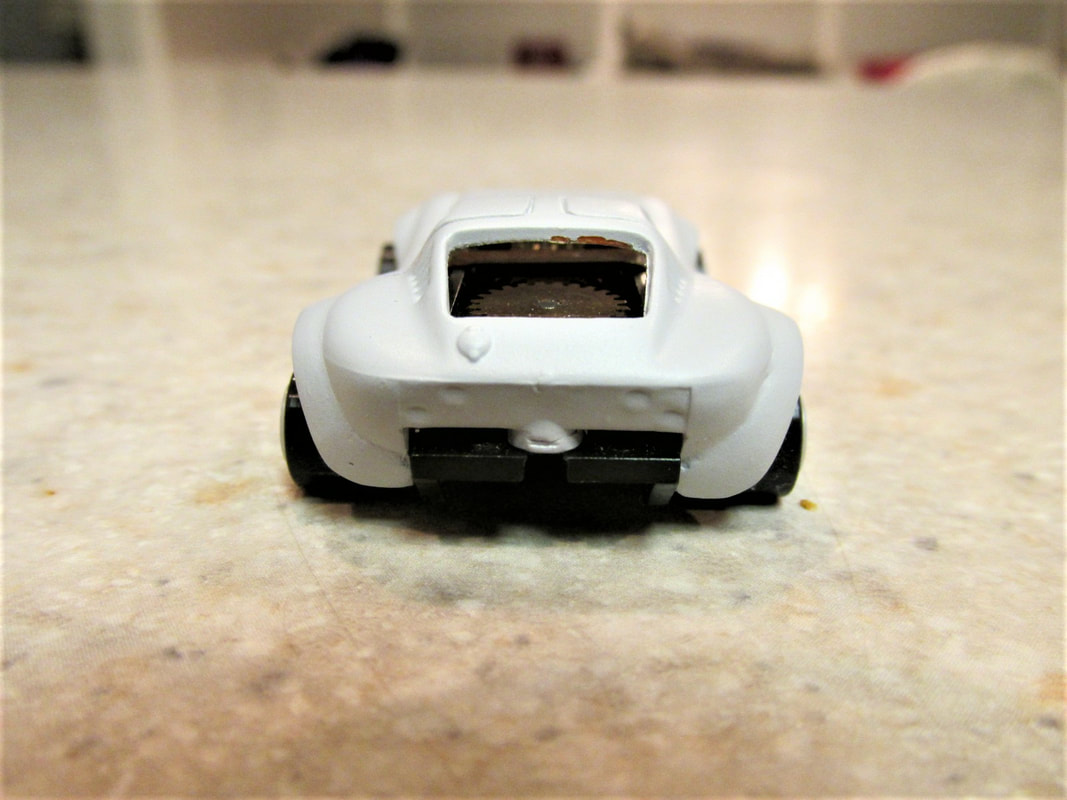
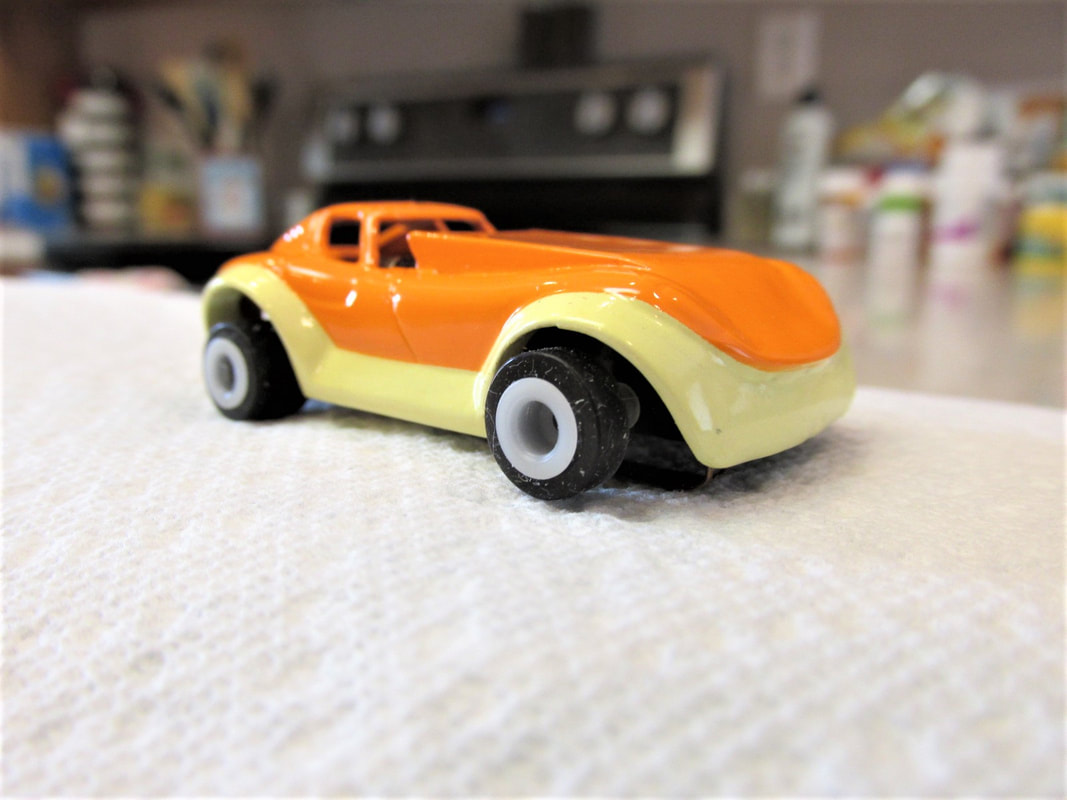
| For several years now on the webbernet I have seen glimpses of this Aurora T-Jet Cheetah that was modified to fit and run on a fray style chassis. I really thought it looked pretty cool and really wanted one. Well one finally came up on Ebay and I got it for a reasonable price. So I anxiously awaited it's arrival. When it arrived in the mail I opened the package only to be disappointed. It was the body I was looking for but the casting was not the best and there was no glass. So after some deliberation I decided I would make my own version this car. As they say imitation is the highest form of flattery. If you're interested in how I did it then click on the read more link. |  |
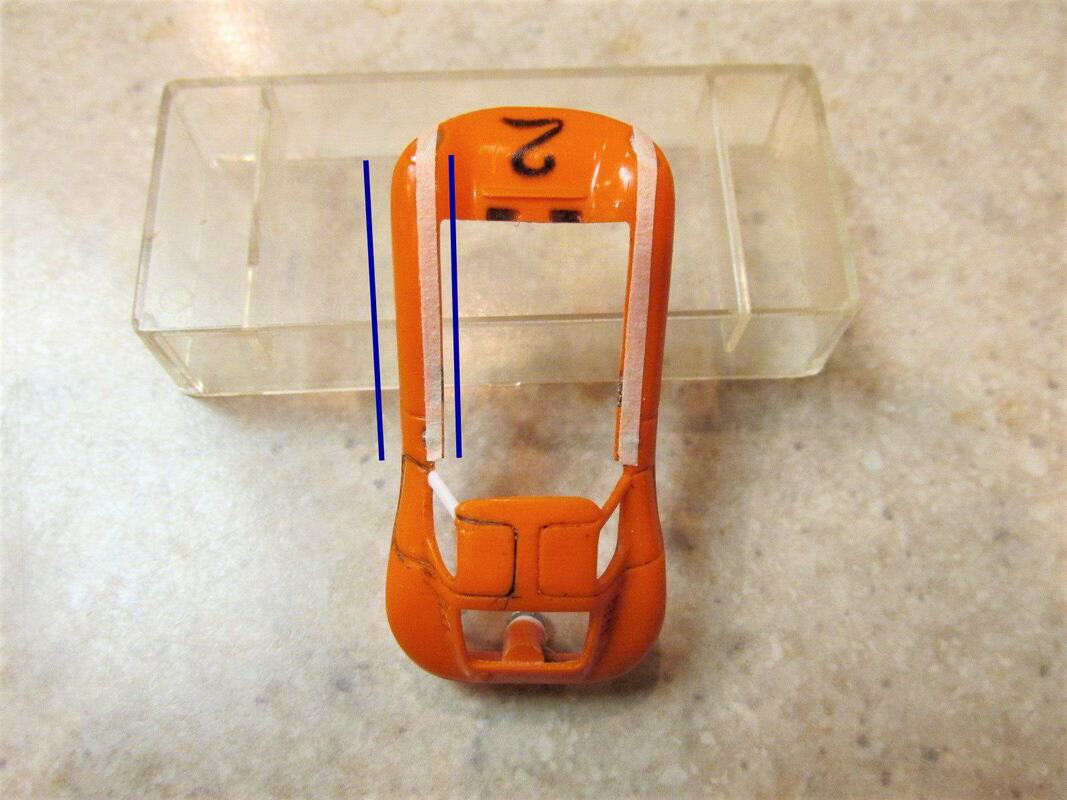
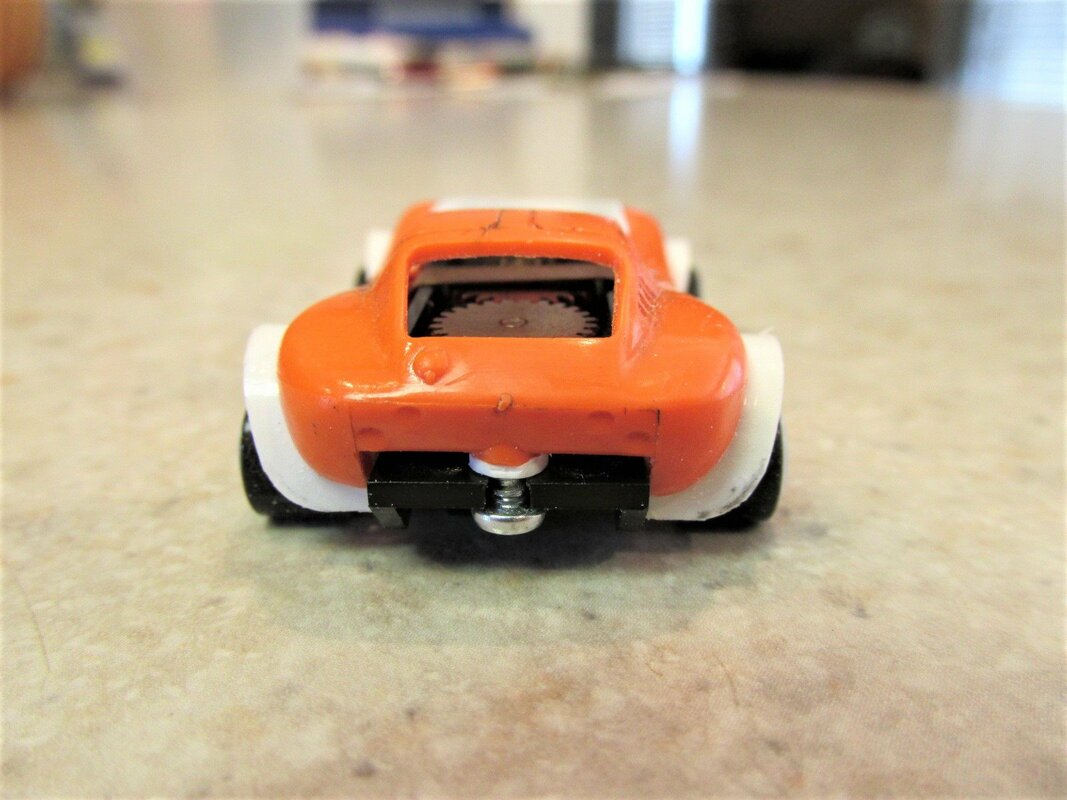
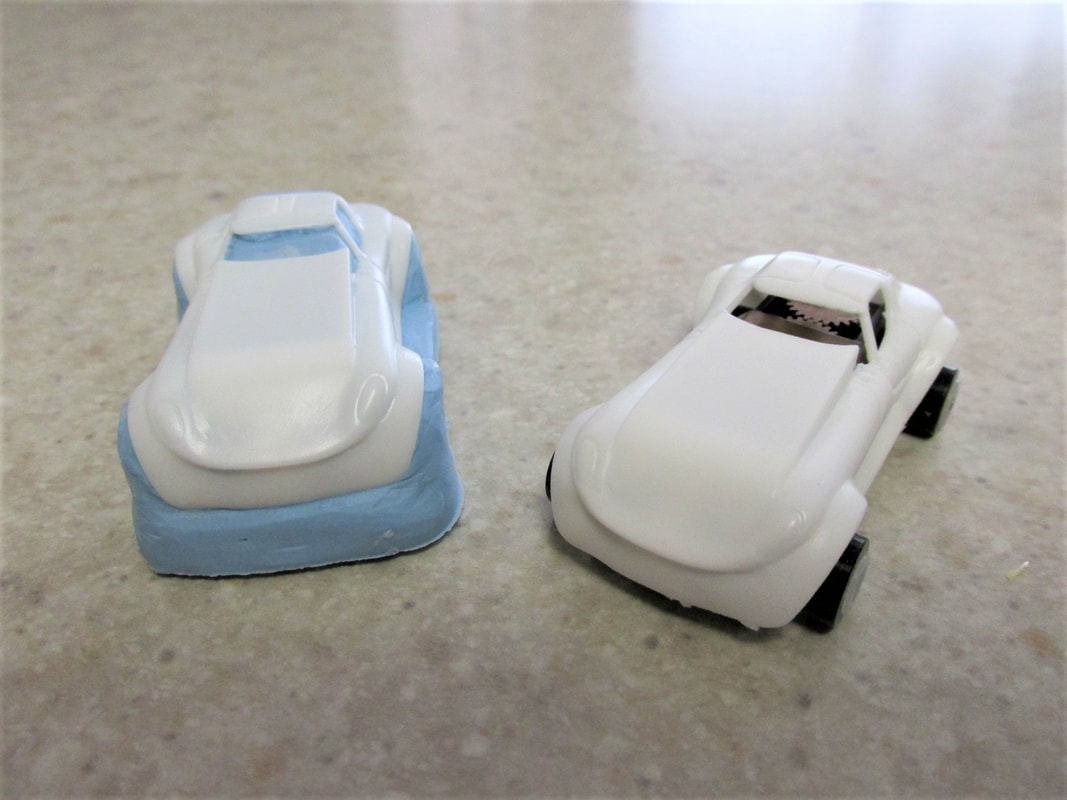
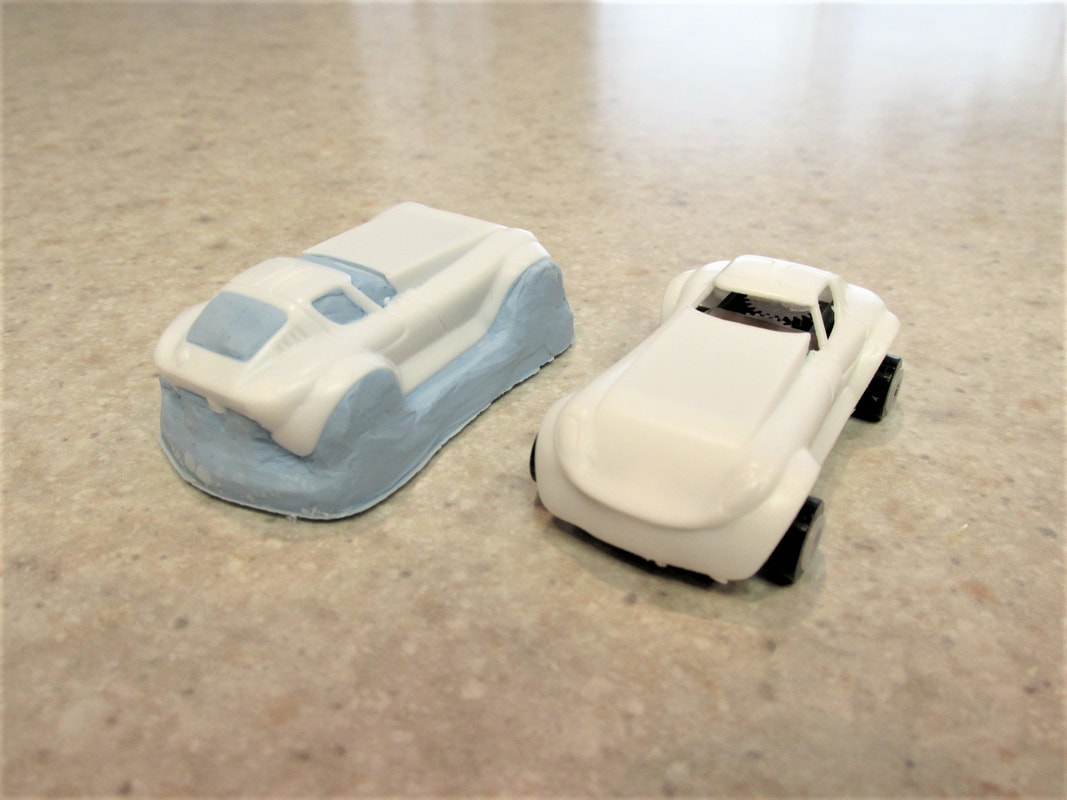
I had a Tuff Ones cheetah body that was not in good shape. It had a messed up window pillar and screw posts so that became the donor car. First I replaced the pillar with a strip of styrene and fixed the screw posts using styrene also. The second thing I did was Remove the top of the hood so I could get the car lower on the chassis. When removing this much material, I use small strips of tape to help me keep the line straight and also it helps me know where I need to stop removing material. In the picture below you will see this. In addition I made the the line parallel with the outside line of the car. This helps to maintain the lines (design) of the car.
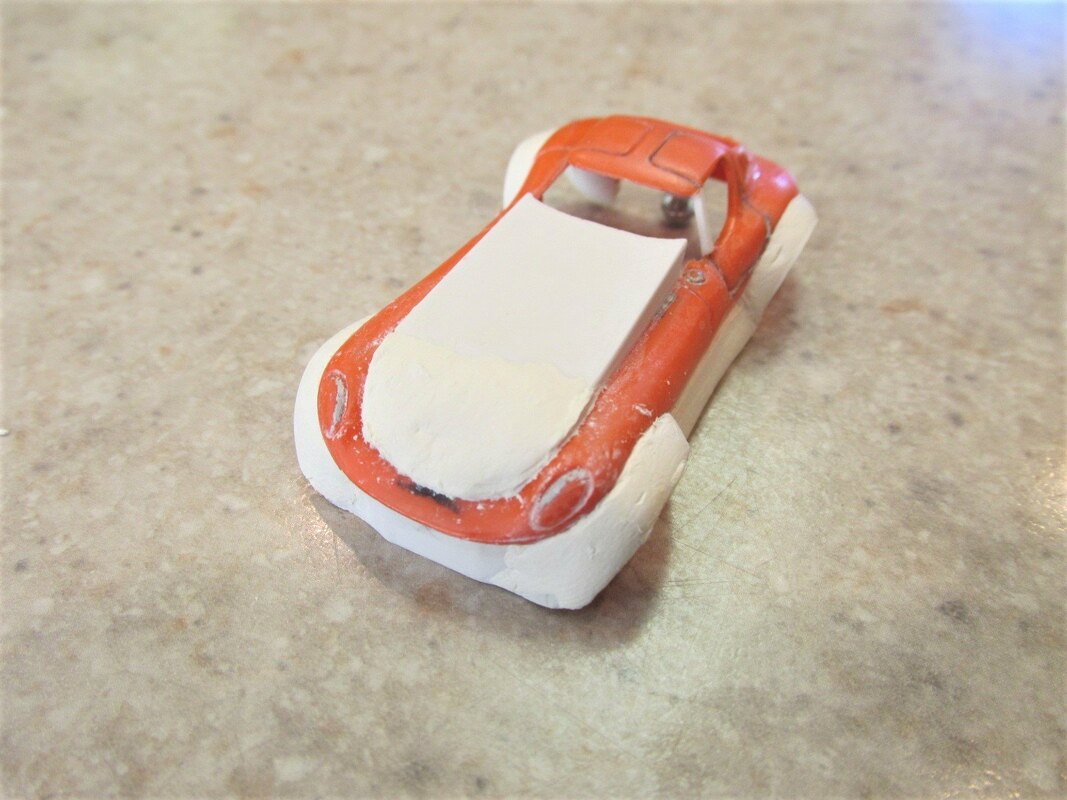
Again using styrene, I then created an exaggerated hood cowl to cover the chassis.
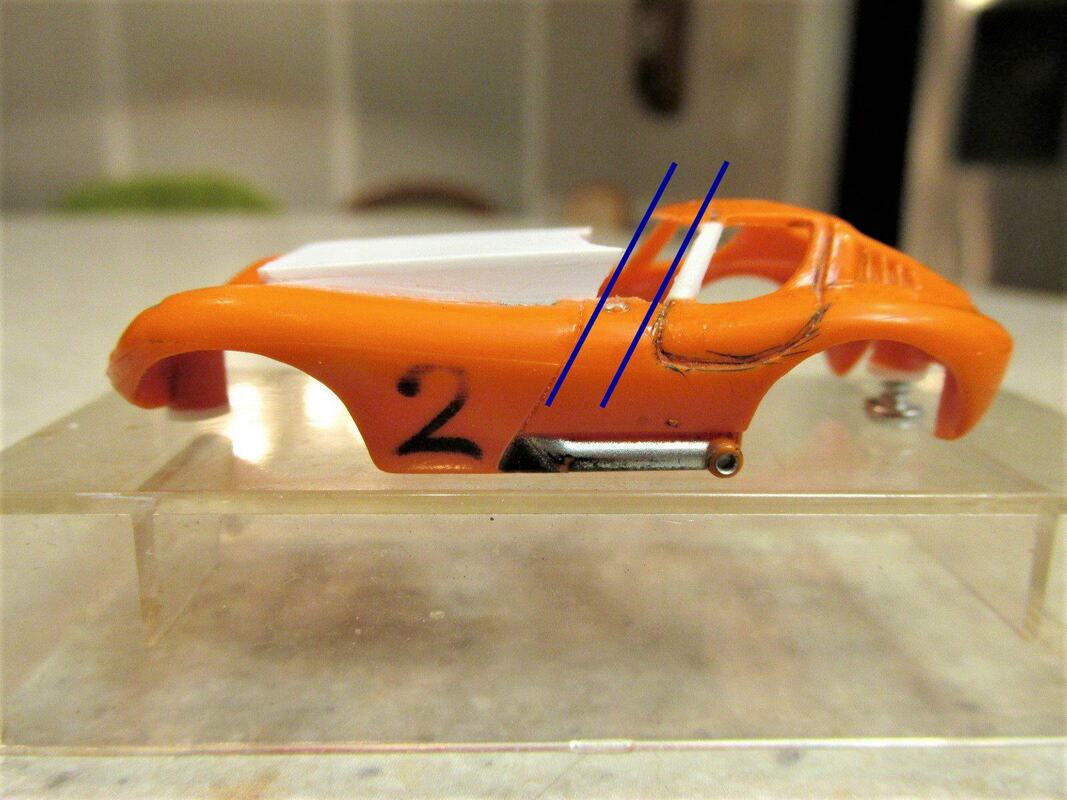
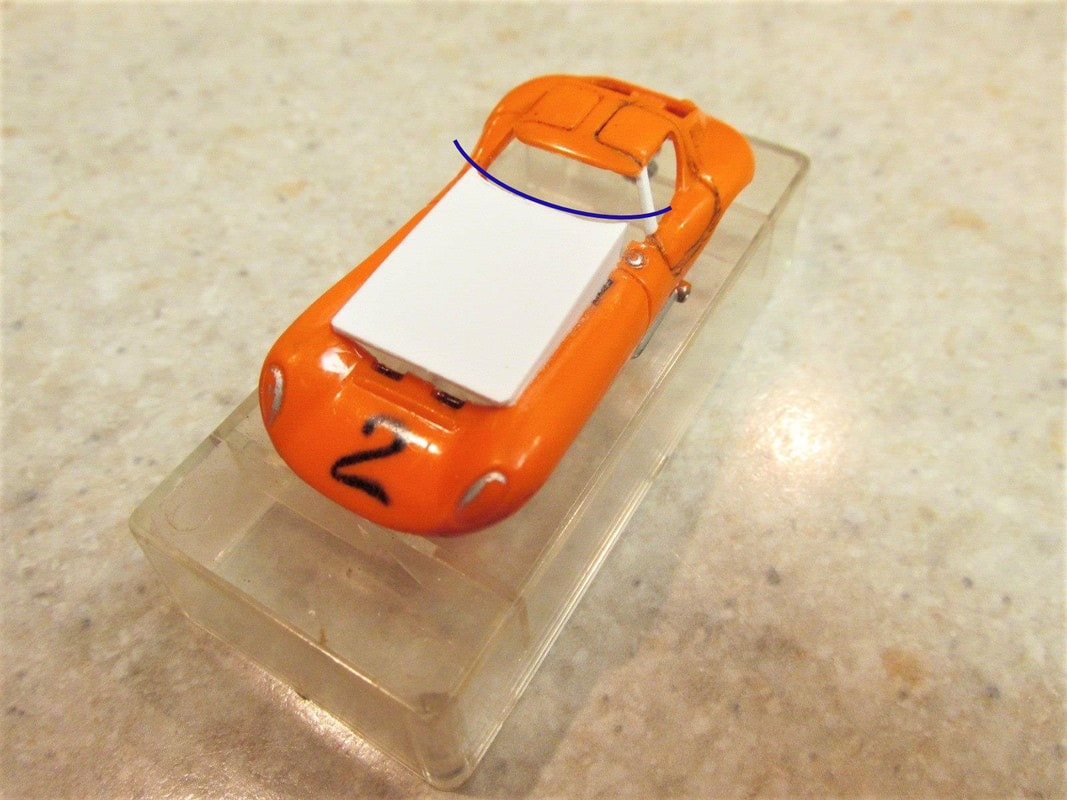
Notice on the back side of the hood cowl it has a slant (above picture) and a curvature in it (below picture). Again the slant is at the angle of the pillar and the curvature follows the line of the windshield; all to help maintain the lines of the car.
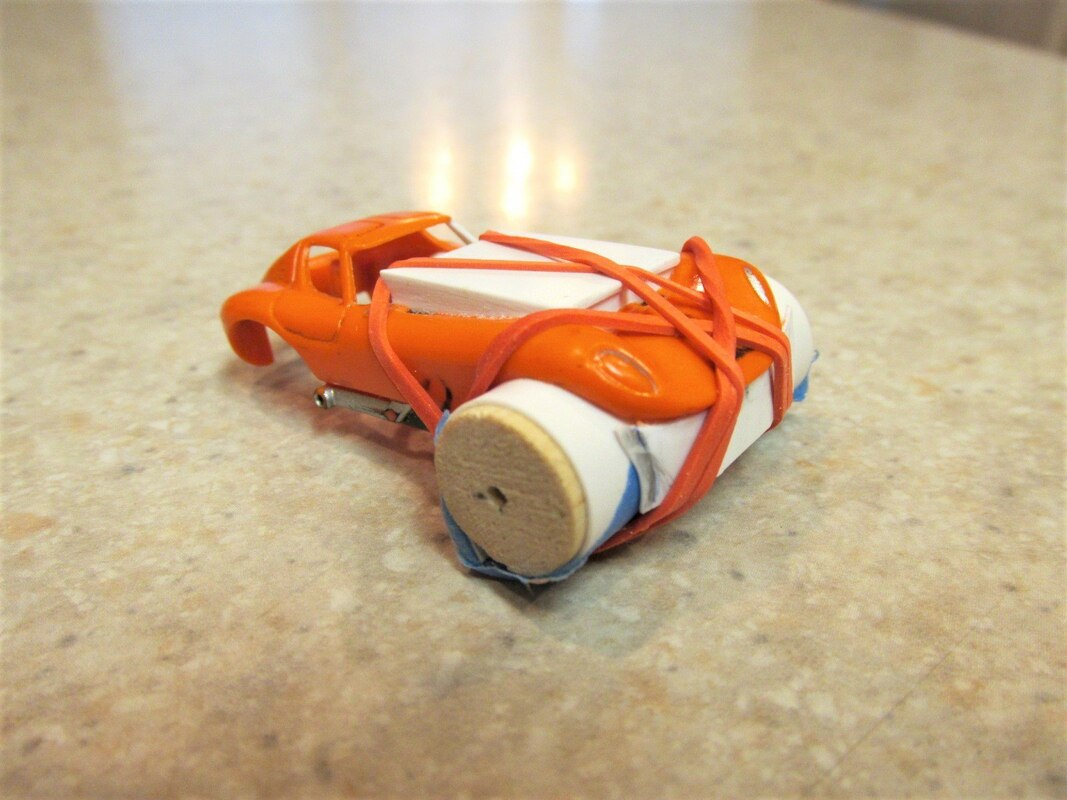
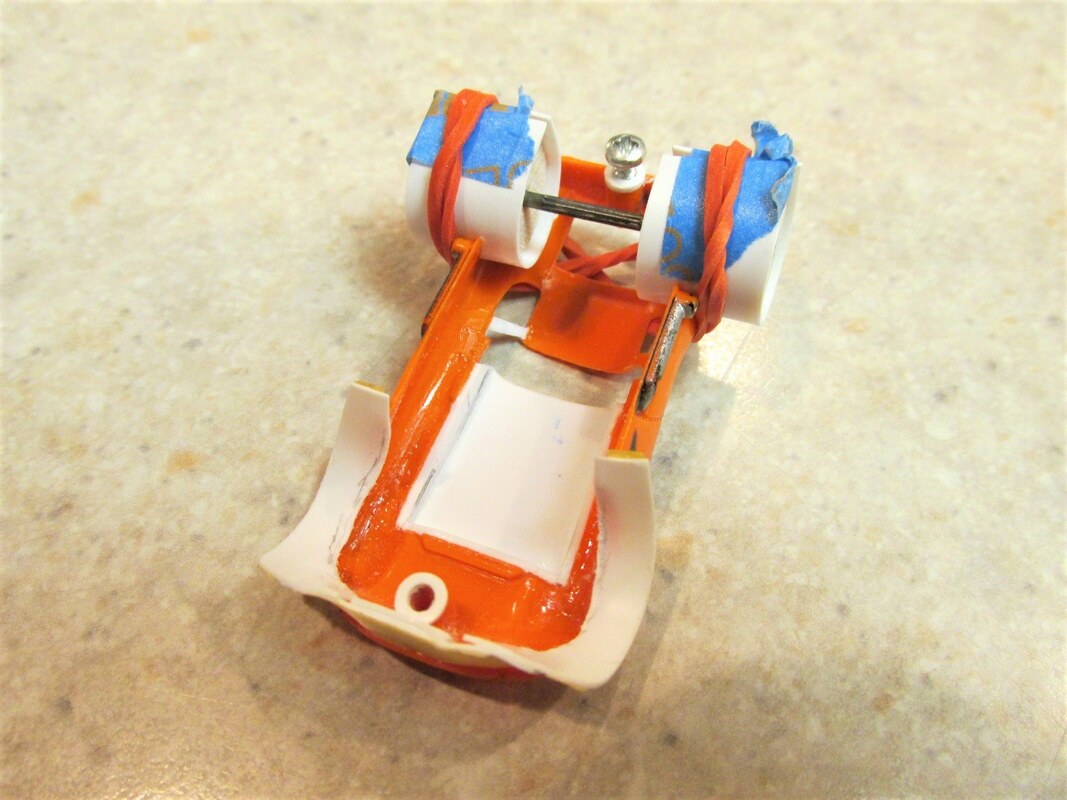
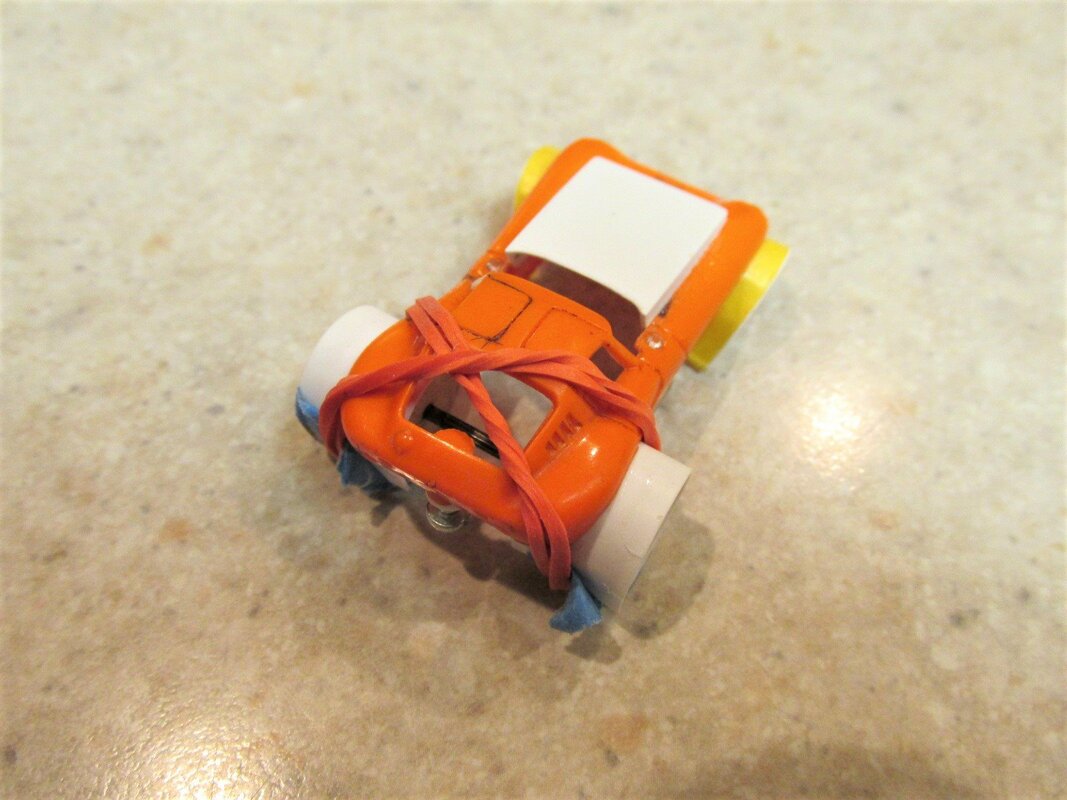
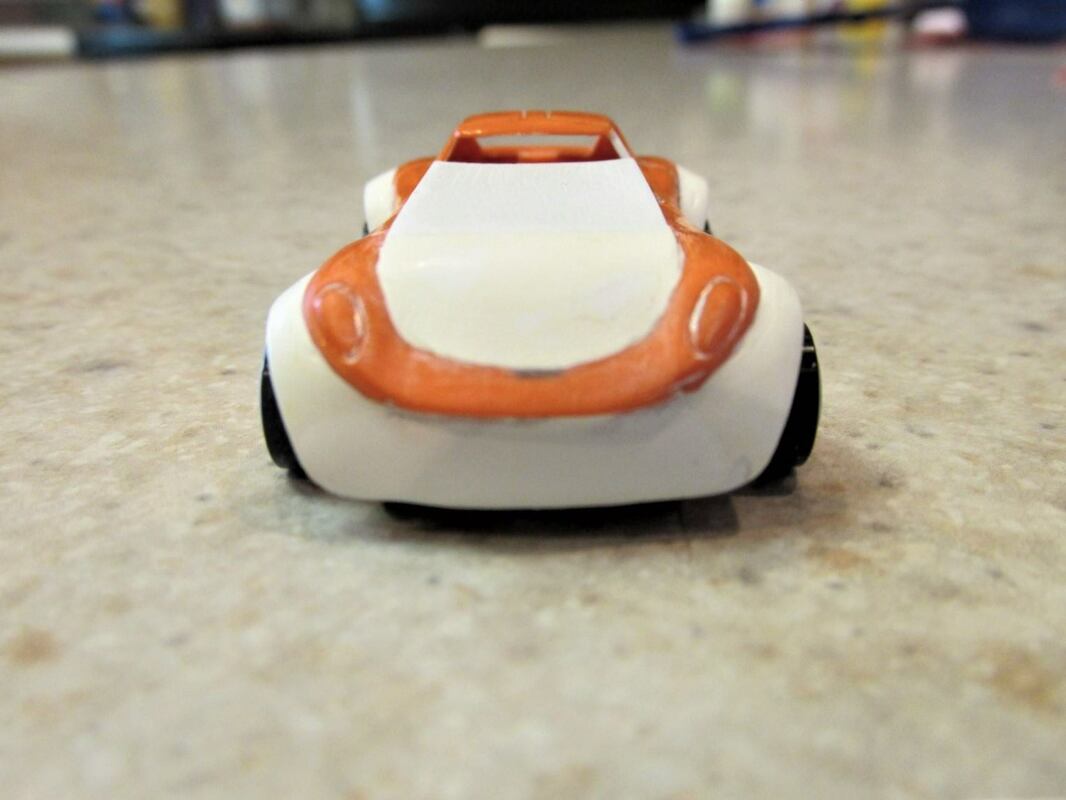
The next order of business was to add the flaring to the car. If you look at the original, you will notice there will be flaring on the front, sides and around the wheels. That said I started with the front part of the car. Take a look at the picture below and you will see I used styrene, some round dowels and rubber bands to make a jig to hold it while I glued the styrene and waited while the glue was setting.
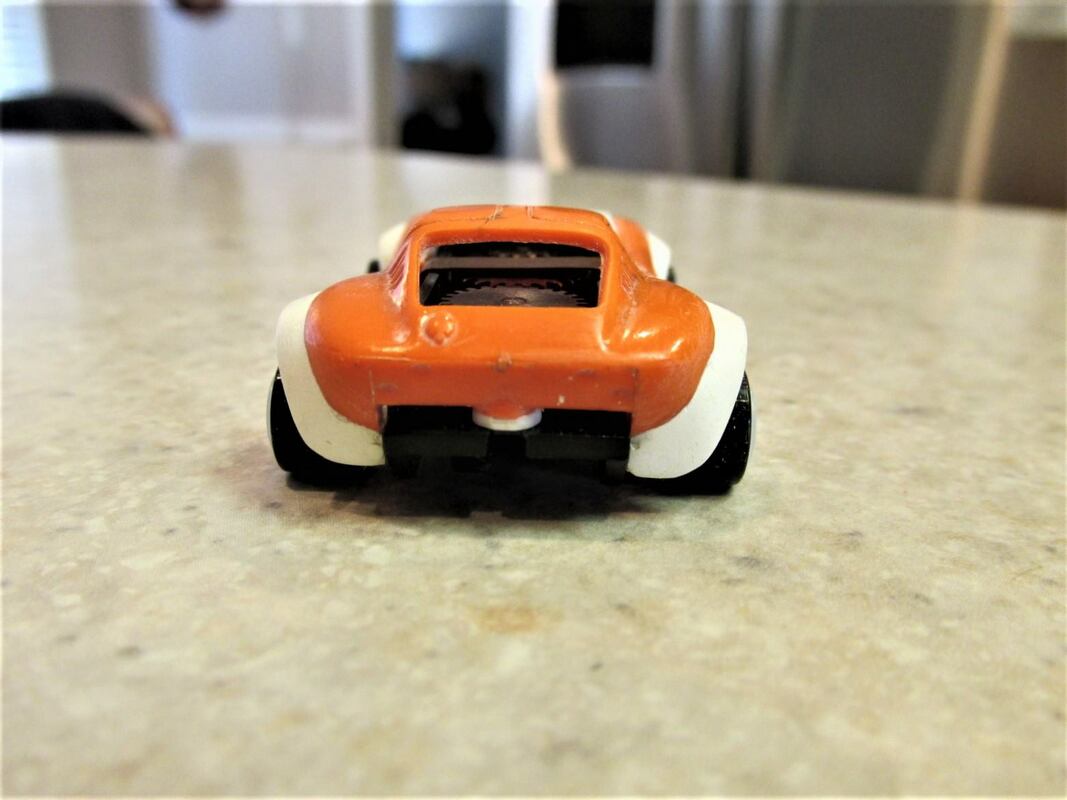
The process was repeated for the back part of the car. Also notice the front of the car... after it is set I then trim the excess on the inside of the body.
After the flaring has been glued and the glue has had time to cure I then use my tape again to define how much of the flaring needs to be removed. Look at the picture below and you will see where I have added the tape to define the flares. I will then remove and blend the flare material.
When I got things close I then added the strip at the bottom along the rocker panel.

Then I blend the styrene pieces all together...
Now to add the curve back to it. I do this again by following the lines of the car. In the picture below the rear flares are following the shape of the car.
Now it's time to blend the cowling and the flares. For this I use Milliput (Superfine). It's fairly easy to work. It has a slow dry time so you can take your time when blending, and with a little water on your finger tip it will smooth out nicely. After it has cured over night you can then sand it.
Time spent sanding and blending is time well spent!
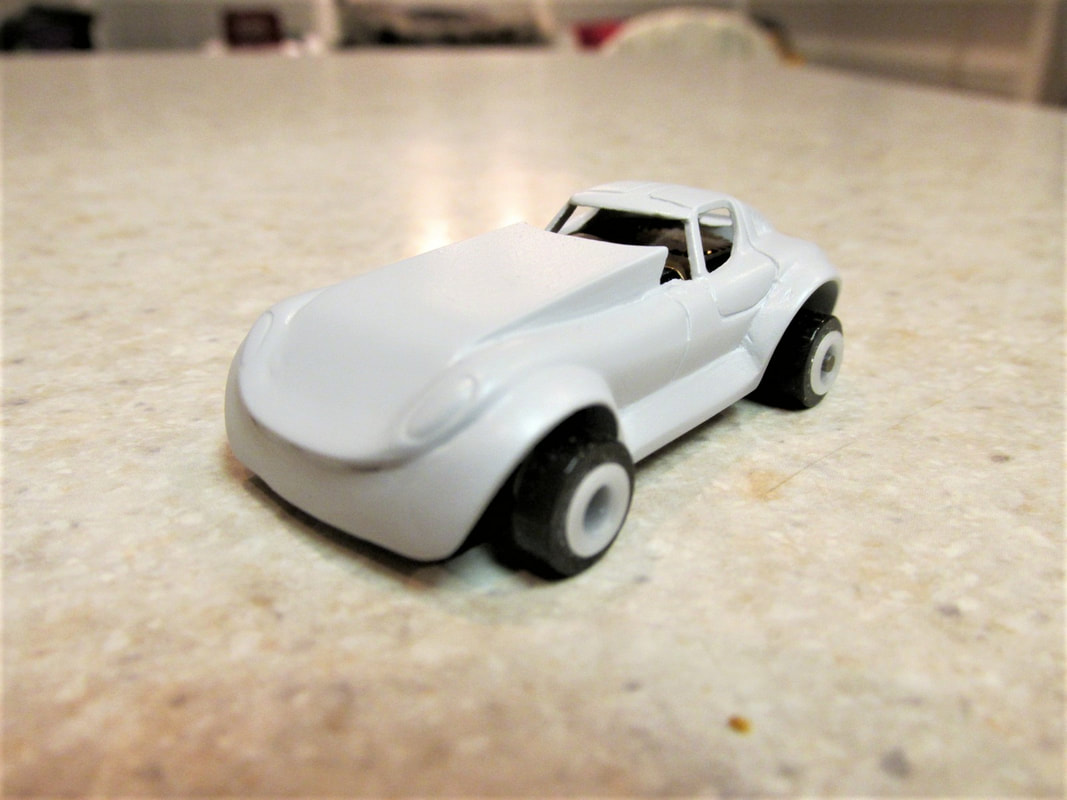
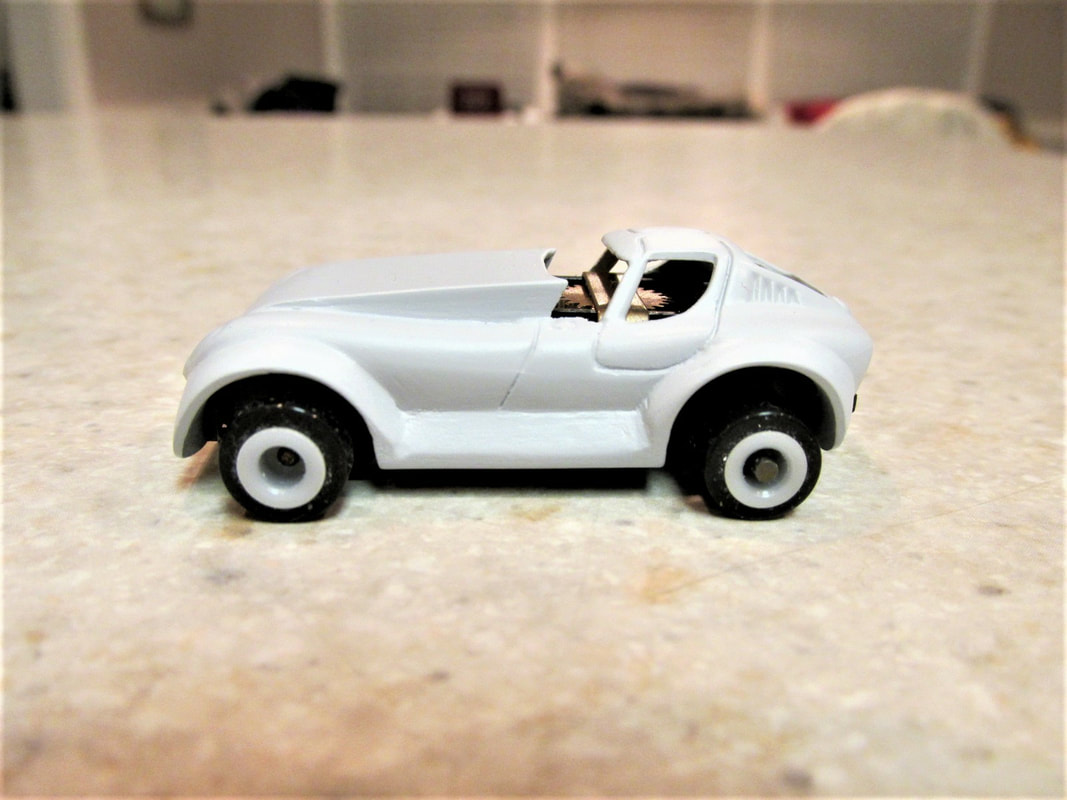
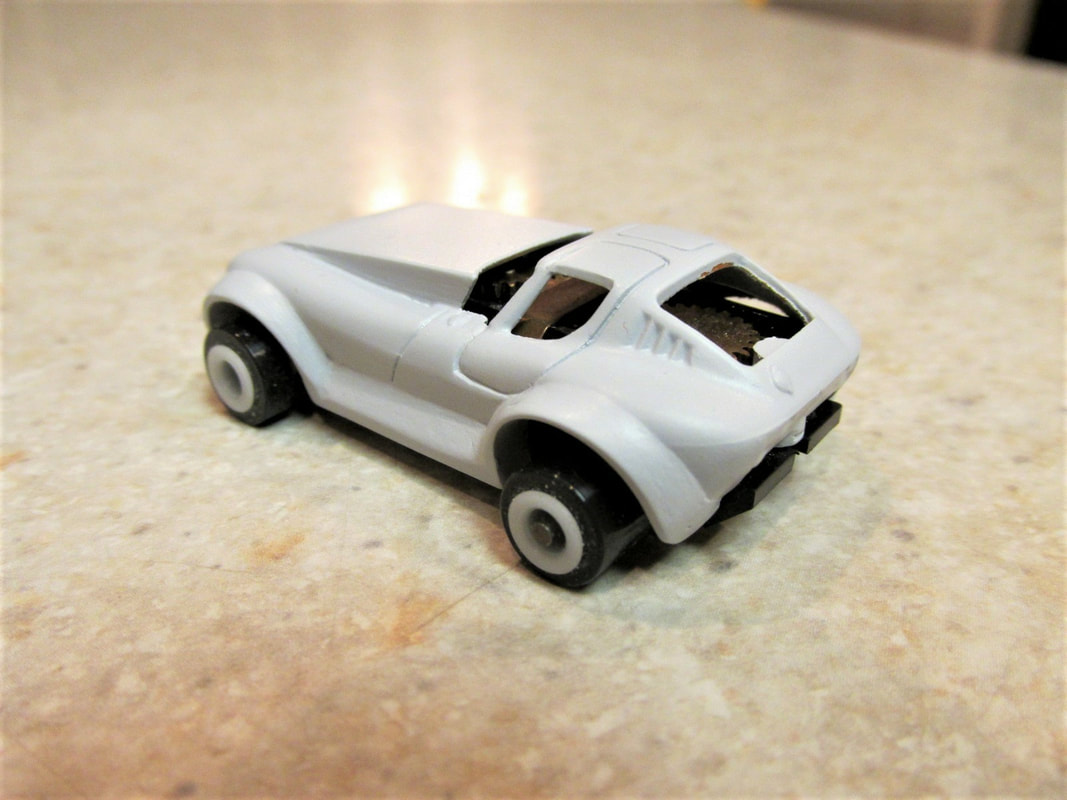
Once all the sanding and blending is completed it's time to put the primer coat on. I can't emphasize enough the importance of the primer. It shows where more work needs to be done and it provides a solid base coat for either painting or creating a mold for resin casting.
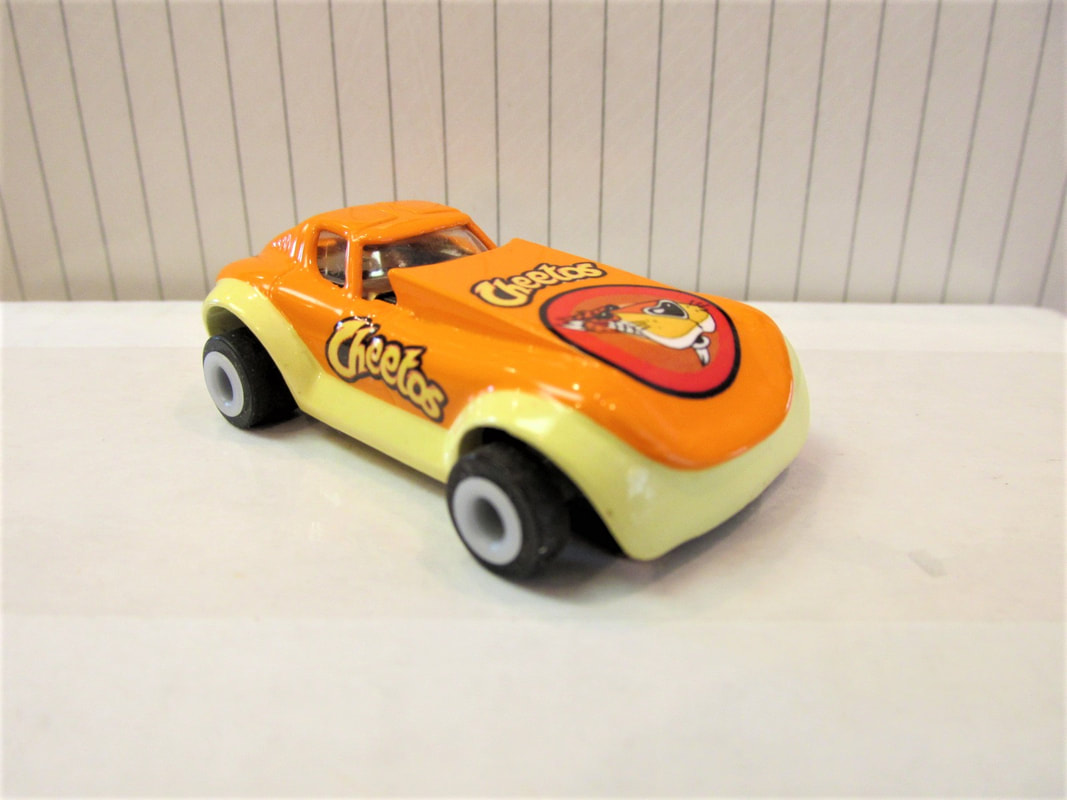
Two tone color like the Cheetos Bag...
Now it's time for the decals. The Cheetos logo is yellow and Chester Cheetah's head has white areas so this will require some additional work. A white blank decal will need to be under the transparent graphic decal. I have found that this will give better results than just printing the graphic directly on the white decal paper. This way I do not end up with white edges from the cutting process
I create a blank white decal that is just a smidge smaller than the actual transparent decal graphic. This will allow the transparent graphic to completely cover the underlying white decal
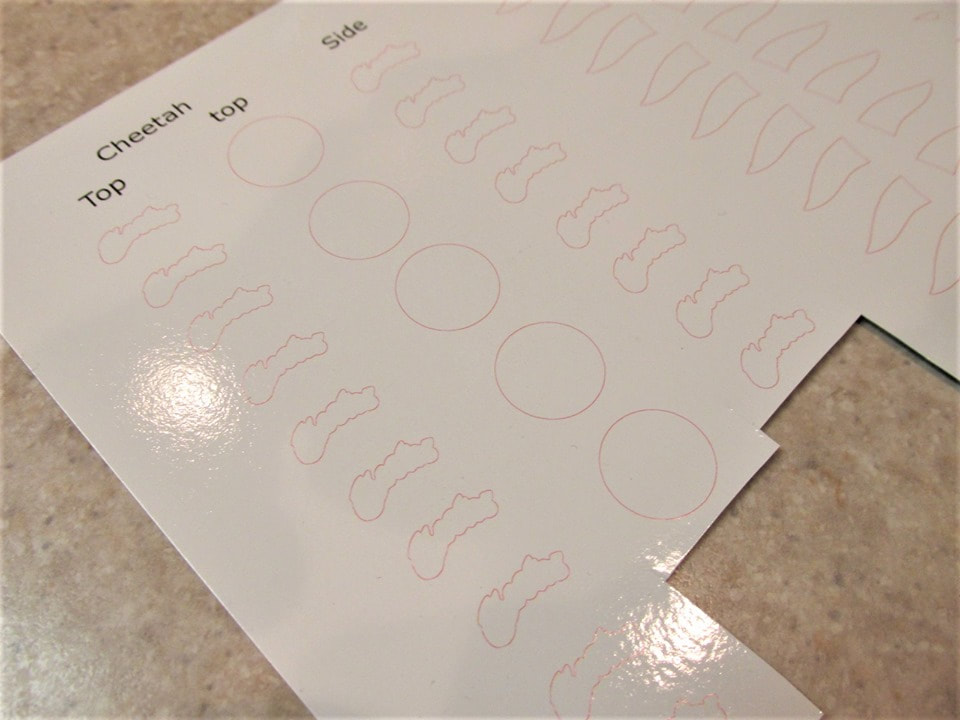
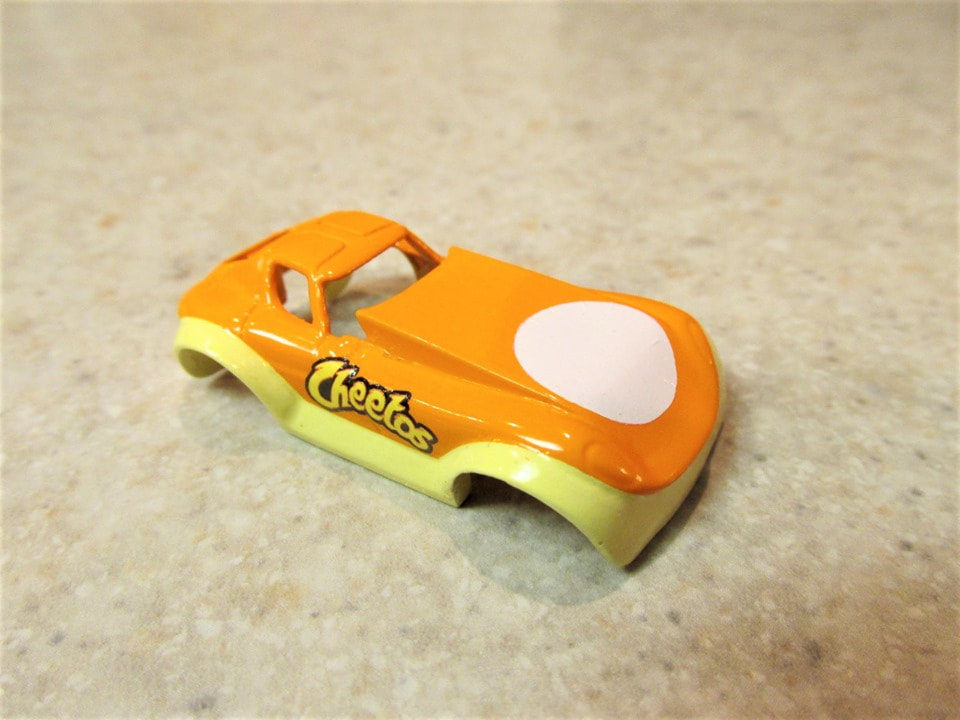
I apply the white decal first then I apply the transparent graphic over top. In the picture below the Cheetos logo has had the white and transparent graphic applied. Notice that this allows the yellow to show prominently without any orange bleed through. Also Notice the white round decal on the nose of the car. This will be covered with the transparent decal graphic.
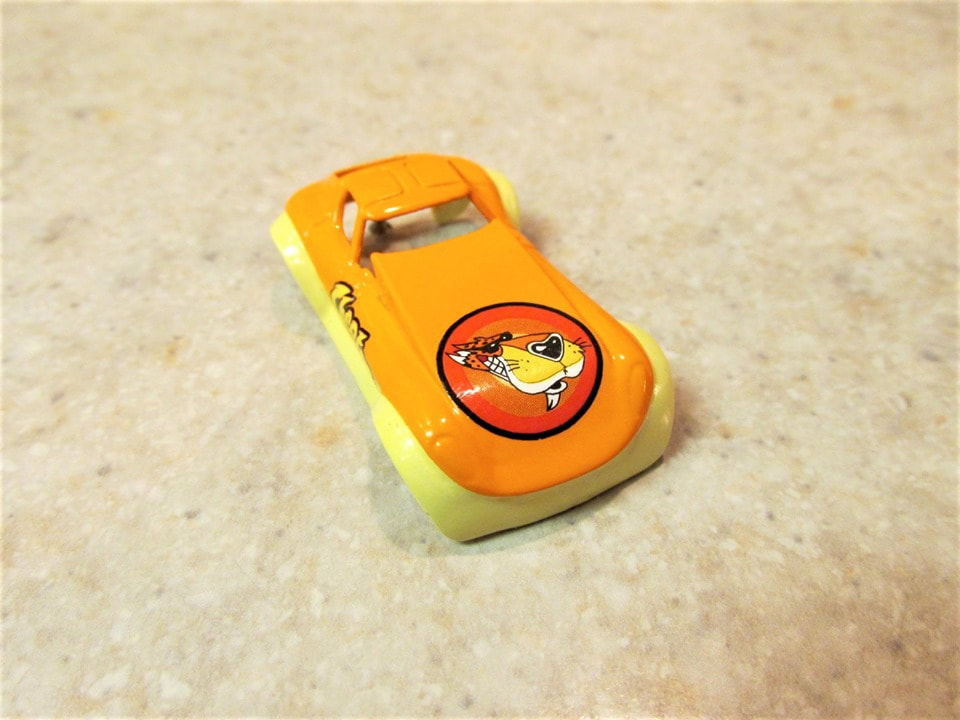
Below you will see the transparent graphic decal has been applied. Notice Chester Cheetah, you will see the white backer show through around his lips, chin, nose, and fur. Because the underlying white was a smidge smaller the top transparent graphic decal there are not any white edges showing. It has a nice clean edge.
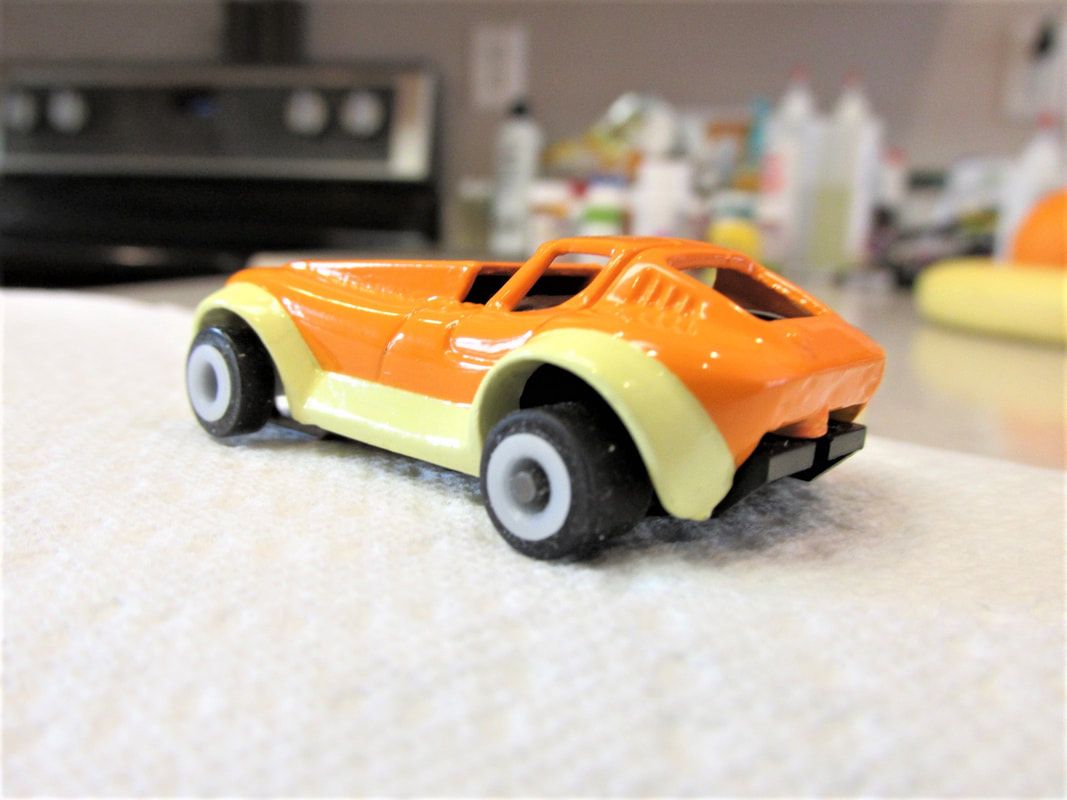
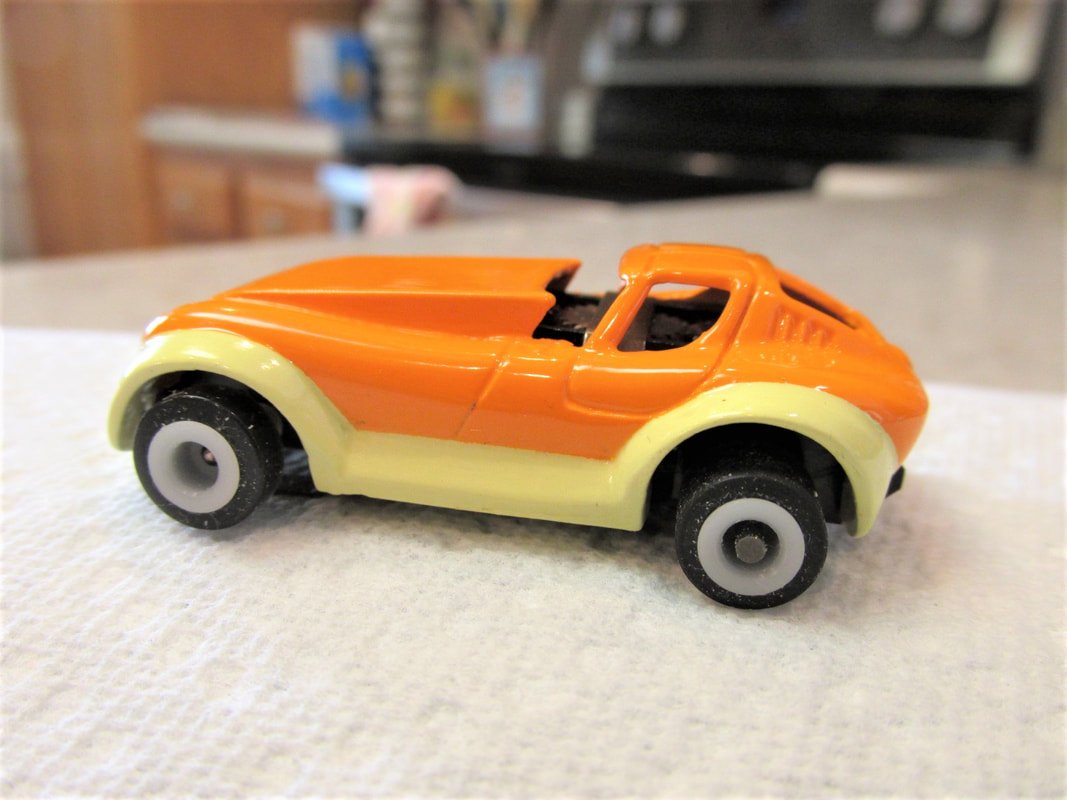
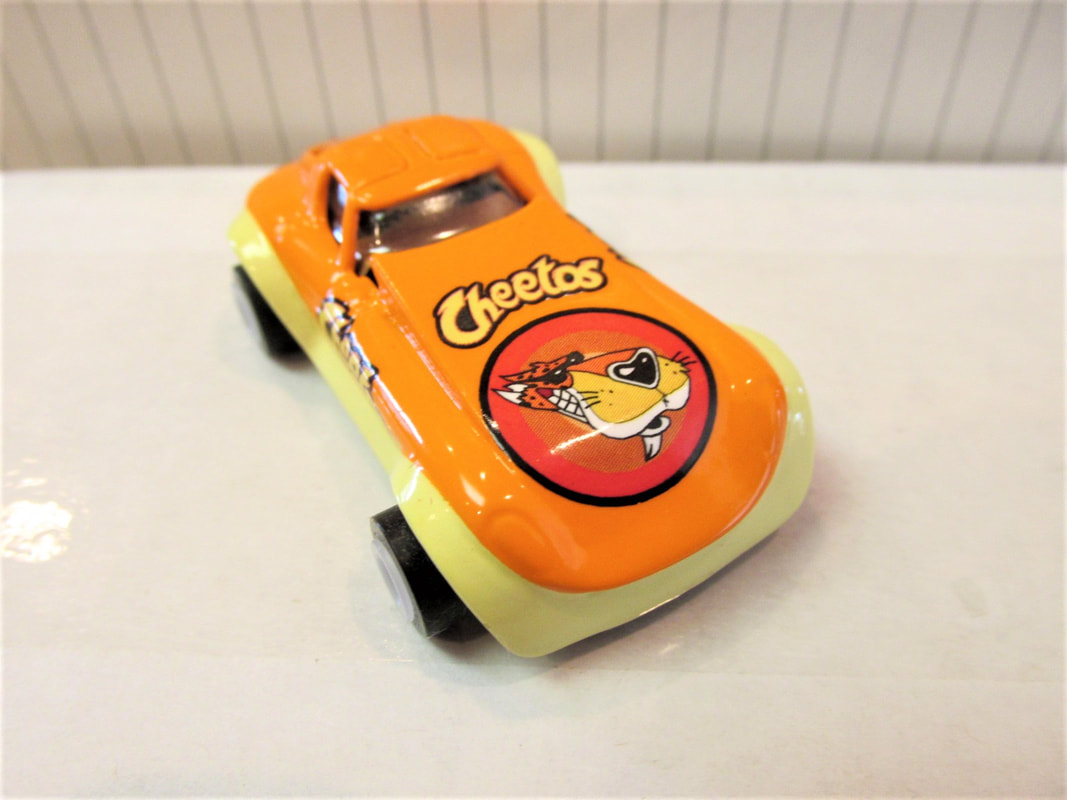
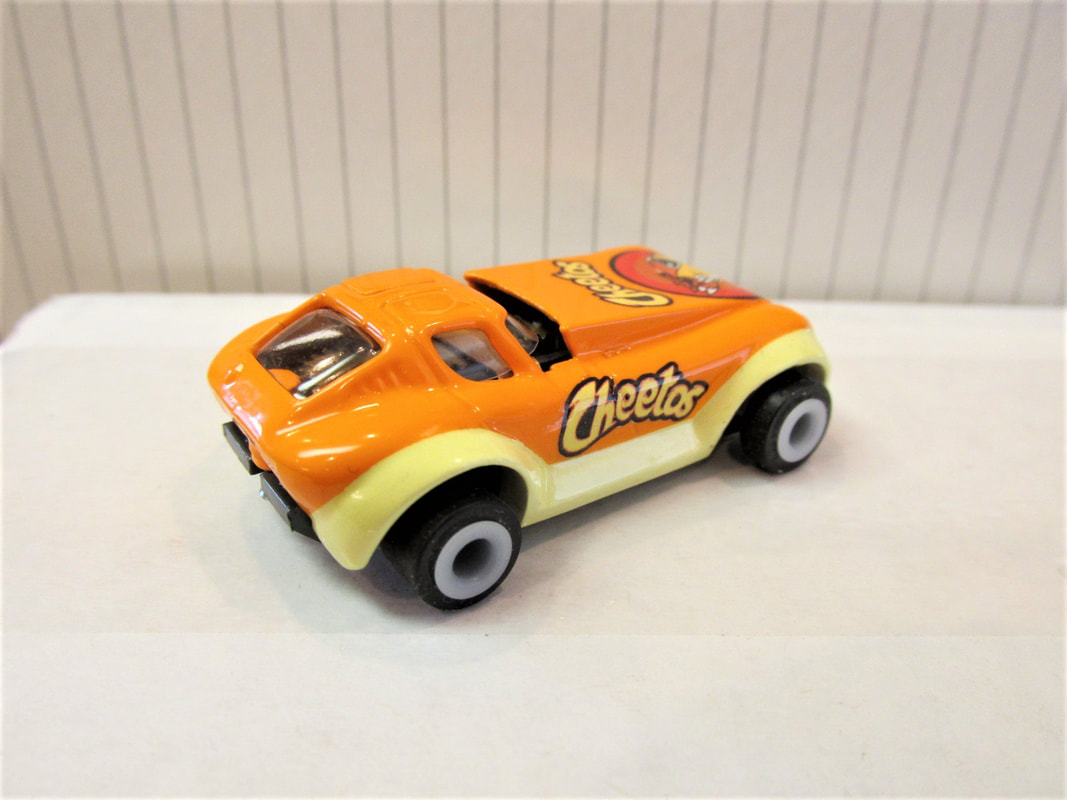
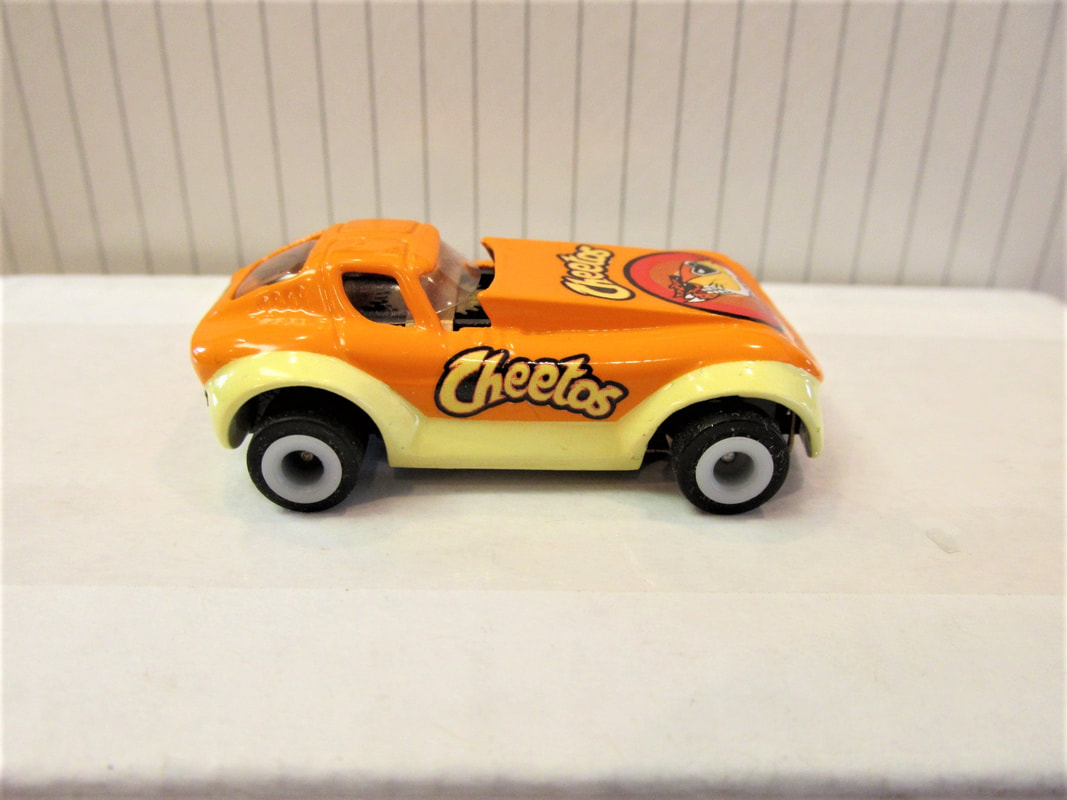
Decals complete, clear coated, and glass installed mark this one done! :-)
 RSS Feed