
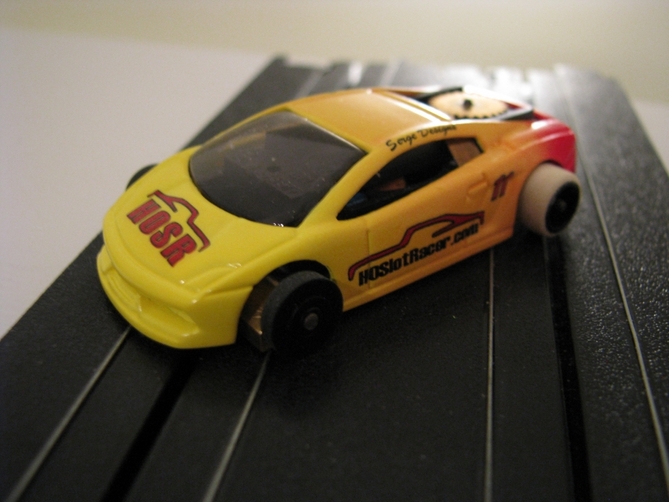
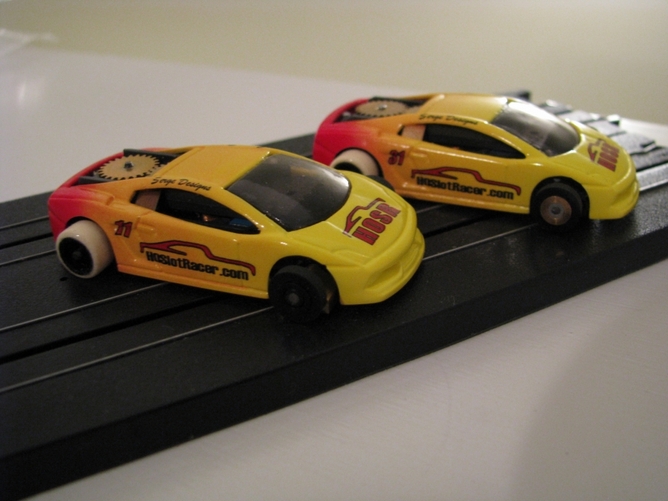
I purchased a couple of Greg's Garage Lamborghini bodies. You can see more about Greg's Garage here. The bodies are not drilled, painted or have the windshield installed when you order them.But they have proven to be excellent bodies for Fray cars.

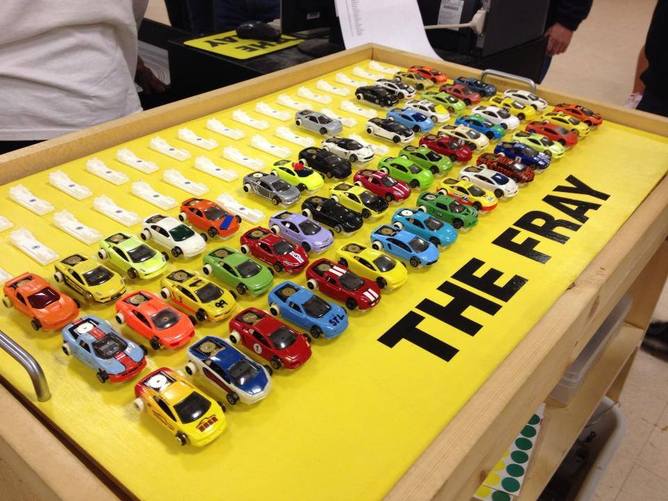
The first thing to do is to drill the screw holes in the body. This can be challenging due to the fact that they have to be in the correct position and the holes need to be drilled square with the body. My hands are not as steady as they once were, so I created a mold to hold the body so I could drill screw holes square to body posts. When building for "The Fray" it's all about the millimeters.

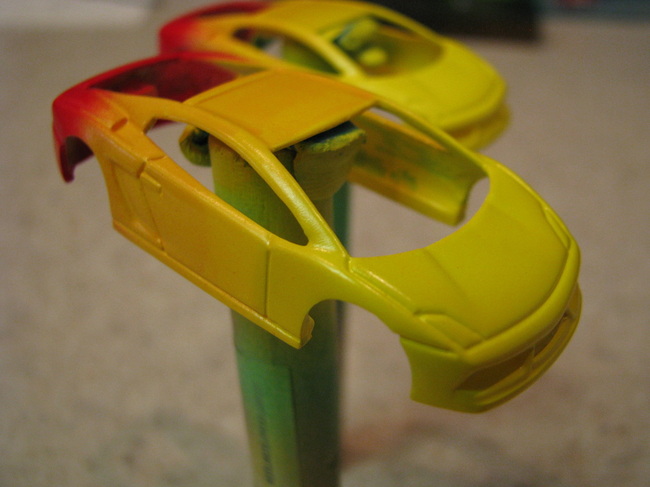
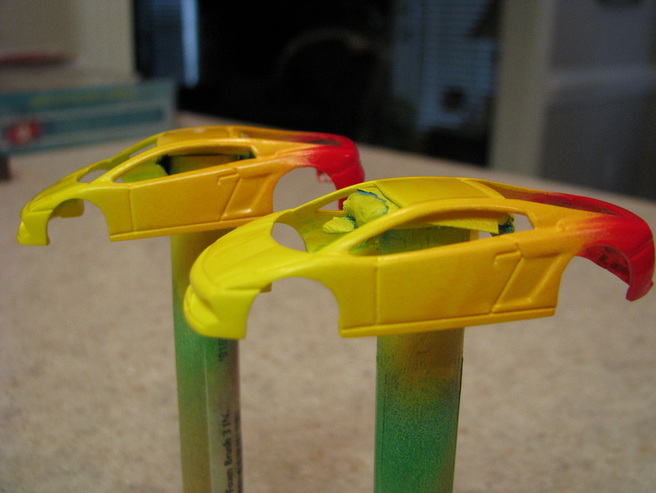
After the bodies have been drilled, the bodies are primed, painted, sanded and clear coated to get ready for the decals to be applied.
In this case I created and printed my own decals. It is important to apply decals to a smooth surface in order to have maximum adhesion. After the decals have been applied, I let them dry overnight and then again clear coat the body to seal the decals to prevent the decals from rubbing off.
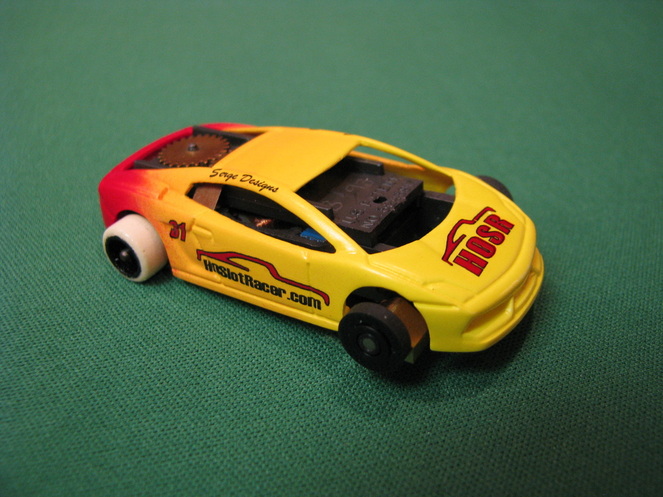
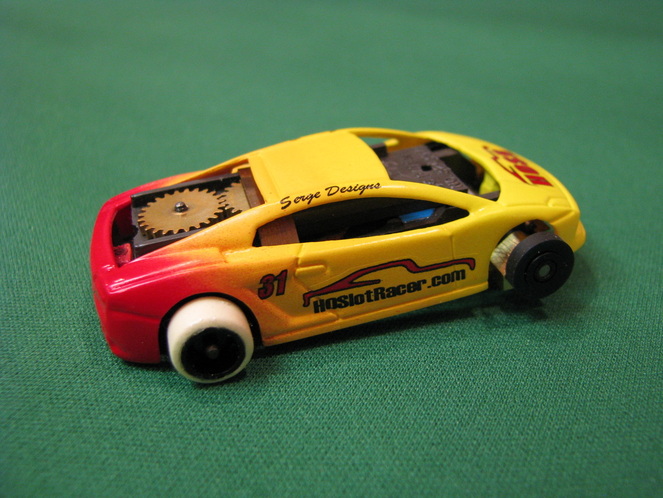
Now it's time to install the windshield(s).

 RSS Feed