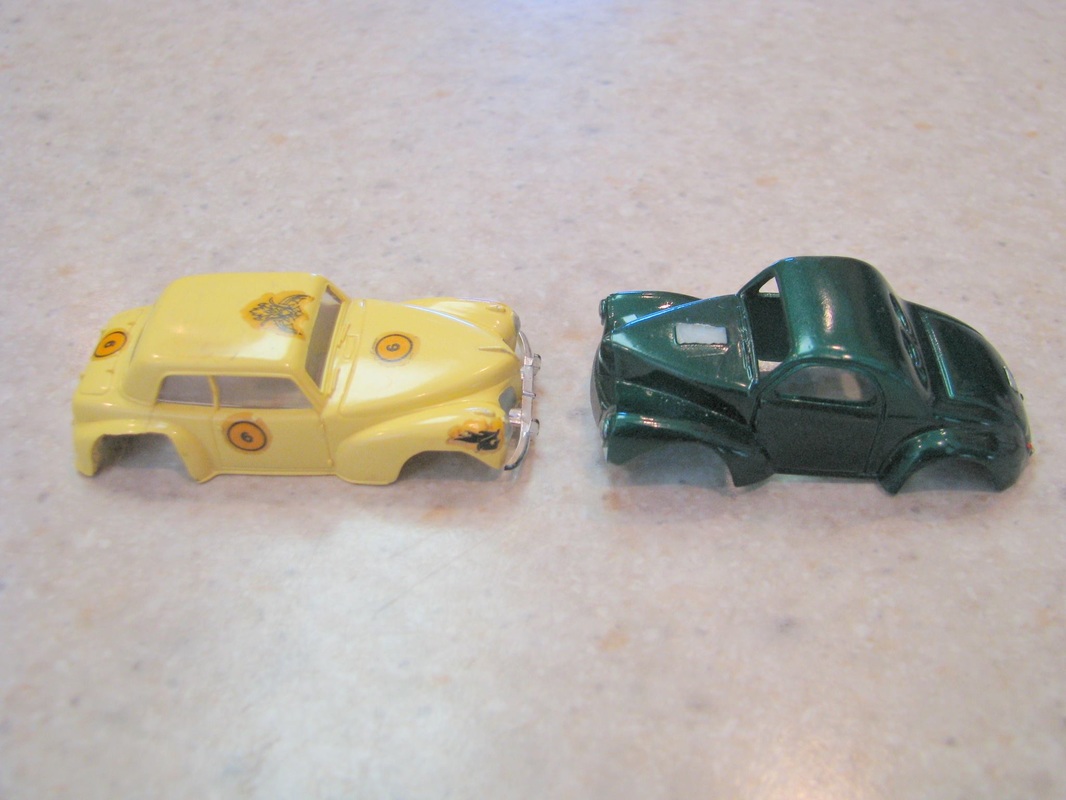
I picked up an Aurora Lincoln Continental with the back end all boogered up. Someone had done a real hack job on the back of the car. It would have been easier to turn the car into a dirt modified by removing the fenders but I thought I might give car bashing a try. For those of you that are not familiar with the term, it is where you take parts from different cars and create a new car. So for this project I will use the Lincoln and the Willys.
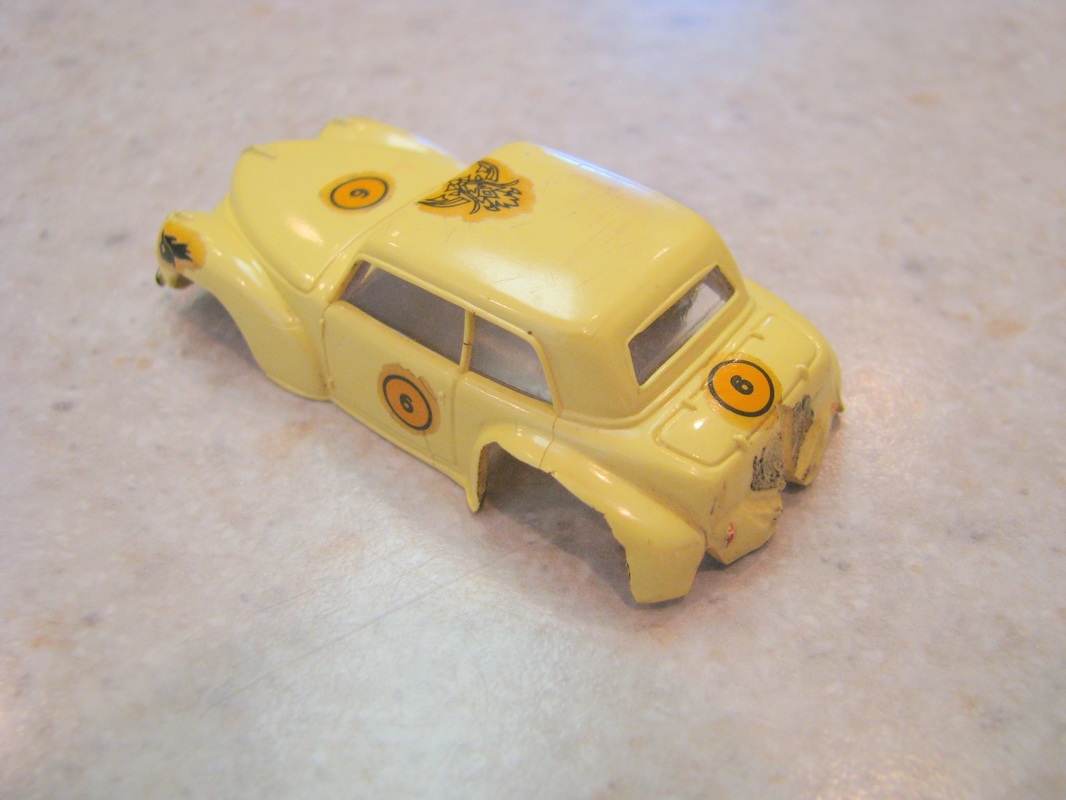
As you can see the Lincoln's back end was pretty messed up.
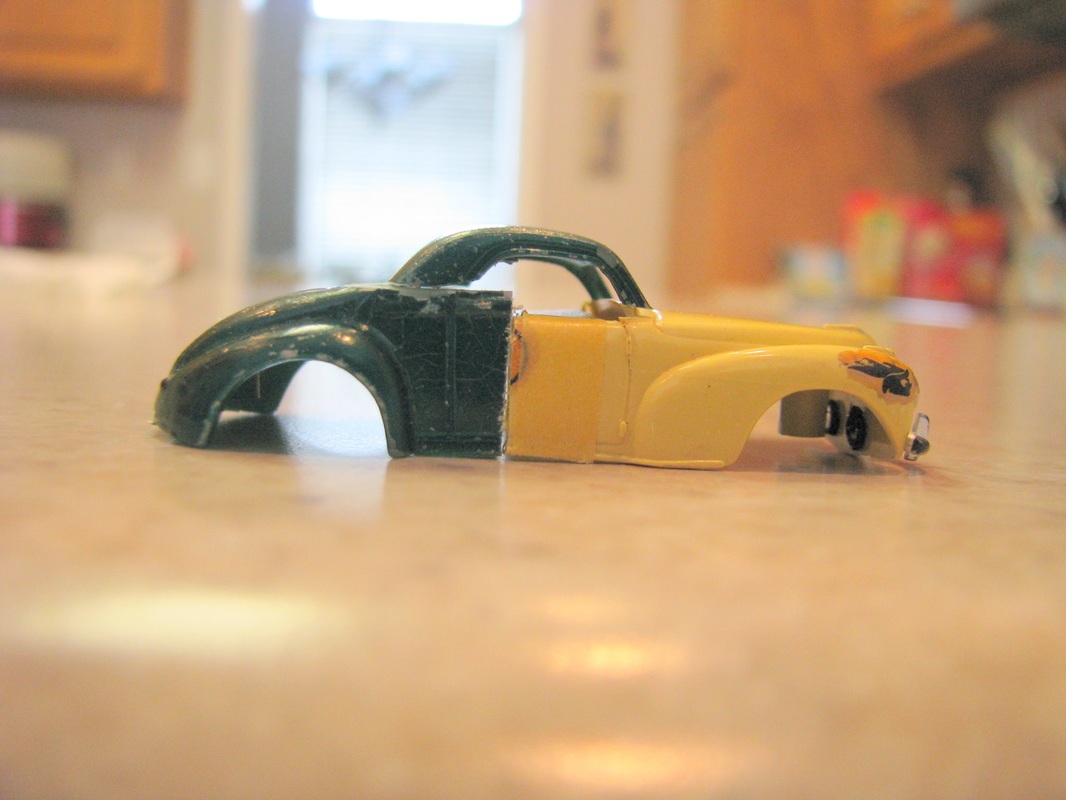
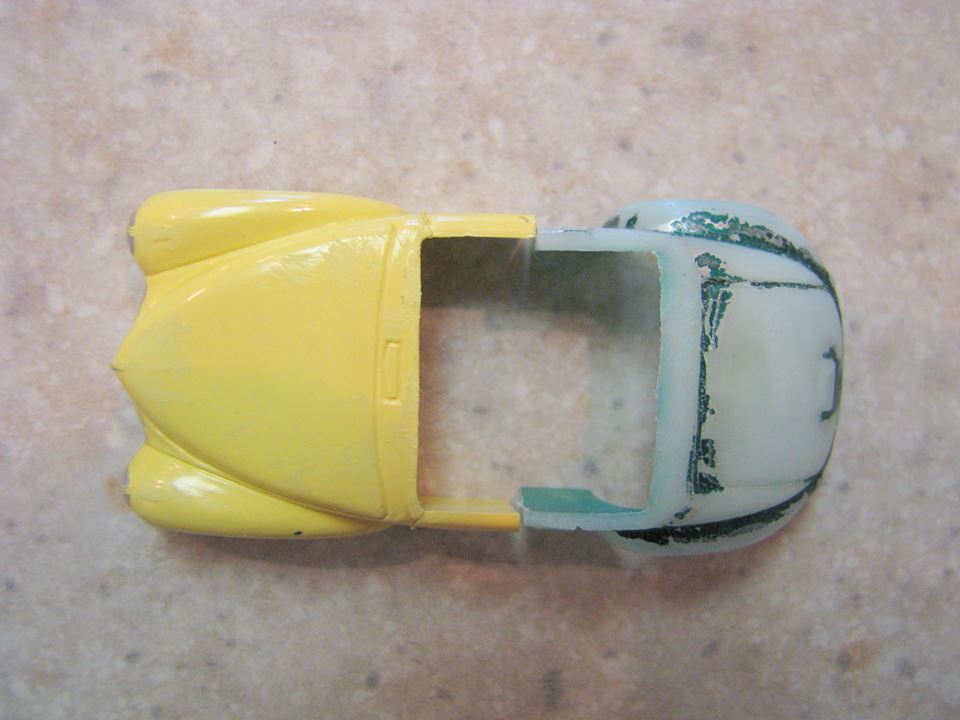
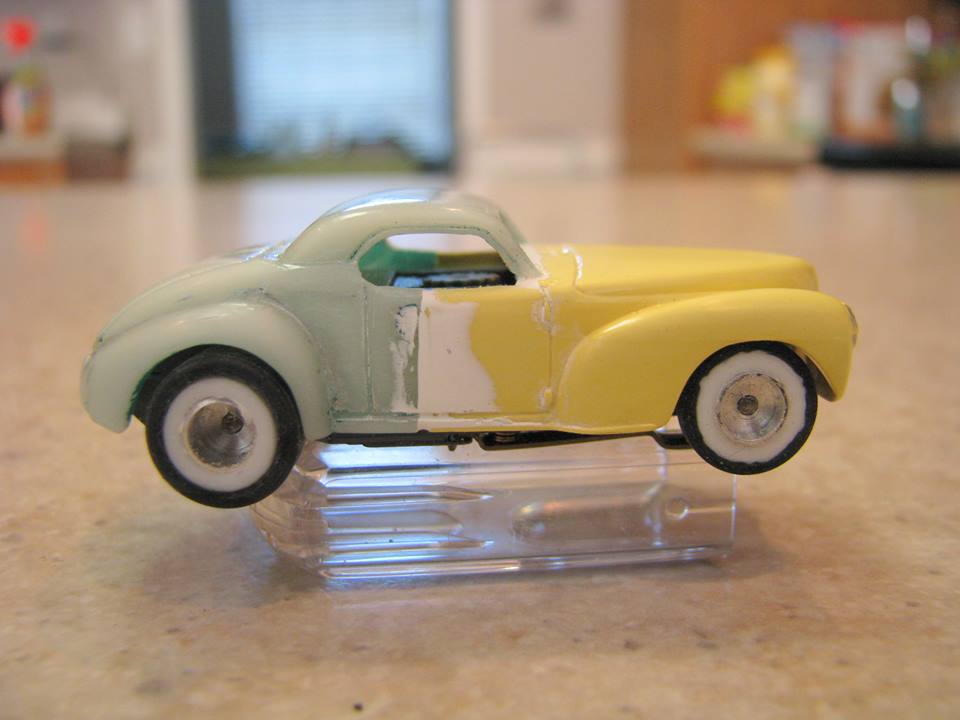
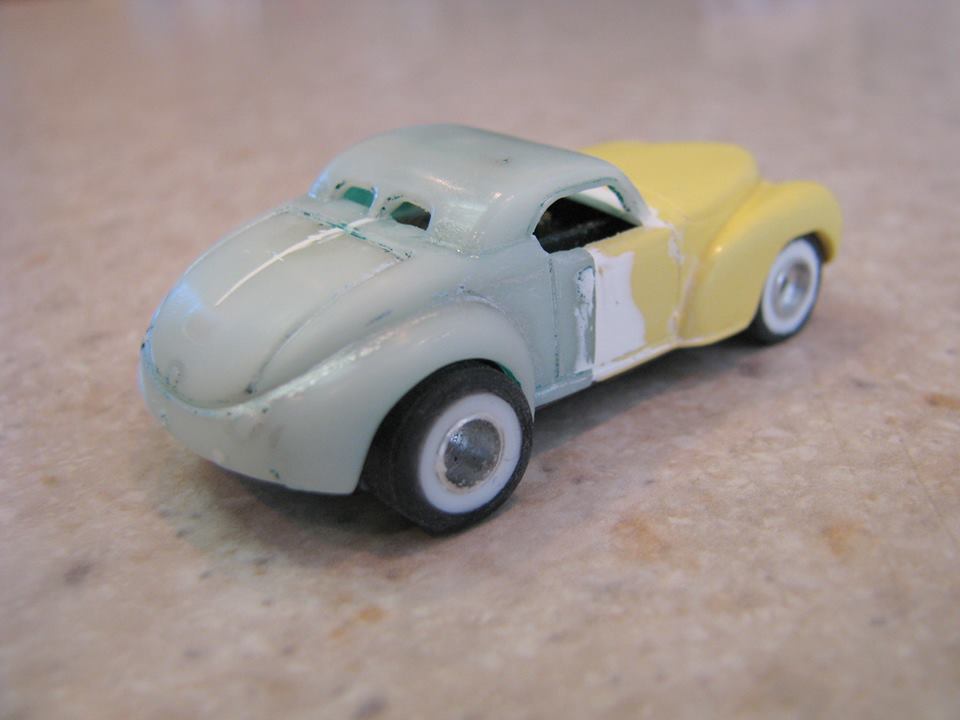
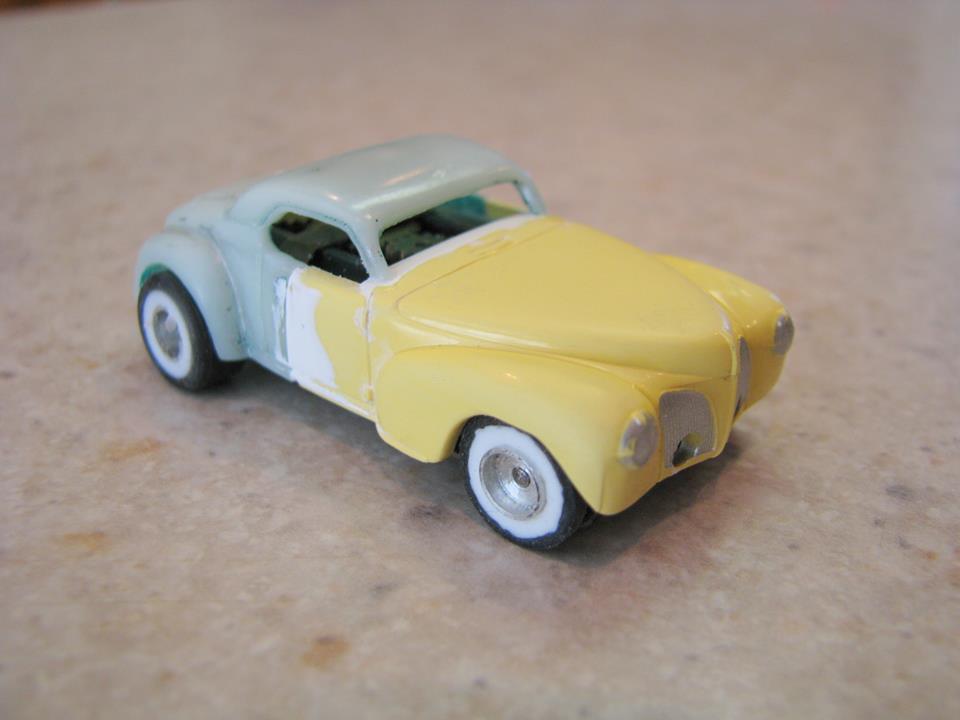
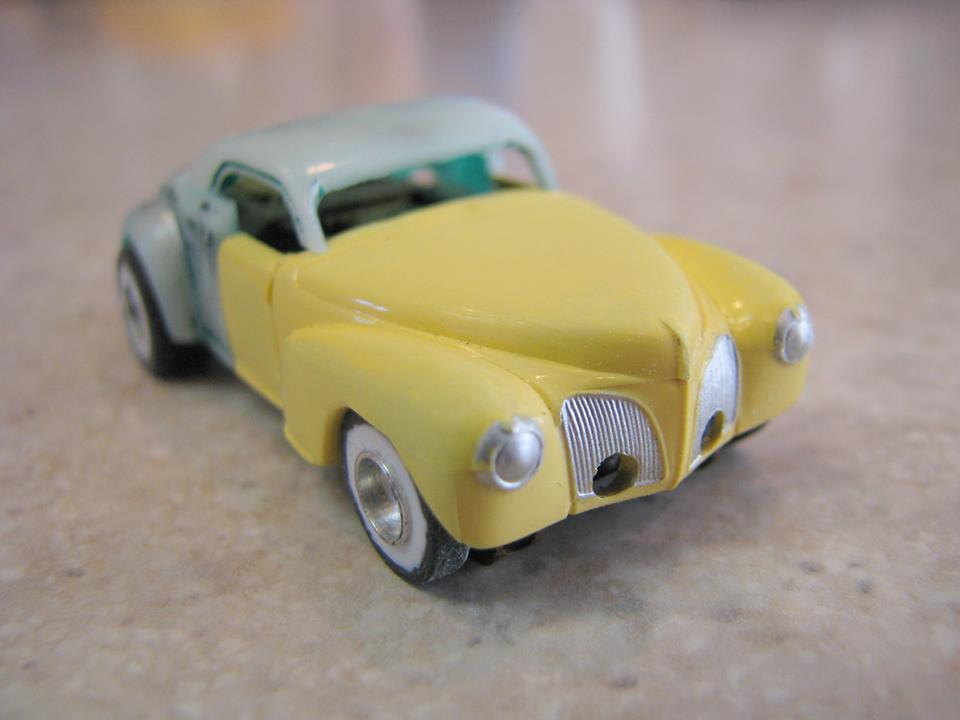
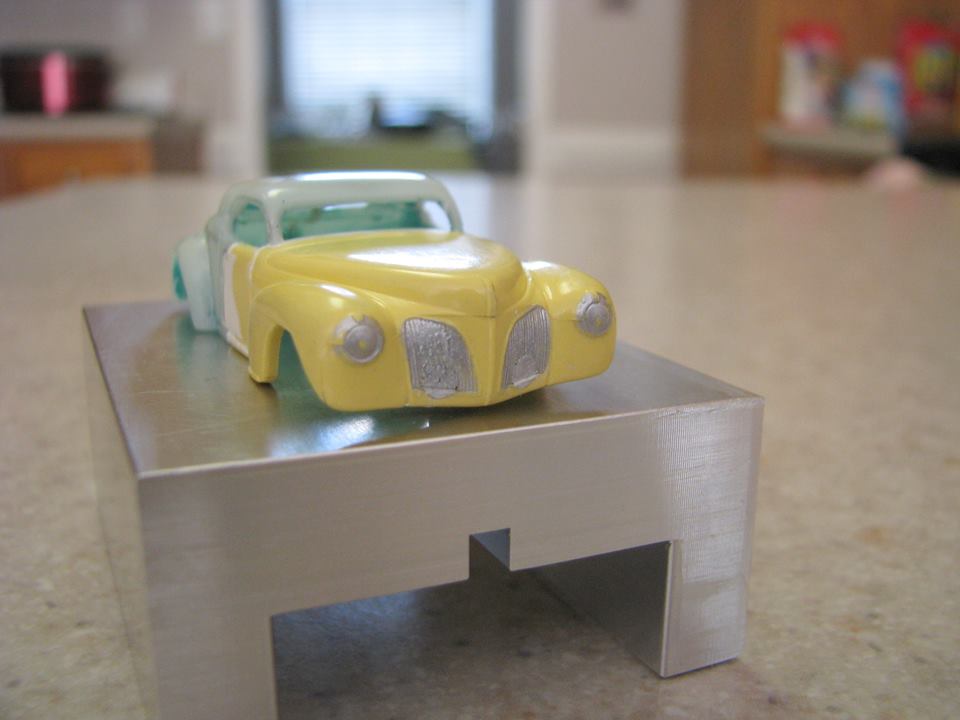
After some thought, I decided to remove the top and back from the Lincoln and replace them with the back and top from a Willys. I also thought a chopped top would be a nice look given it was to be a hot rod... and so the cutting began. By the way the Willys is not an Aurora but a Model Motoring body.

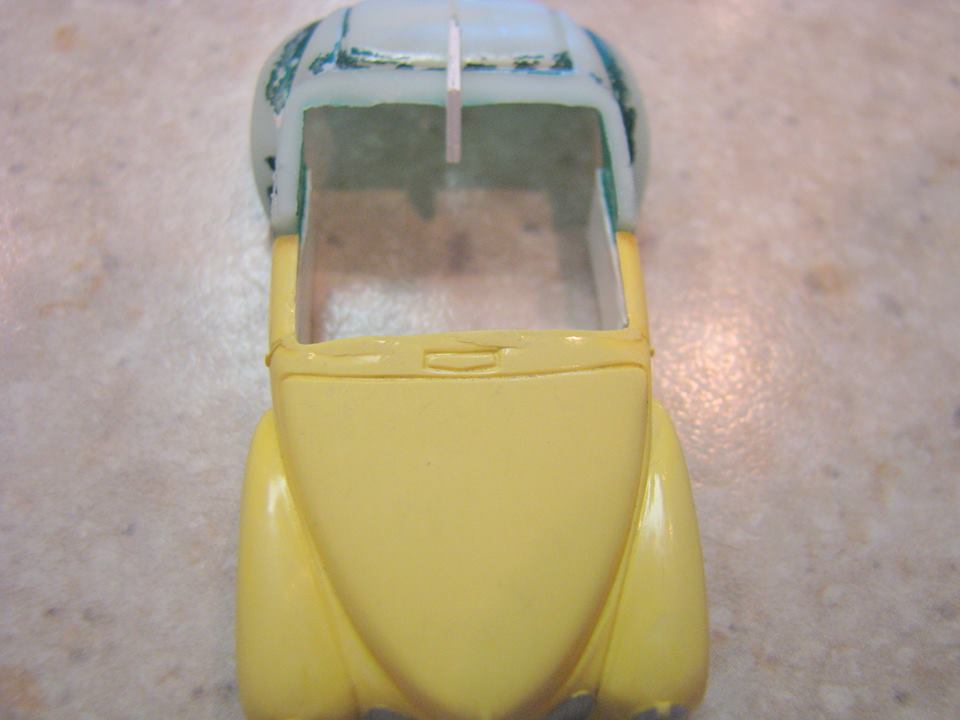
After the pieces were cut, it's time to start reconstruction... the following two pictures show the pieces just placed together to give me an idea of how it's going to look.
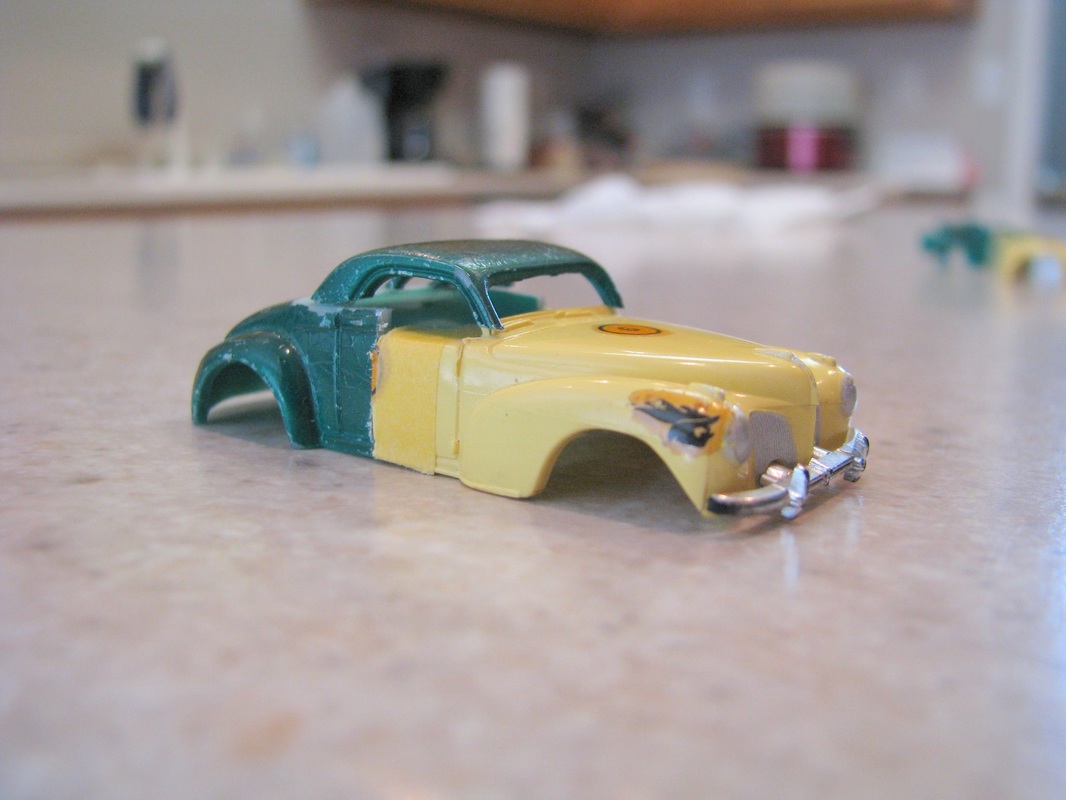
Now it's time to get down to business. The bodies are two different widths, so we will have to make the width of the two bodies match.
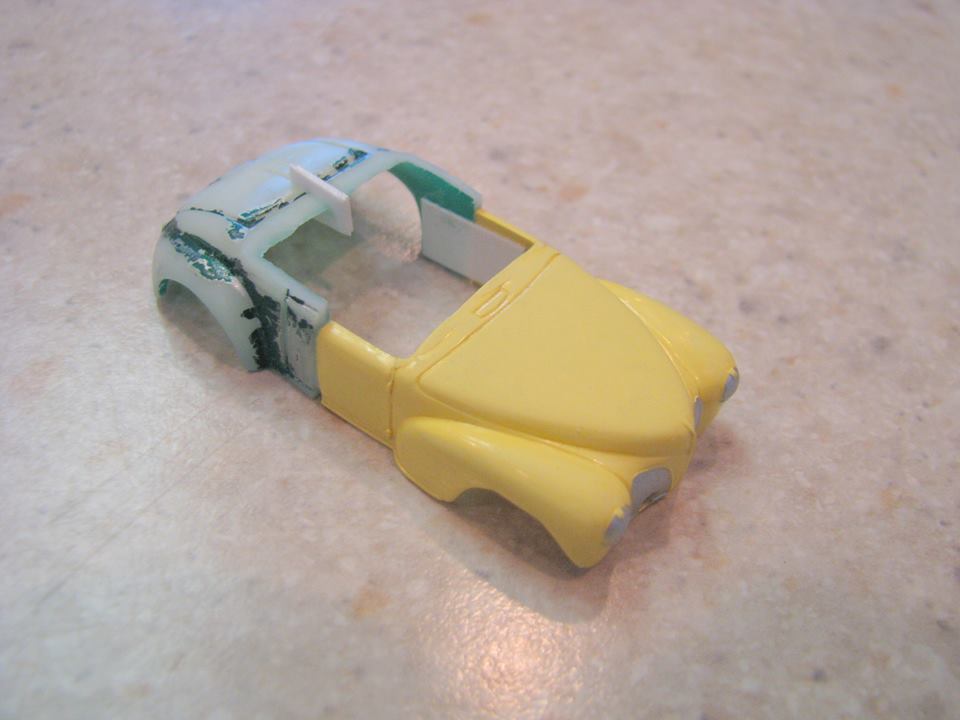
So here's one way to do this. Use a saw and cut down the middle of the narrower piece. In this case it will be the back end of the car. DO NOT CUT ALL THE WAY THROUGH! I cut to just before the back post. Then I use a couple of pieces of styrene as a wedge and adjust the width.

Next I use a couple of pieces of flat 0.50 mm styrene strips and scab the inside of of the body and glue. This scabbing process give strength due to the increased gluing area and allows for length adjustment. Please note when I am putting the two pieces of the body together I have them mounted on a chassis. This helps me stabilize the two pieces and maintain the proper post alignment of the two body pieces.
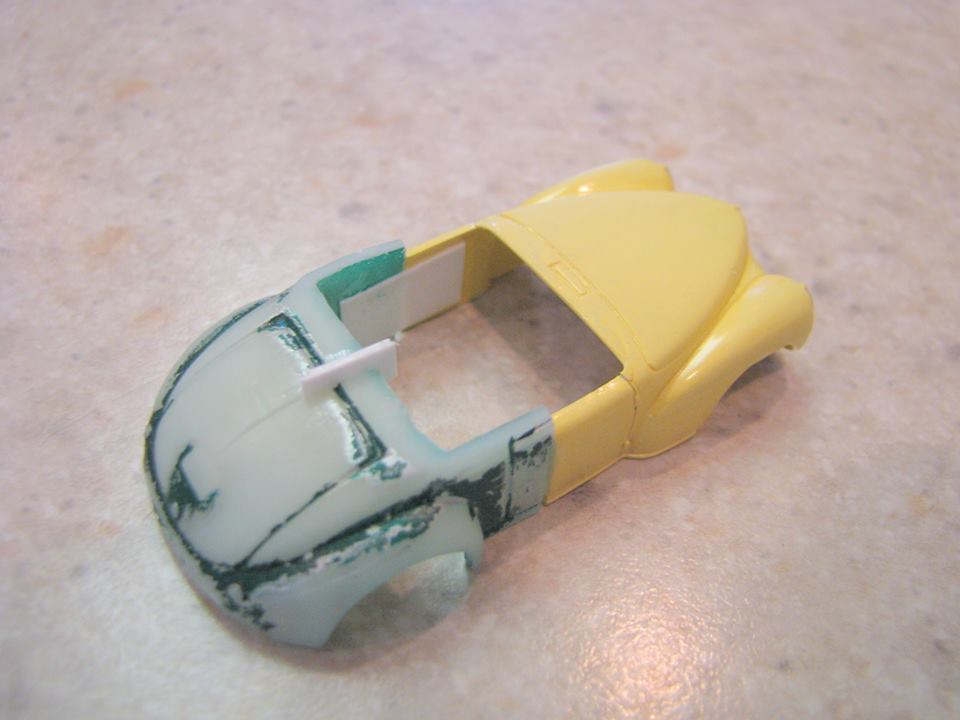
The top is what will really help to blend the two cars together. I will take my time here to make sure the top piece is correct. This will require fitting the top many times so the body lines will match up.

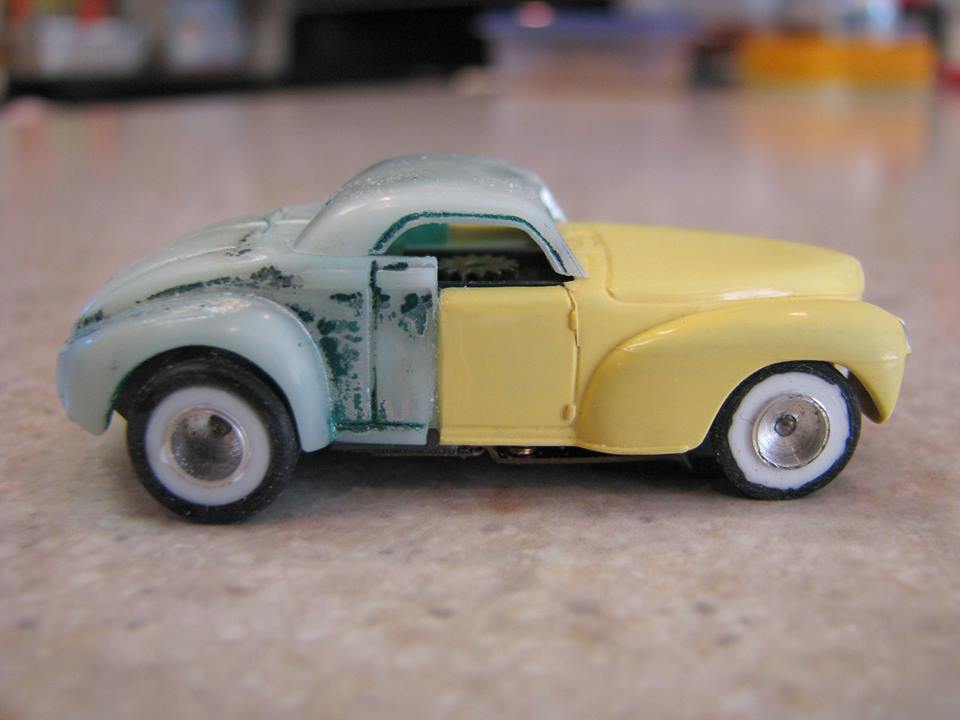
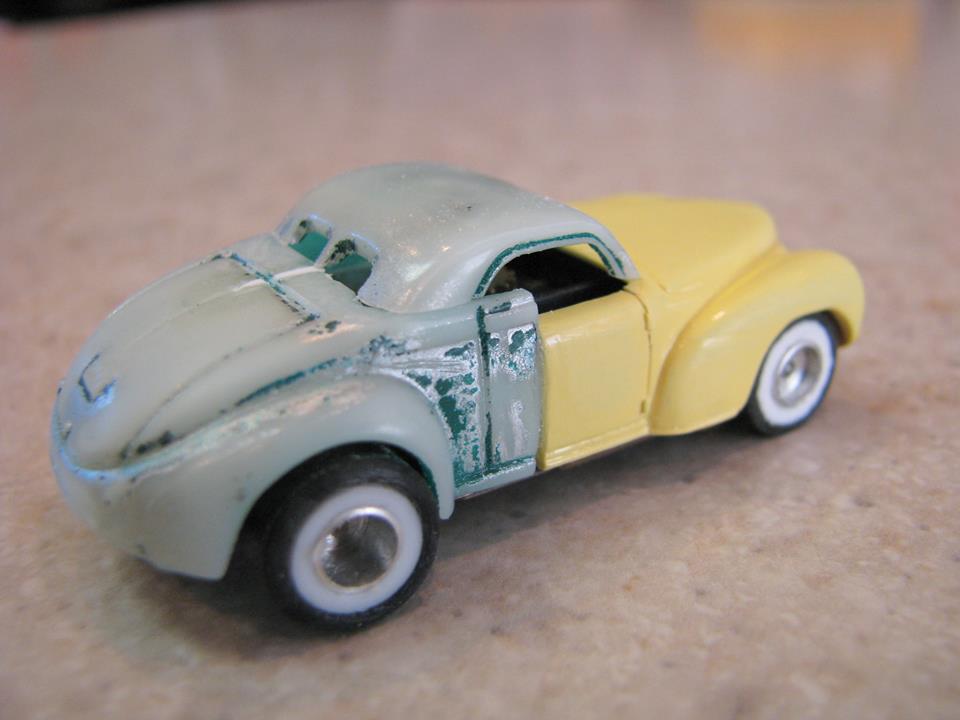
All parts are glued, blended with epoxy putty and sanded... front back top.
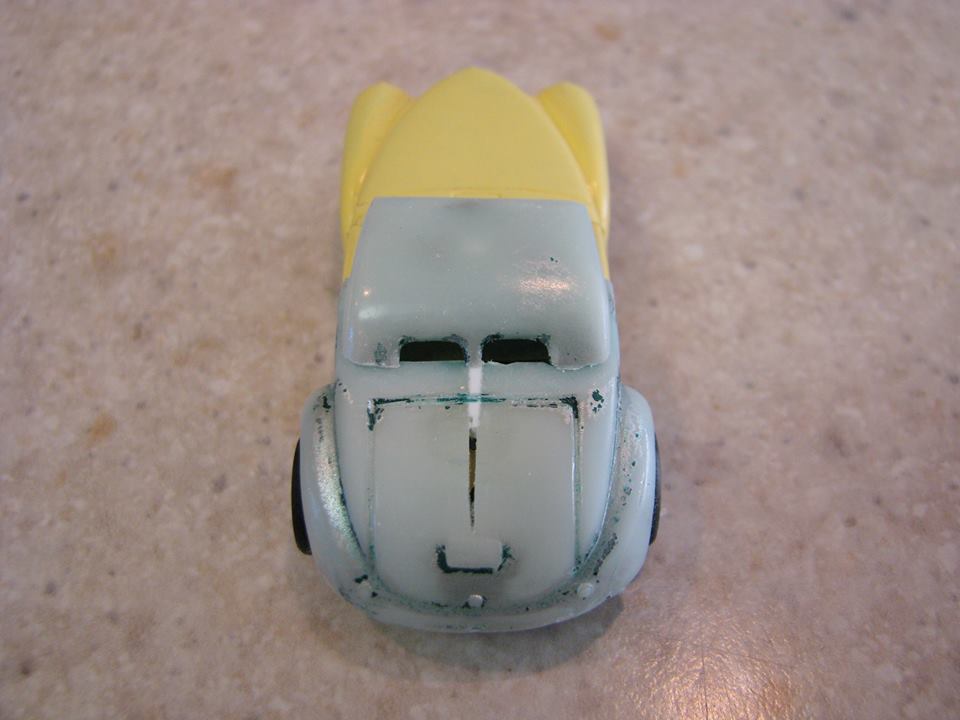
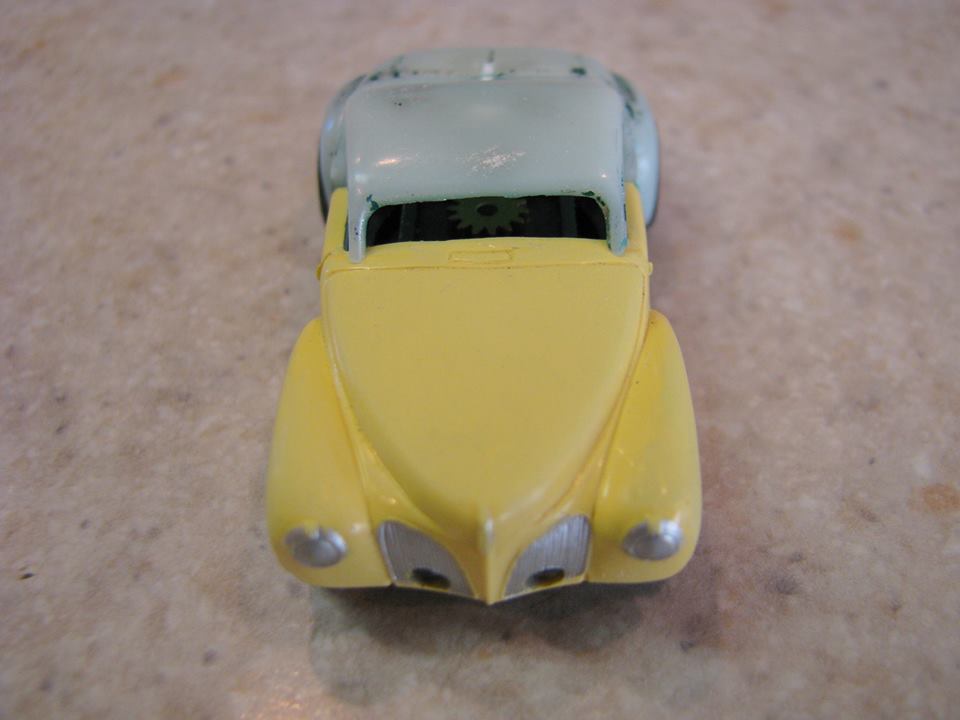
Now it's time to take a look at the holes in the front. They will need to filled and then blended into the grill.
The first thing is to fill. I will use some styrene rod and glue them in place. Then will I shave the rod to match the contour of the grill and lower front. I am just trying to rough in the shape and put in the major lines.

After the major lines are in, then the finer lines are scribed in and then lastly a little silver paint.
More to come...
 RSS Feed