|
Chassis

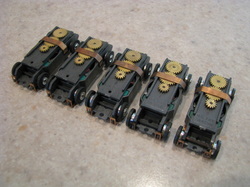
As stated in another article The Dragon's Tail is a proxy race. You can find out more about this race here The Dragon's Tail. In this article I will be dealing with preparation of the chassis. Body prep for this race can be found here. For this race I will start with 5 New Old Stock (NOS) T-Jet chassis and build 2 cars for the race. Also as stated in the other article I am by no means an expert, but I will share what I know in hopes of enabling you to give it a try yourself.
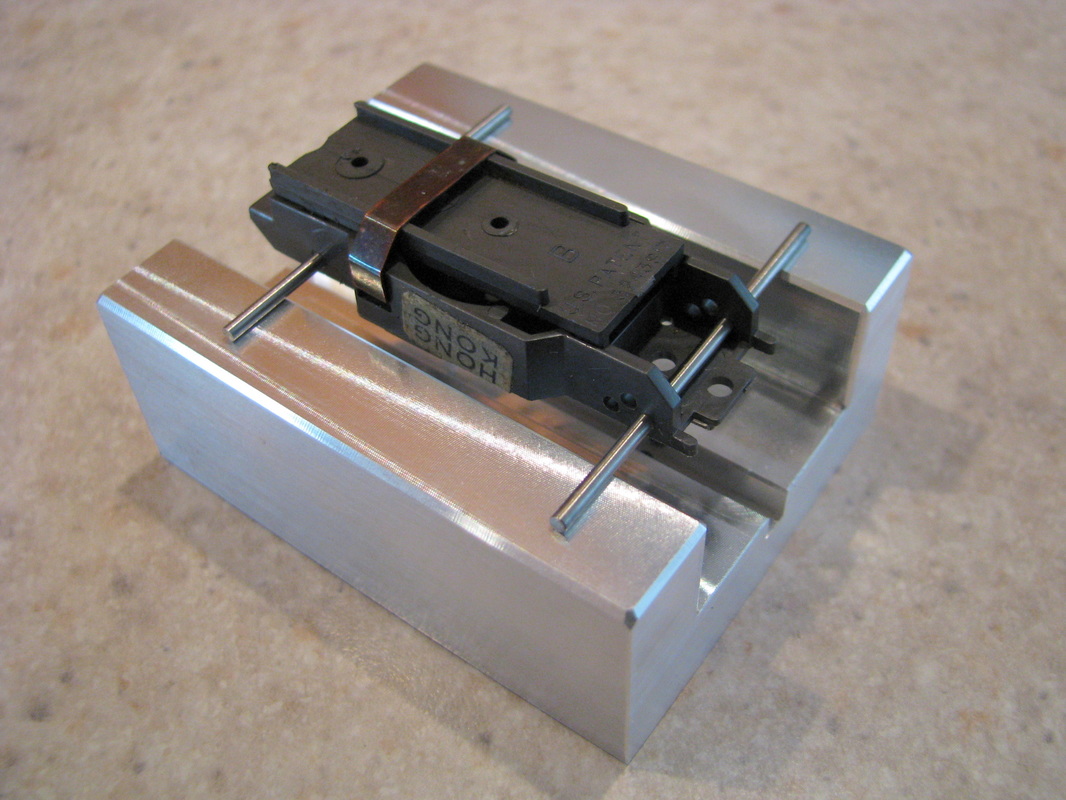
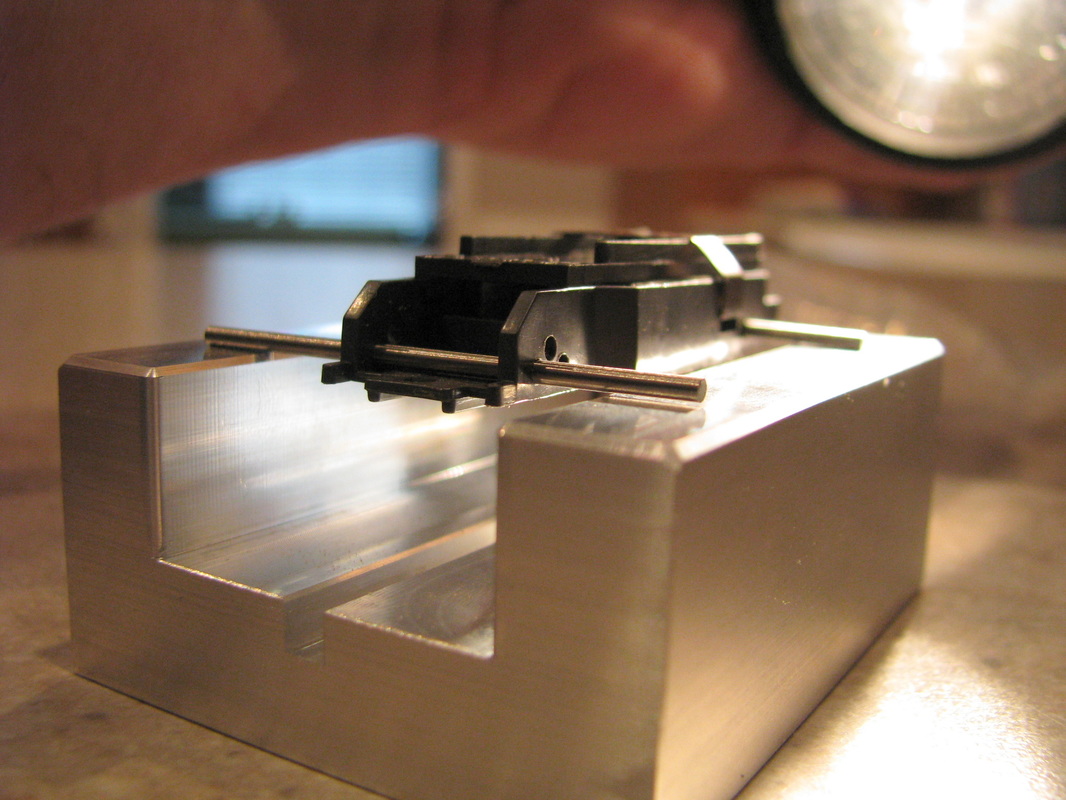
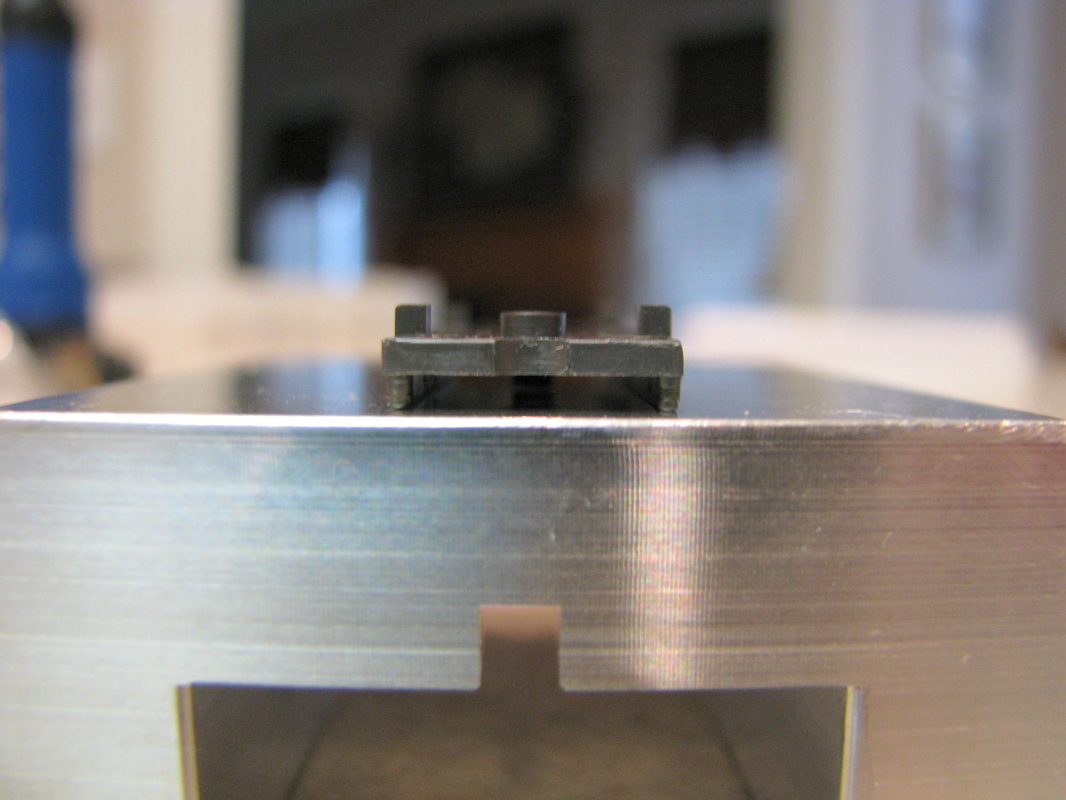
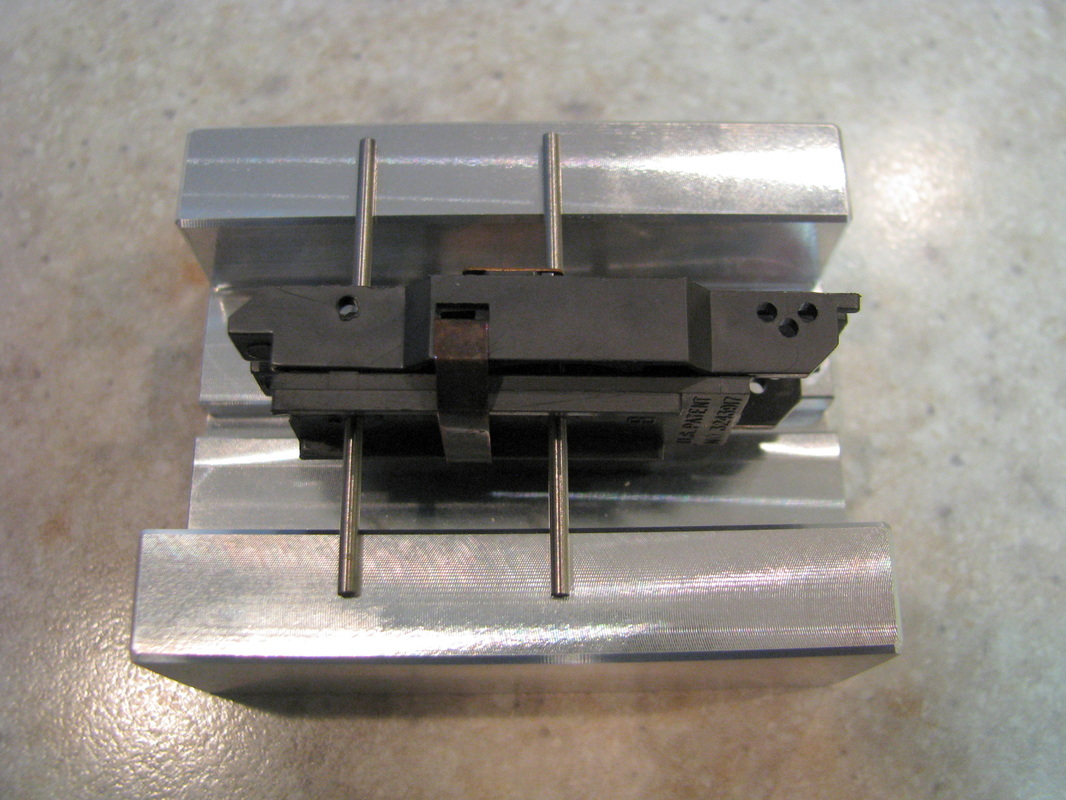
The first thing I will check is the flatness of the chassis. To have a solid car it must have 4 wheels that touch the track at the same time. To check the chassis I will use a tech block and drill blanks. I am looking to see that the drill blanks are all touching the tech block when I rest the chassis on the tech block.
Below is an example of a chassis that is not flat. Notice the space between the drill blank and the tech block in the front right. To correct this problem I will try to boil this chassis, however, that's another article.
Once I have found a flat chassis I will look for the flattest gear plate and hopefully the gear plate will match fairly close to the chassis. First to find a flat gear plate... I will again use my tech block... the bottom this time. I check basically three things, that it is flat, and there is no "cupping" of the plate in either the width or length. The bonus is the idler gear post has a square top as opposed to rounded off.
After I check the chassis and the gear plate the next thing that I will do is to try to match the gear plate with the chassis. I know some try to match numbers, however, after 50 years that pretty tough so I try to match the holes between the gear plate and the chassis. Again I use my tech block, drill blanks and calipers. I attach the gear plate to the chassis and then run the drill blanks in the holes and measure the distance between the drill blanks on either end. Hopefully the measurement will be the same or very close. By using only 5 chassis I can only hope for very close.
When I am satisfied that I have a flat matched chassis and gear plate I will start looking at the chassis closer for mold burrs particularly the axle holes, armature shaft holes, and cluster shaft holes.
Electrics
Electrics will be split in this article. The first part will be about the internal electrics... the armature and magnets and then toward the end of this article we will address the external electrics... the pick-up shoes, the shoe hangers and the brushes.
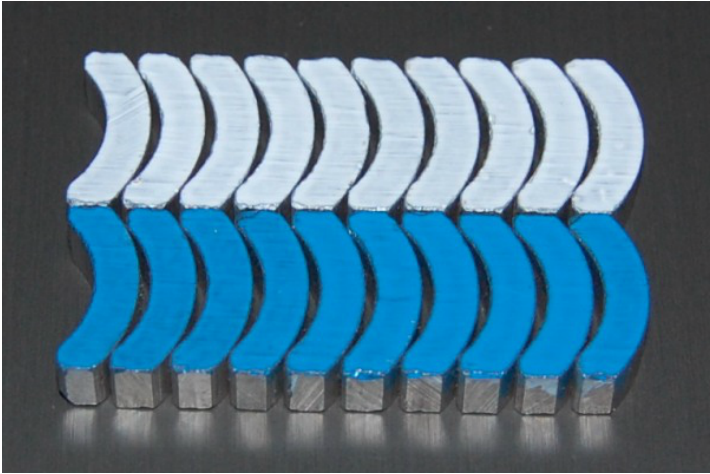
Let's go ahead and get the magnets out of the way. For those that don't know the magnets should be matched in strength to maintain the electrical balance within the car. According to the rules of The Dragon's Tail, the chassis must be stock and cannot be modified, therefore, a discussion of bringing the magnets closer to the armature will not be presented. That said we will then have a quick discussion about matching magnet strength. If you would like more information on the process of magnet matchers and matching magnets you can take a look here.
As a guide, the stronger the magnets the more torque you have which translates to faster acceleration. This would be advantageous on a very technical track with shorter straight stretches. If you use magnets weaker in strength this will help raise your top end speed and reduce your torque. This might help if you are going to run on a large track with mostly long stretches. What I will do is have several sets of matched magnets with different strengths and determine which will work best given the track design which includes layout and material, the armature I choose as well as the controller being used.
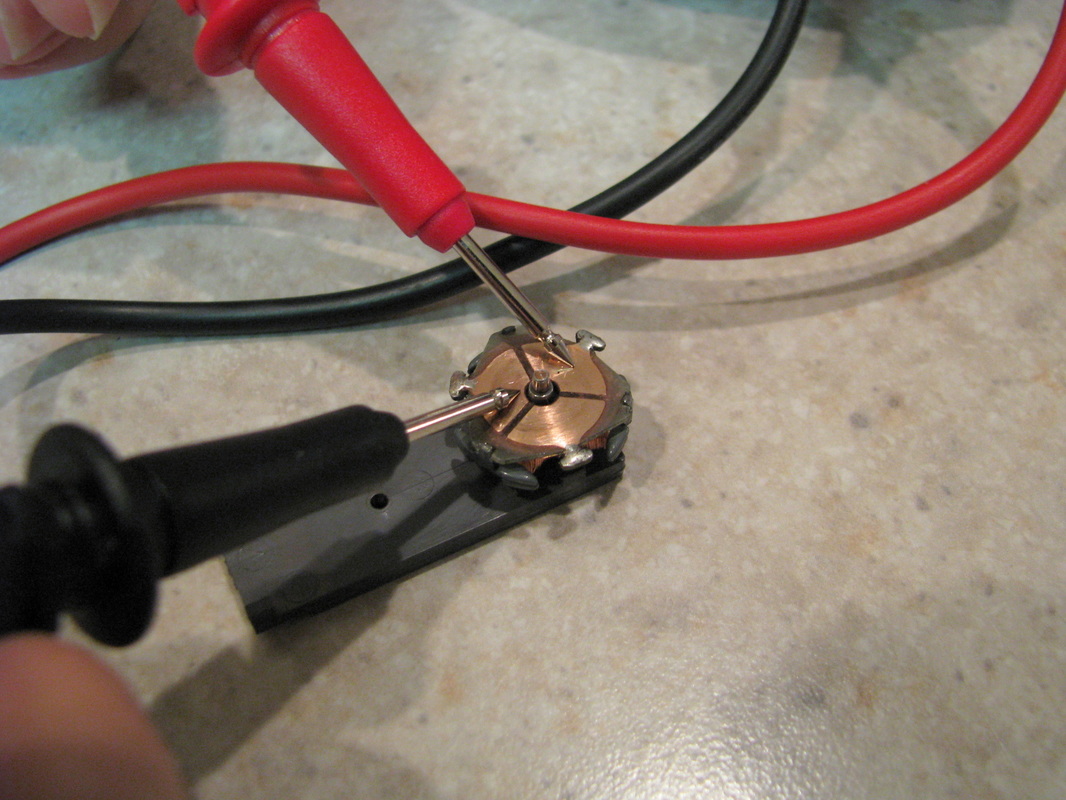
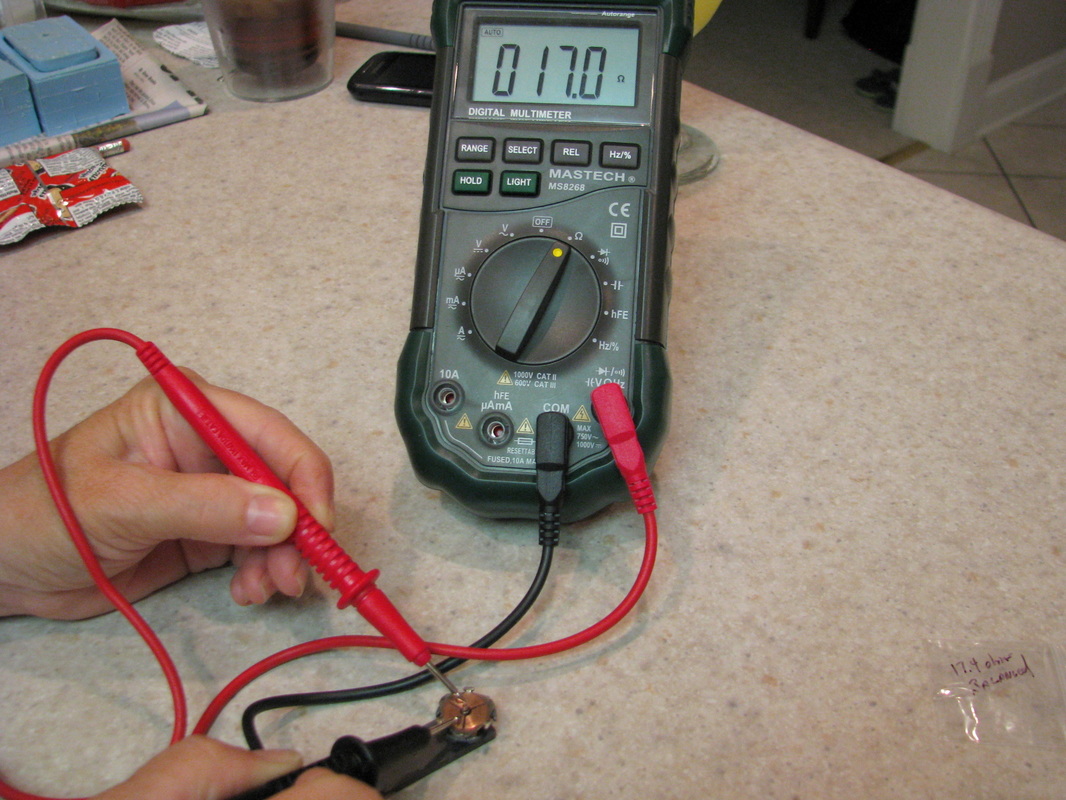
Now let's discuss the armature. The first thing about the armature is to check for electrical balance as opposed to physical balance. By this I mean checking the ohms or resistance of the three poles of the armature. To do this, I will check using a multi-meter. Set the meter to the ohms setting and put each probe on either side of the pole.(See picture below) This will require three readings.
When taking the readings the closer the better. As in the case below the closer to 17.0 ohms the better. Given this situation I would be very happy if all poles were within 0.5 ohms of one another.(Also I would like to thank my lovely wife for helping with this picture.)
Given the layout of the The Dragon's Tail and the type of controller that will be used, I have two very special arms picked out to run.
I have taken the measurements on the chassis, magnets and armatures. Now I have to narrow down the armatures. According to the car build rules of The Dragon's Tail I cannot modify any of the electricals, therefore, I cannot balance or true the armature. So to narrow down the arms, I will go old school and use sound and touch/feel to make my choice (I do not have a dyno). All this said, I will use a video to demonstrate the difference in the sounds of two different armatures. This coupled with the feel of the chassis (the one with less vibration while testing will help me to make my final choice). Notice the difference in the sound between the first armature and the second armature. Also note I am using the same chassis, magnets, and brushes for each test (only the armature is changed) and also note there is not a top gear attached to the arm.
Even though I can't show you the second arm also had less vibration to my touch/feel.
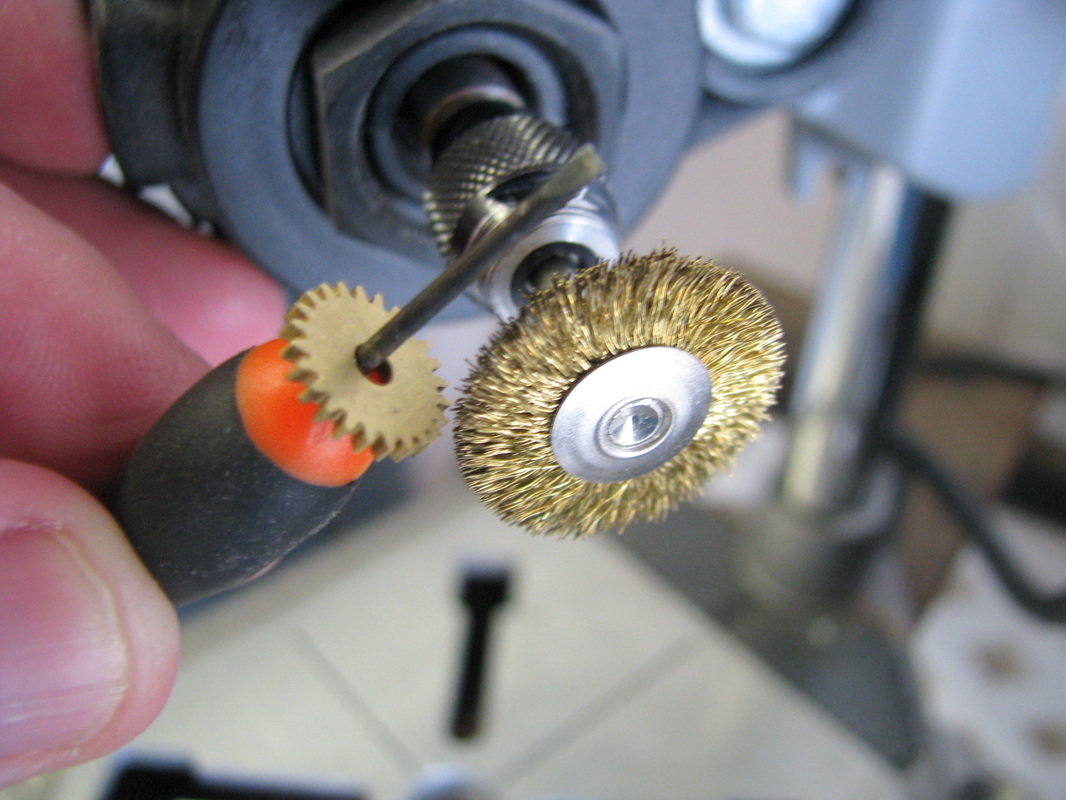
Now it's time to take a look at the gears. The first thing I do is to take my Dremel tool and chuck a brass wire bristle wheel. I use brass because it's the same material the gear is made of. I just want to know the edges of each cog down. I do not want to bevel the gear. I then slide a gear down the shaft of a screw driver and carefully remove the edges off the gear cog. I do this on both sides of the gear. I will do this to all three of the top gears. This does a pretty good job in itself but then I will later lap the gears for even smoother and quieter operation.
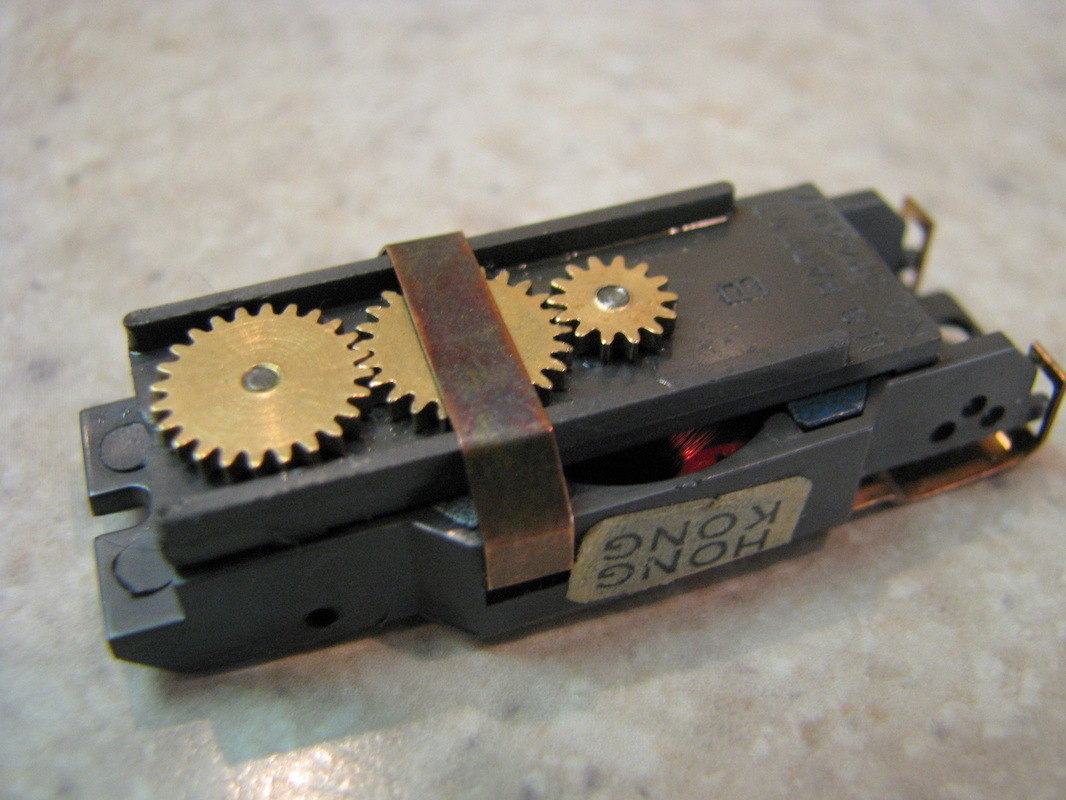
When that is completed I then take a little Brasso and clean and polish the gears. After removing the Brasso residue I then mount the gears on the top plate.
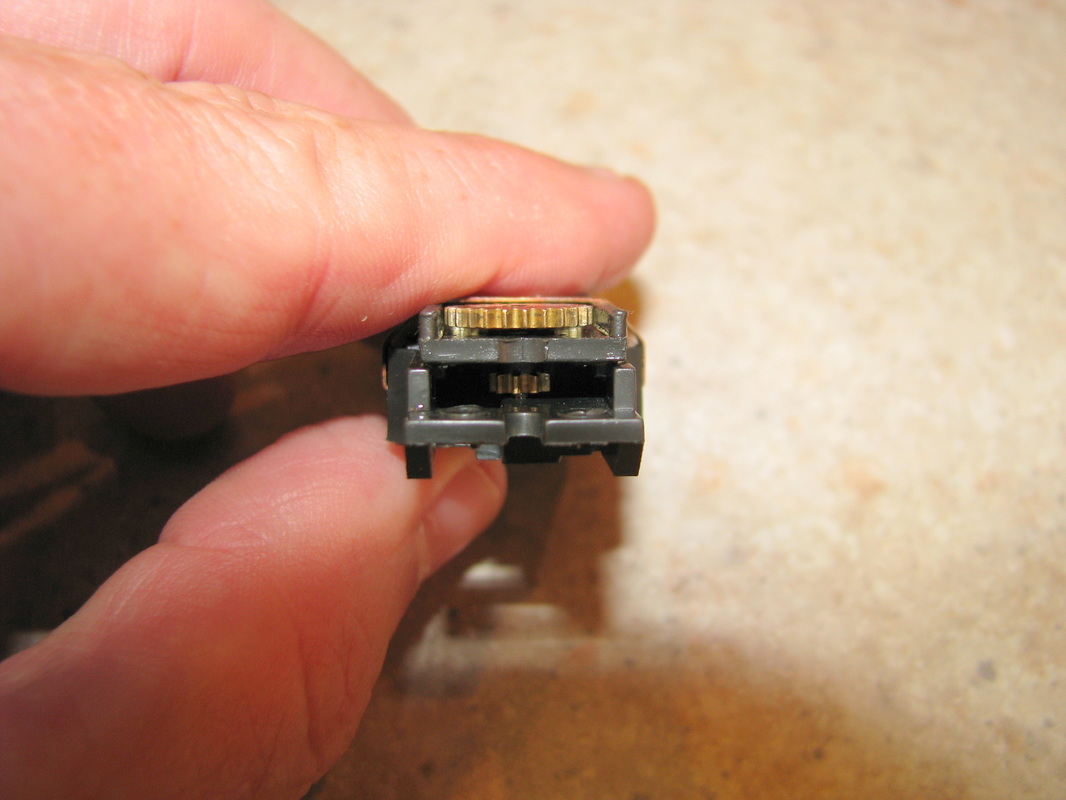
When pressing on the gears I try to be pretty close on the up and down movement. I try for about 0.007 ths of an inch play on the armature gear and the rear driven gear. The other thing I am careful about is the position of the drive pinion gear. I make sure it does not rub on the chassis or the gear plate... it rides in the middle.
One other little thing I do is to position the cluster gear shaft so that it only goes in the chassis shaft hole only two thirds of the way. I do this to help reduce the friction between the shaft and chassis.
Now all we have to do is get some axles, wheels and tires on this chassis and see what its like first time out of the shop. Make sure your axles are straight by rolling them on a flat surface. Also TAKE YOUR TIME when mounting the wheels so when they are turning they don't wobble. You don't want WONKY wheels. This is best done with a wheel press.
Well guys, it handles great and it's pretty peppy and that's a good start. It's a little noisy but after the gears are lapped it will be quieter and I will gain some additional speed and smoothness. If you would like more information about lapping gears take a look here. Below is a video of the car after lapping the gears and a few minor tweeks. They yielded a 12 percent increase in speed not to mention the gears have settled down and they are quieter and smoother.
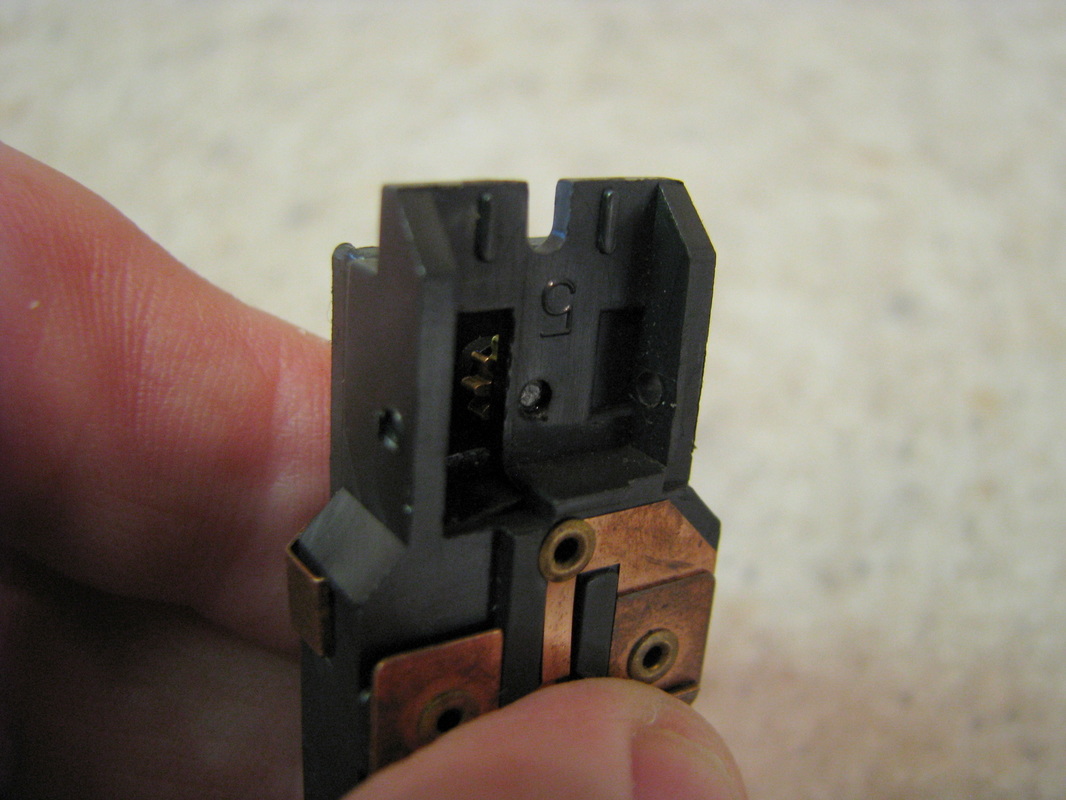
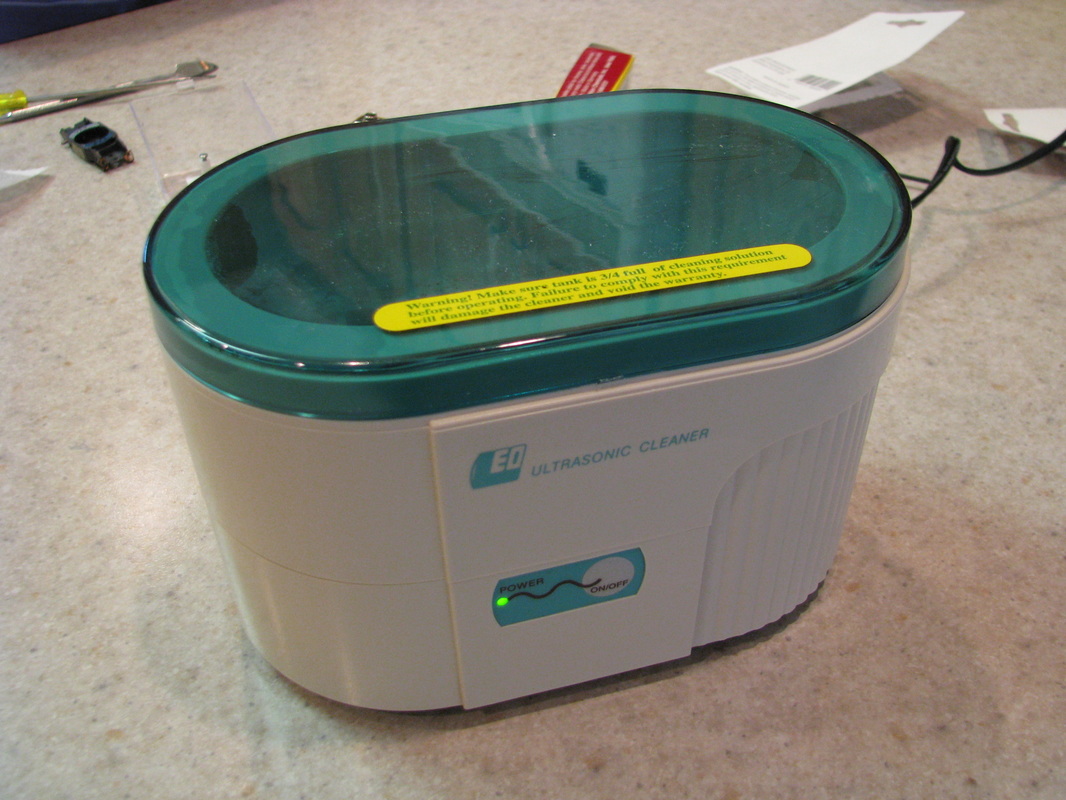
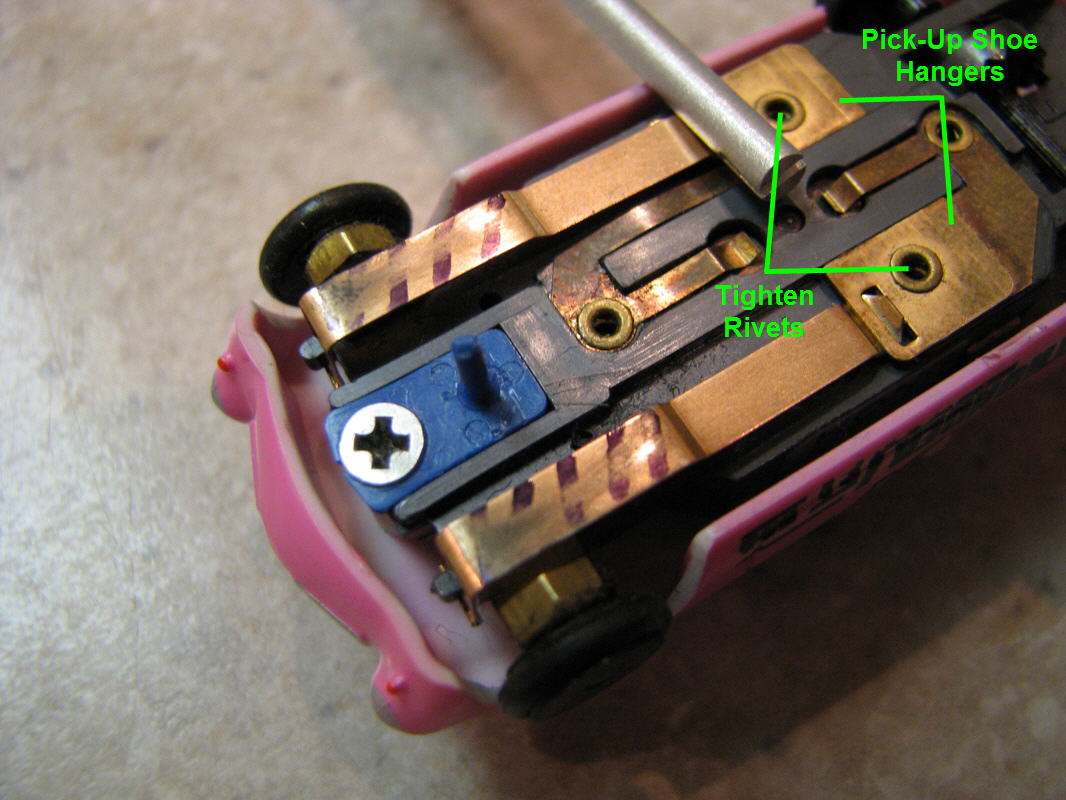
Earlier in this article we discussed and addressed electrics inside the chassis. Now we will address the electrics outside the chassis. This includes cleaning the chassis completely including the copper and their associated contact points... in particular the two rivets that connect the pickup shoe hanger plates. I use an ultasonic cleaning machine and clean the chassis first.
After cleaning the chassis I make sure it is completely dry. To speed this process up I use a hand held blow dryer. Once the chassis is dry I adjust the hangers and then tighten the rivets to maximize the electrical connection.
Now it's time to fine tune the pickup shoes by adjusting them. For more information on that take a look here.
Race Results:
Qualifying Line up.
Brett McLean
7/18/2015 03:10:53 am
Hey Tom, I had a stray thought. I spent some time as a Cubbie leader and made some champ Pinewood derby cars. One of my cheats was raising one of the wheels so it didn't touch the track, 3 wheels less friction than 4. I wonder if only one Jet front wheel touched it might go faster, less drag and no fixed front ( act like an independent front) wheels to drag each other in tight corners. I see some of the new hi-buck magnet cars don't have front "wheels" just adjustable round skis that look like wheels.
Dennis Holas
7/20/2015 12:21:15 am
Brett that might be ok for a straight line race but for handling corners not so much
Tom Hobgood
7/20/2015 06:07:00 am
Brett, I can see where the three wheel concept might just work for the Pinewood Derby cars... However like Dennis has mentioned I do wonder about the stability of the car on a road course. You know there is only one way to find out and that would be to try it and see what happens. Thanks for the comment!
Thanks for the Feed Back... just trying to share.
1/25/2016 10:37:02 am
Comments are closed.
|
AuthorHobbyist, Slot Car Enthusiast Archives
April 2019
Categories |

 RSS Feed