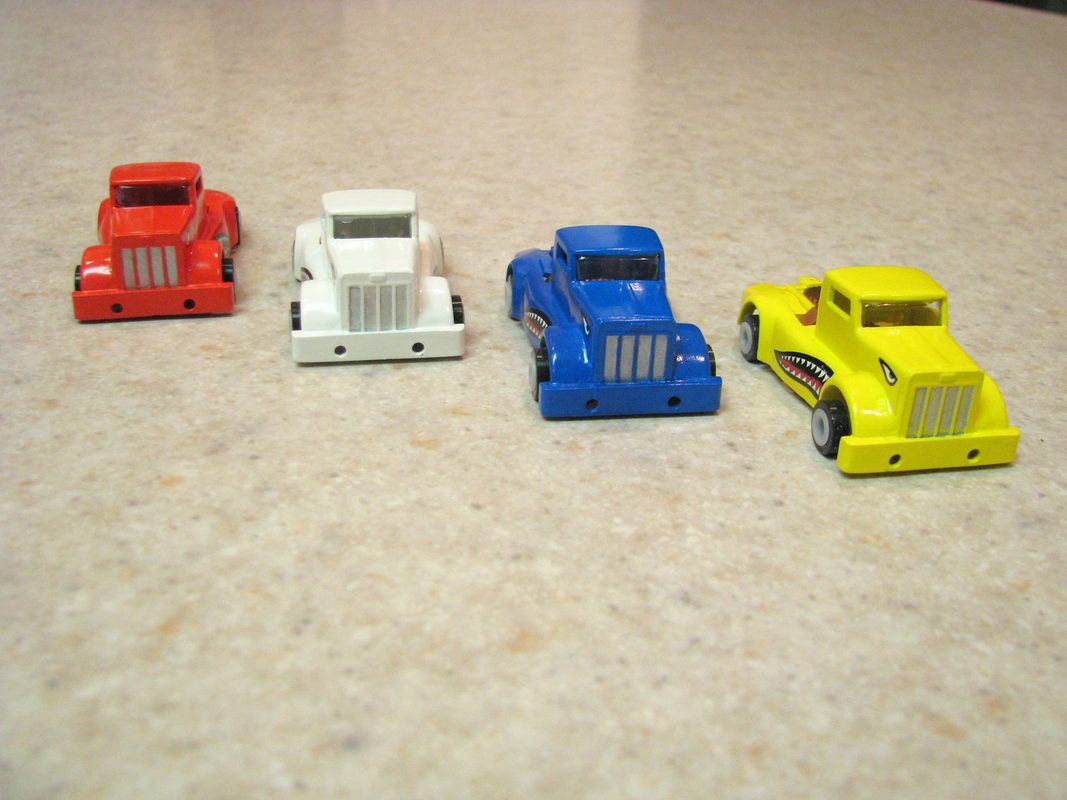
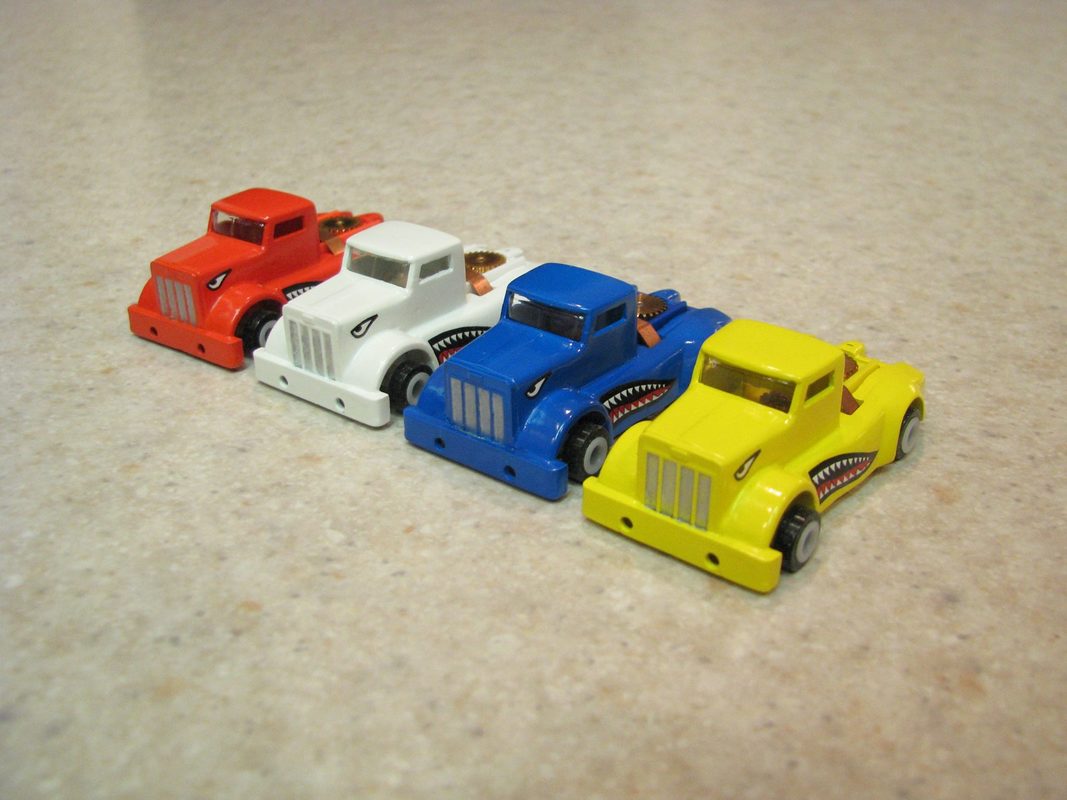
Once again I was cruising around the webbernet and came across World Truck Racing. While looking at some of the trucks that were being raced I thought it would be pretty cool to start a race truck build. All this occurred several months ago. At the time I just could not find the right donor truck to start the project. Then one day while looking at some Facebook groups it occurred to me I was going to have to have a couple of donors and I was going to use a long nose Peterbuilt for the front and another donor for the back.
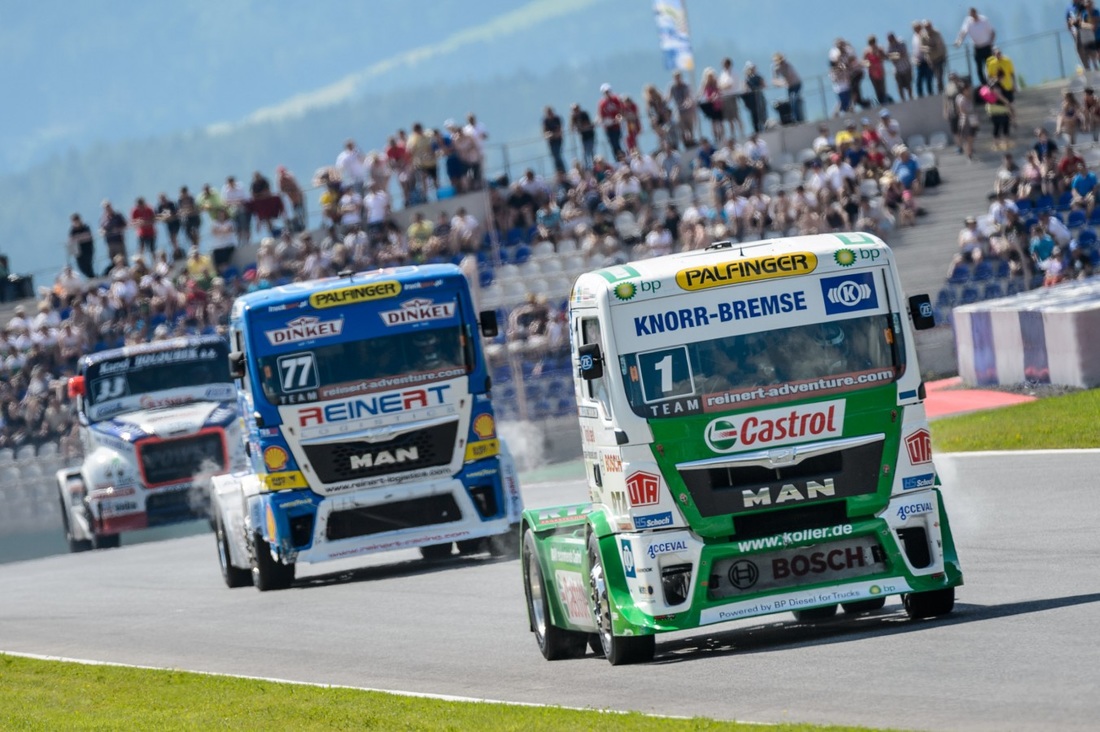
If this turns out, this may be good for an IROC race and a little fun. For those of you that have not seen truck racing take a look at the video below.
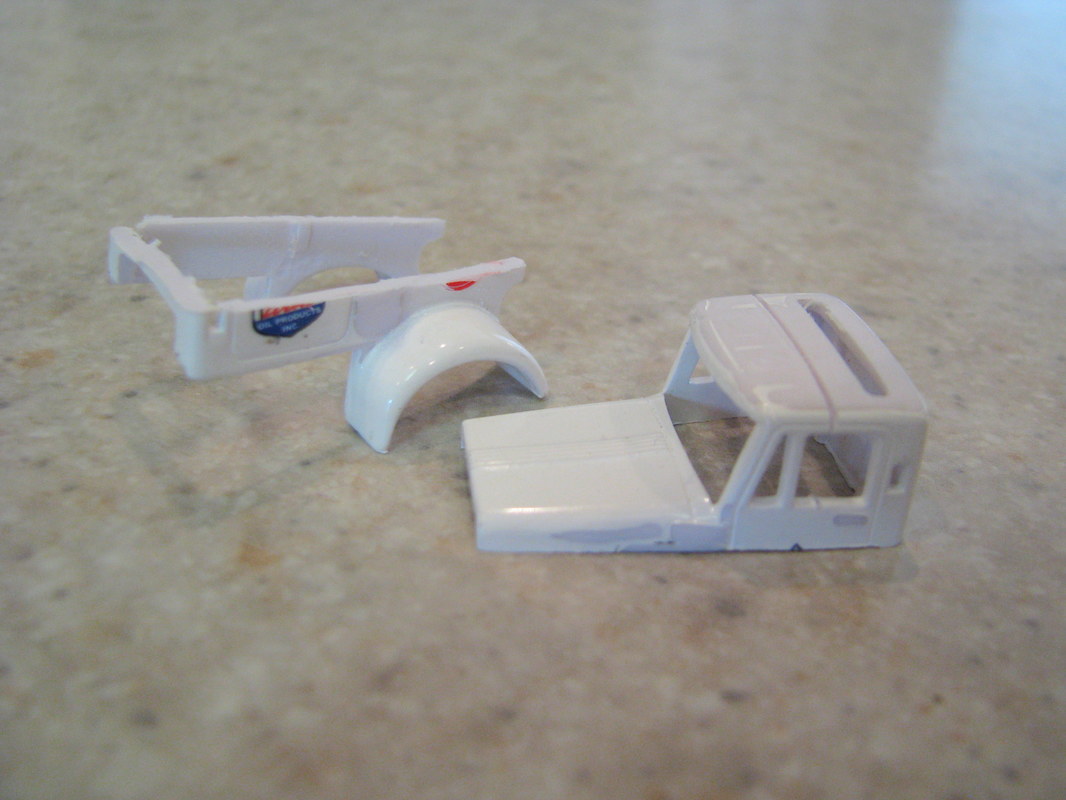
For the front of the truck I used an Autoworld Peterbuilt truck. The first thing I did was sectioned the cab. For those of you that might not be familiar with sectioning... sectioning removes a horizontal section from the body of the vehicle and then lowering the top half onto the bottom half. This lowers the overall body profile.
The next thing I did was chop the cab. This as you know will lower the roof line.
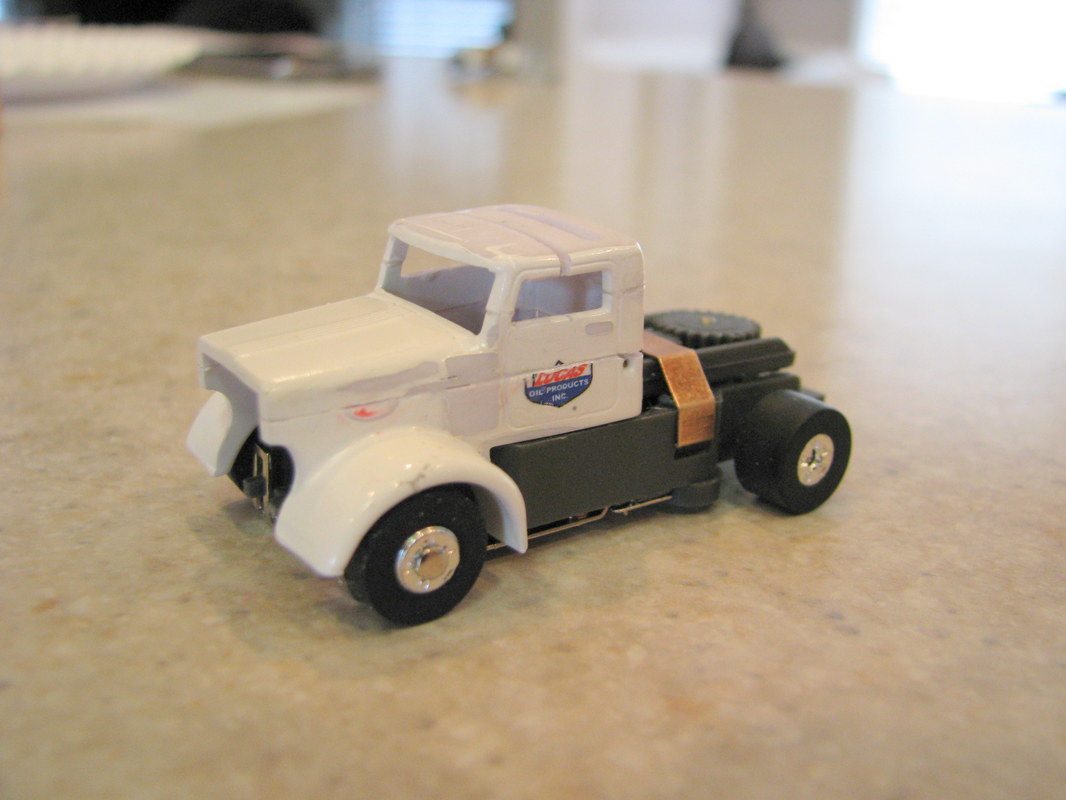
So by the time I got finished with the section and the chop the cab was sitting significantly lower than the original.

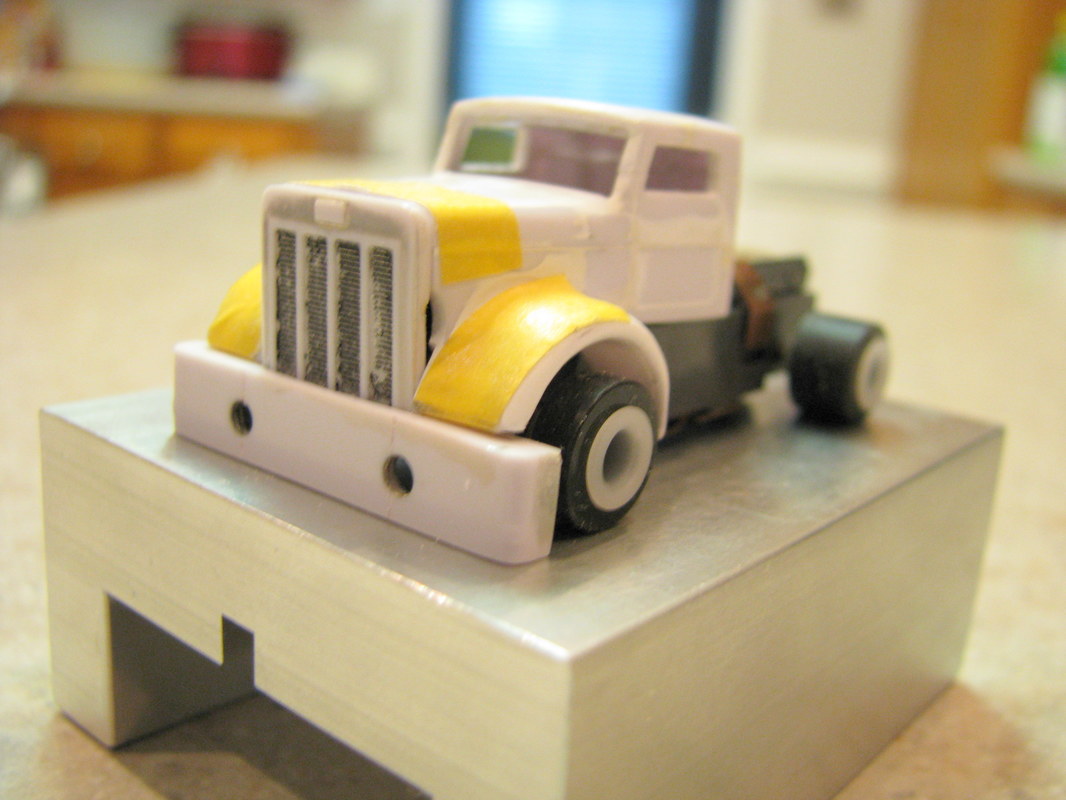
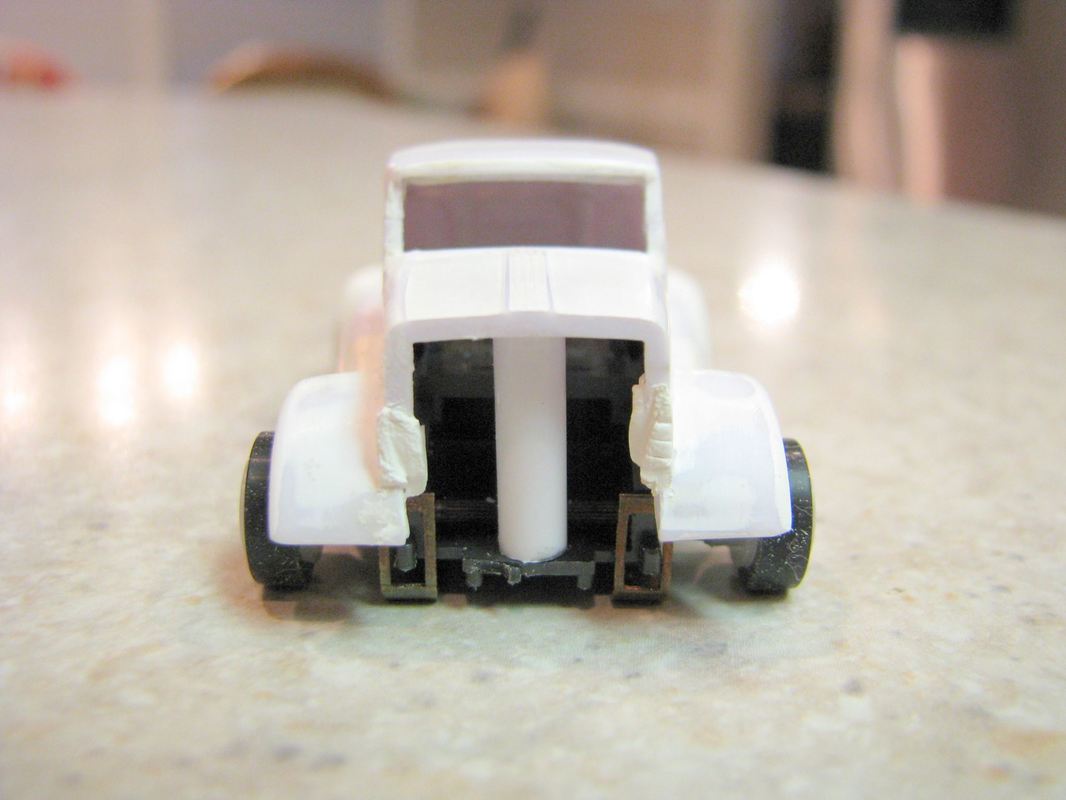
The next part of the build was to concentrate on the nose of the truck and get it to look low and mean. After some thought and looking at pictures on the internet I think I finally came up with a solution. I also decided on the type of chassis that would be underneath the body... a Fray style chassis!!!
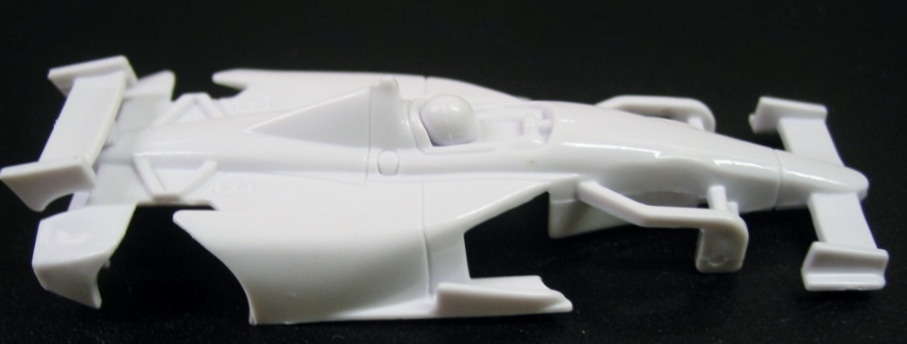
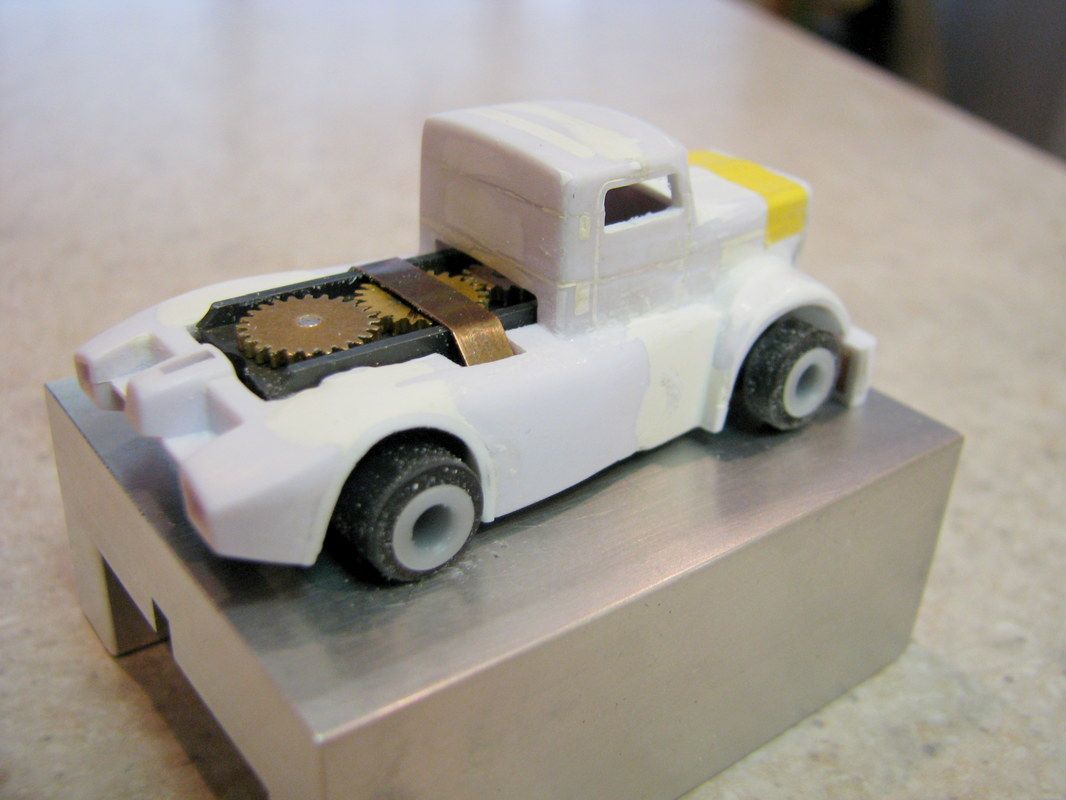
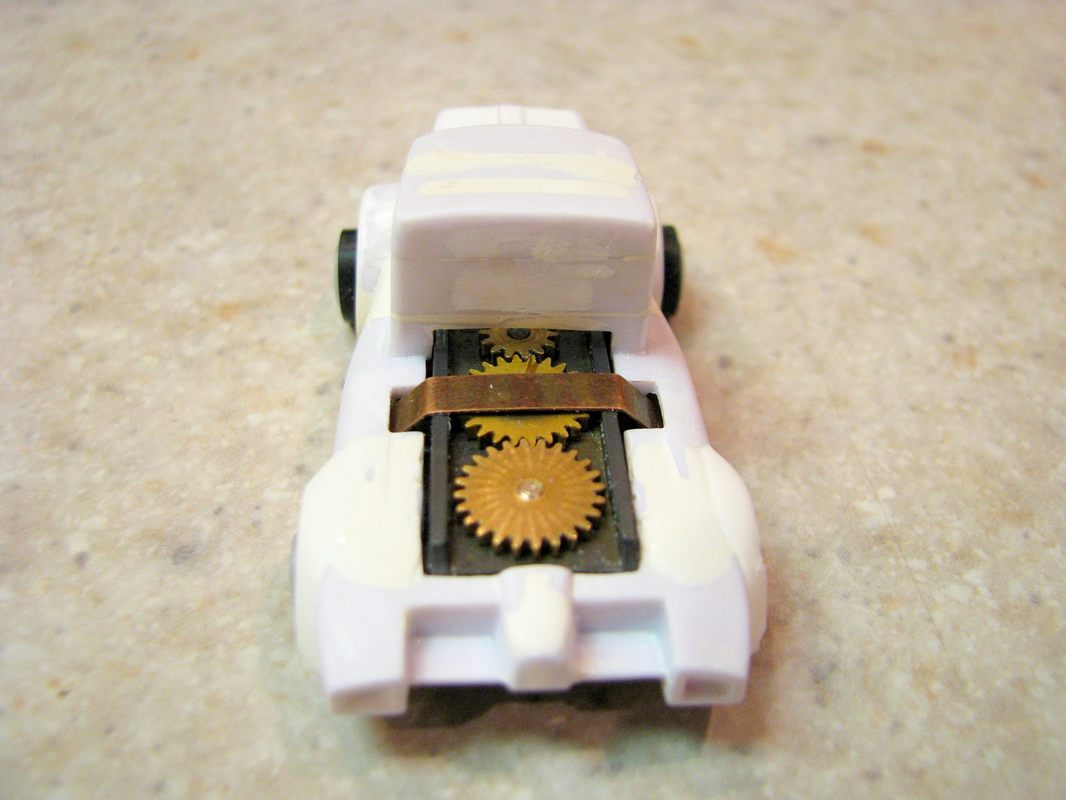
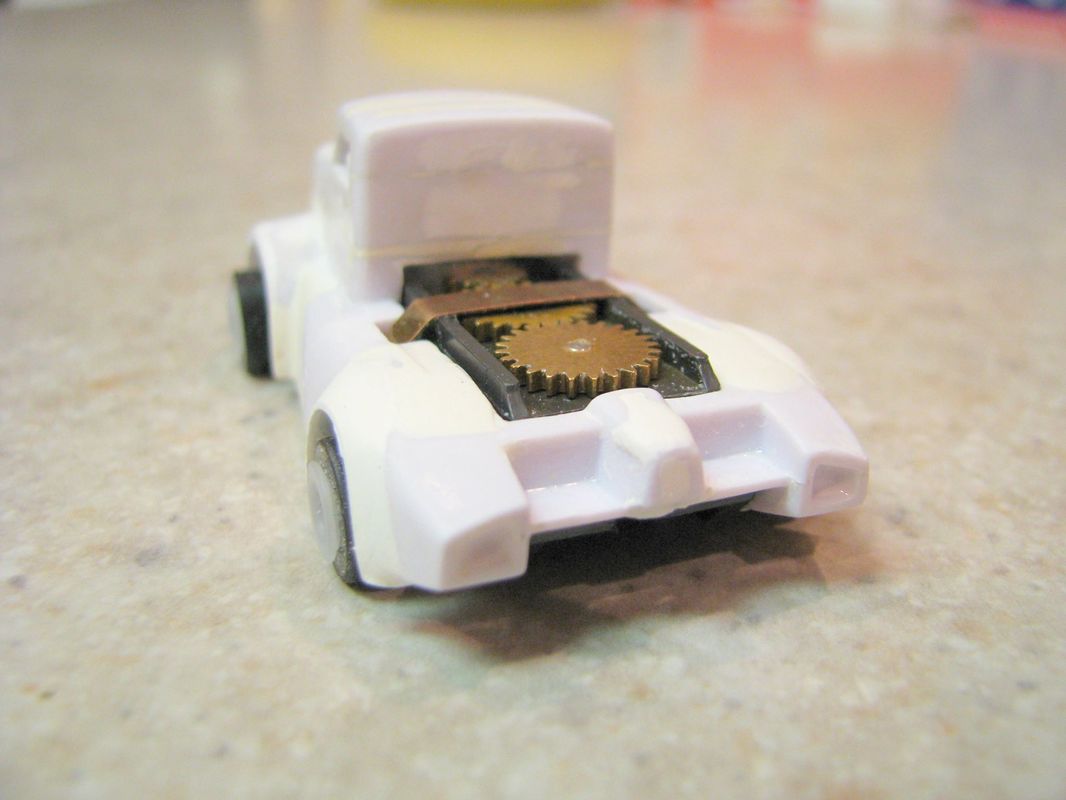
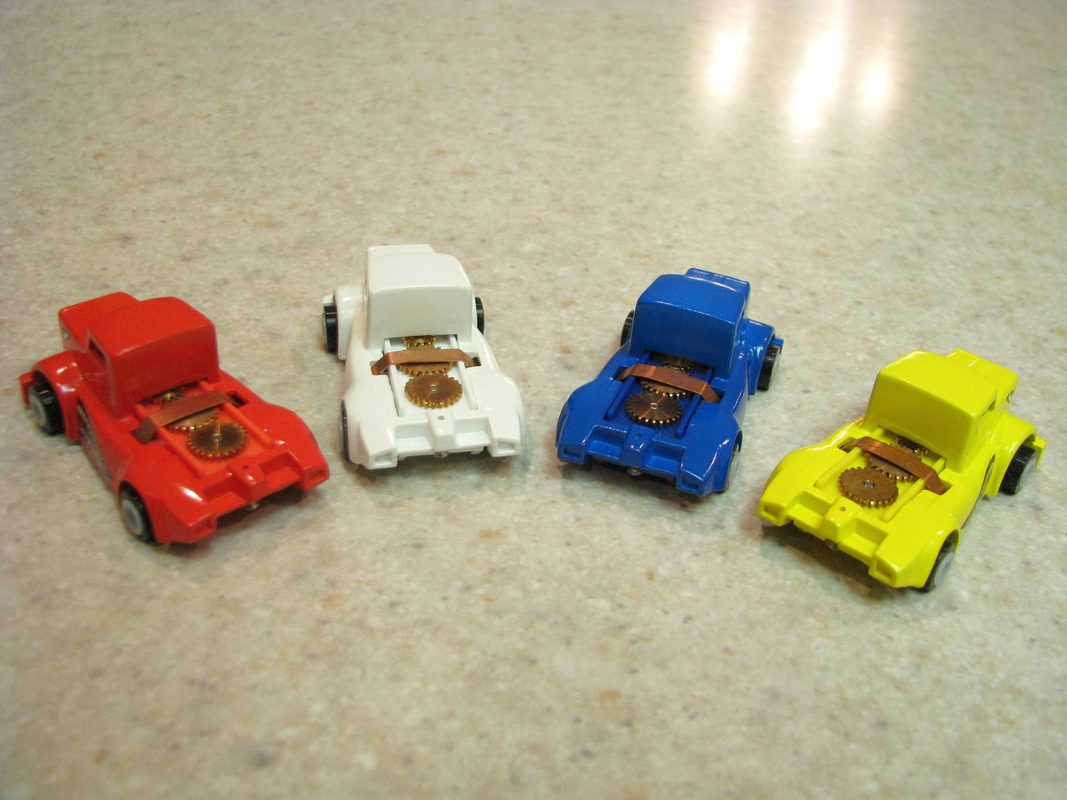
Now that the front has been roughed in it is time to look at the rear of the truck. Enter Autoworld again! The back end of their Super III Formula bodies will work nicely.
After one cut and some Dremel work and a lot of filing the two are starting to come together. Notice I use small masking tape to mark my "cut to" lines. For longer lines this works better for me than trying to mark the lines with a pencil.
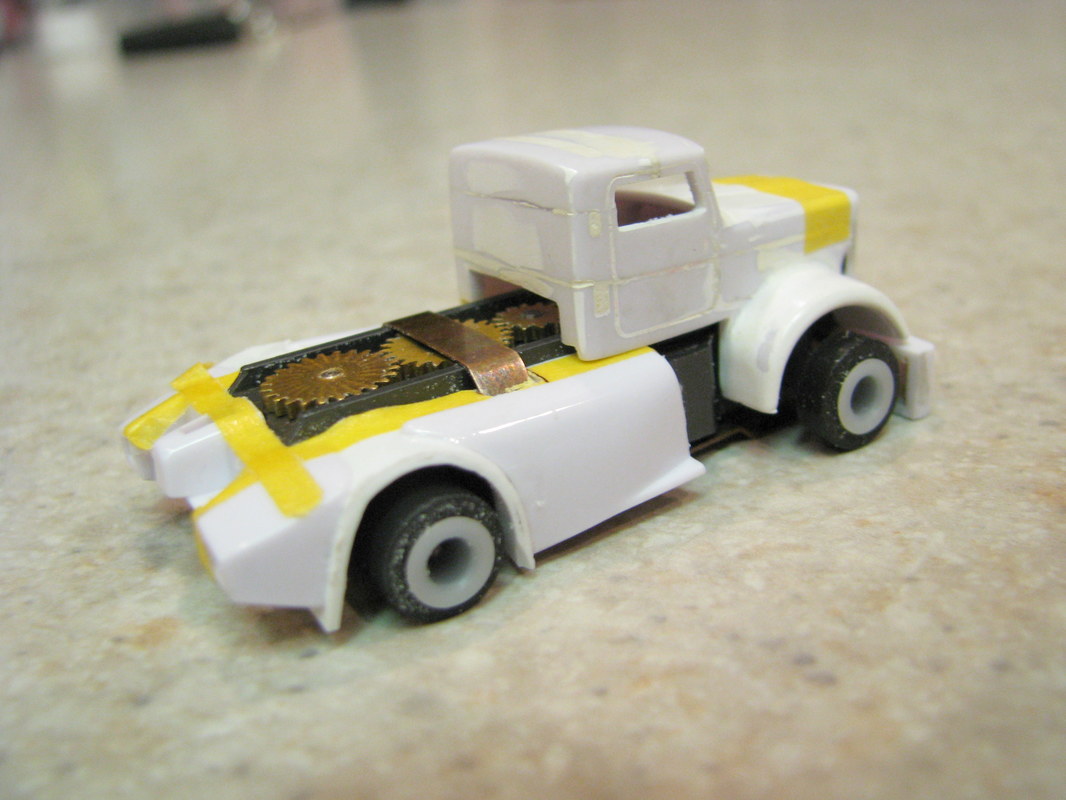
With a little more filing and some glue the two are now put together. This is where patience comes in. When joining the two pieces you have to align not only the wheel base to the chassis but you have to make sure the pieces are square with one another and they are also square/flat with the chassis. This part of the project took me about three hours to get everything square.
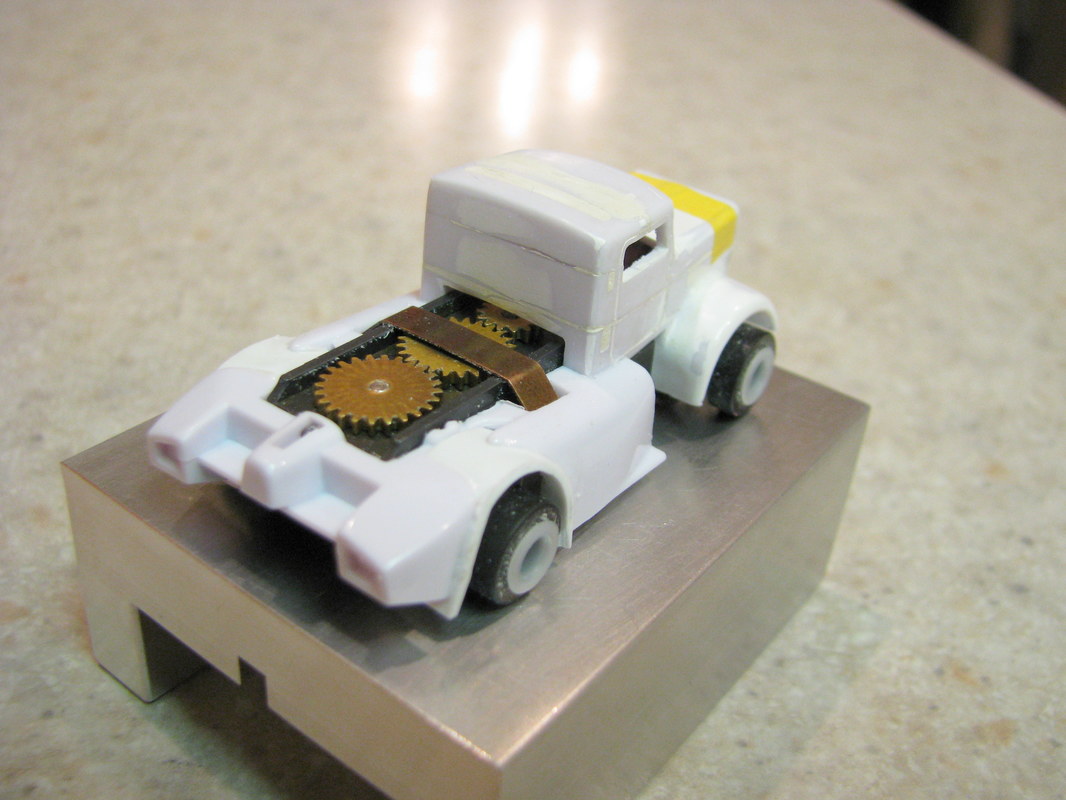
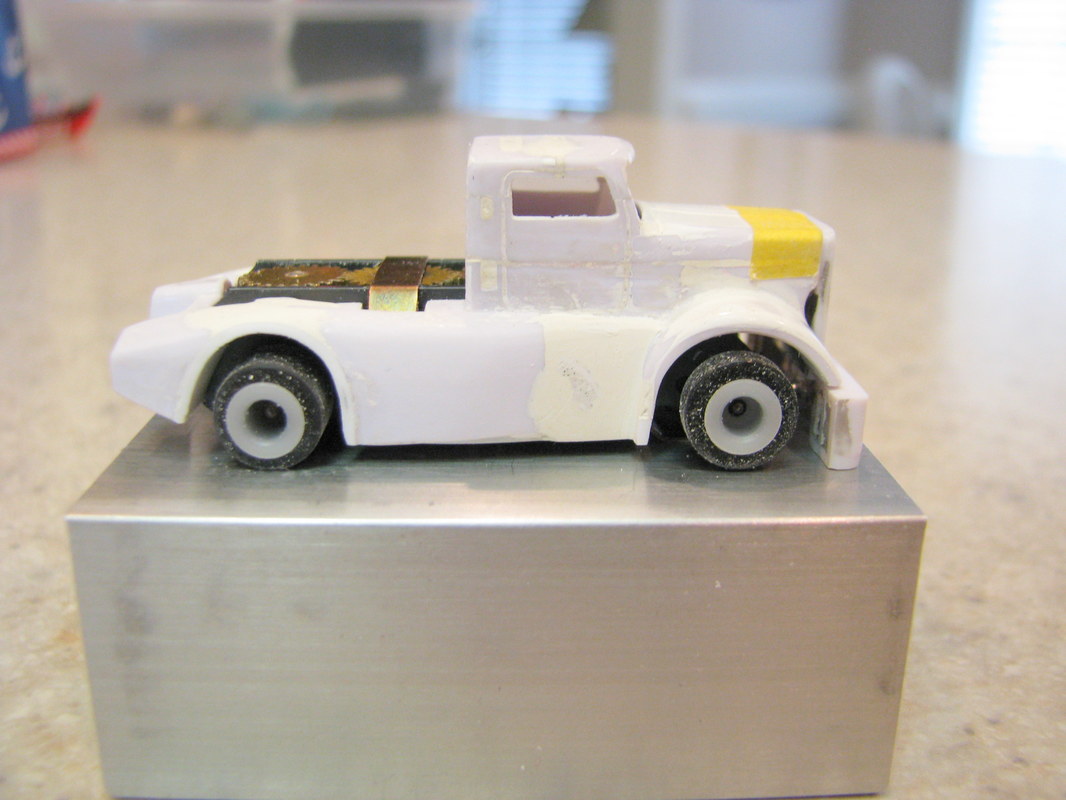
Now its time to finish connecting the two pieces with a little styrene... Also notice the front finders on the back have been extended to make a clean line from front to back on the bottom edge.

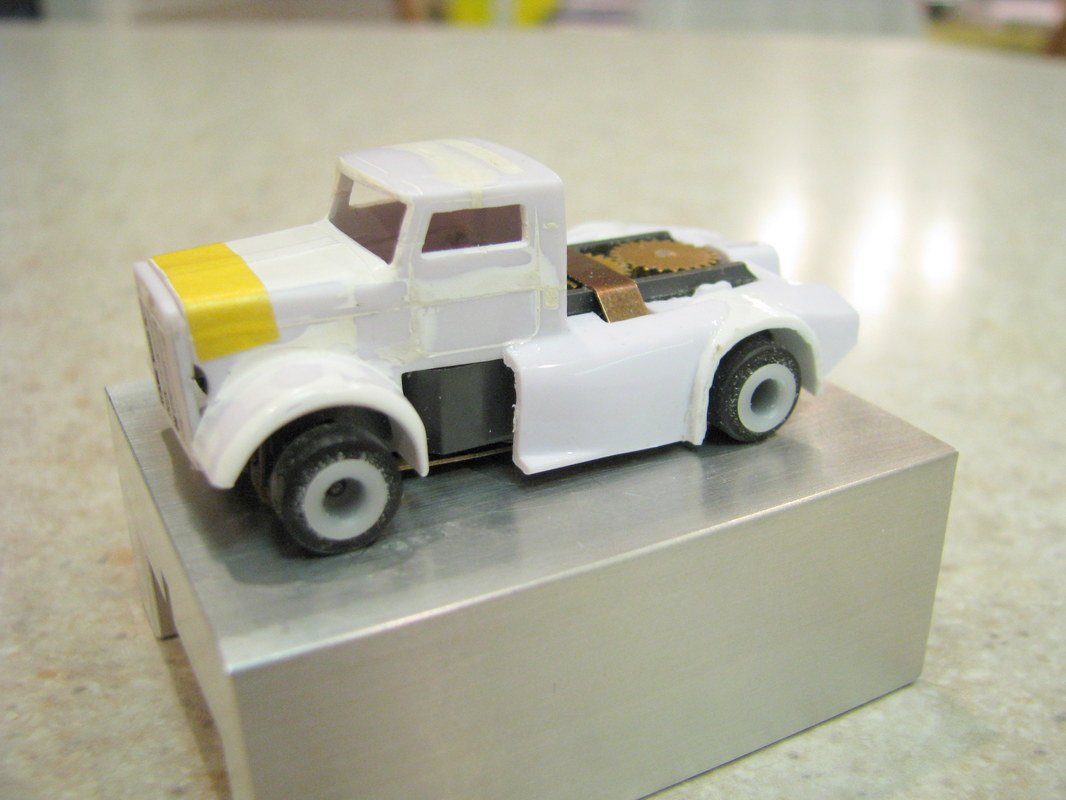
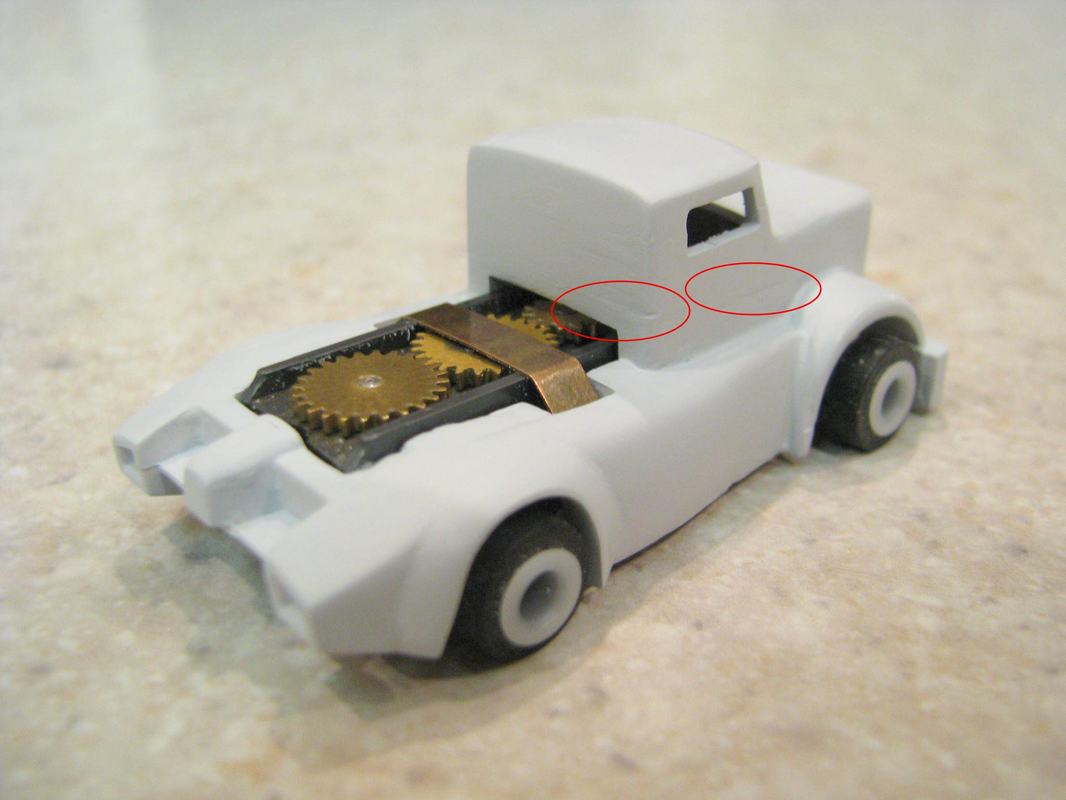
Next I took some Milliput Putty and did some blending followed by some filing and sanding.
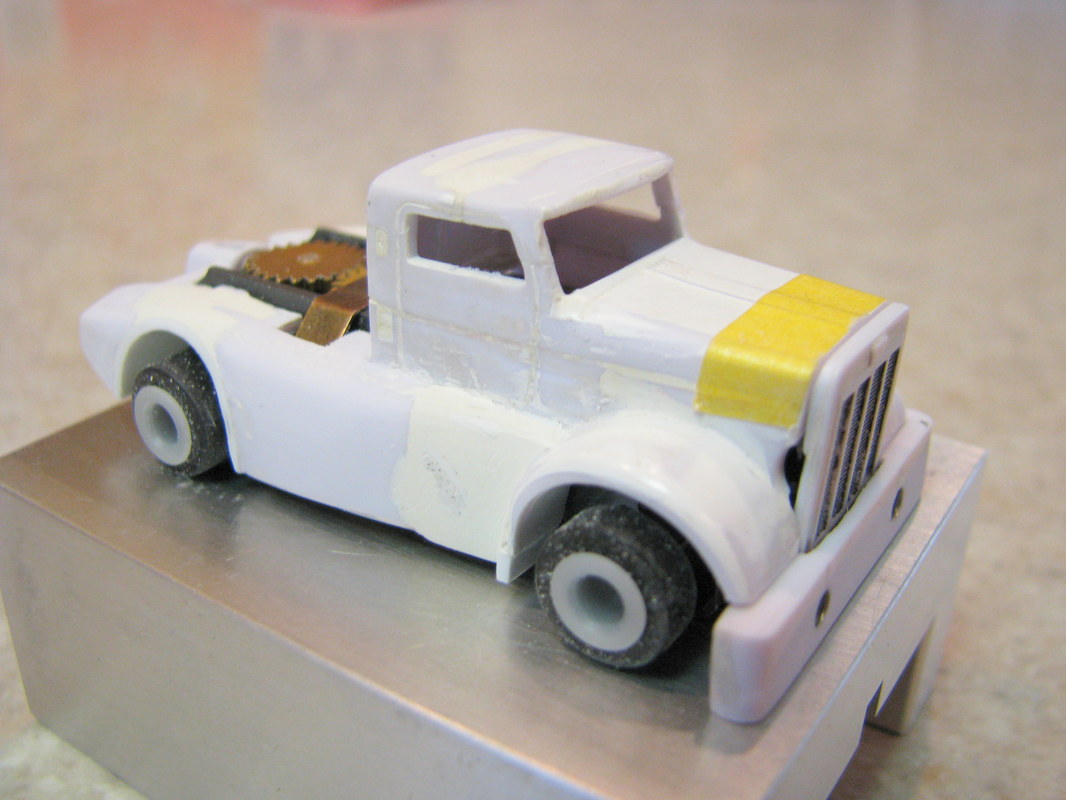
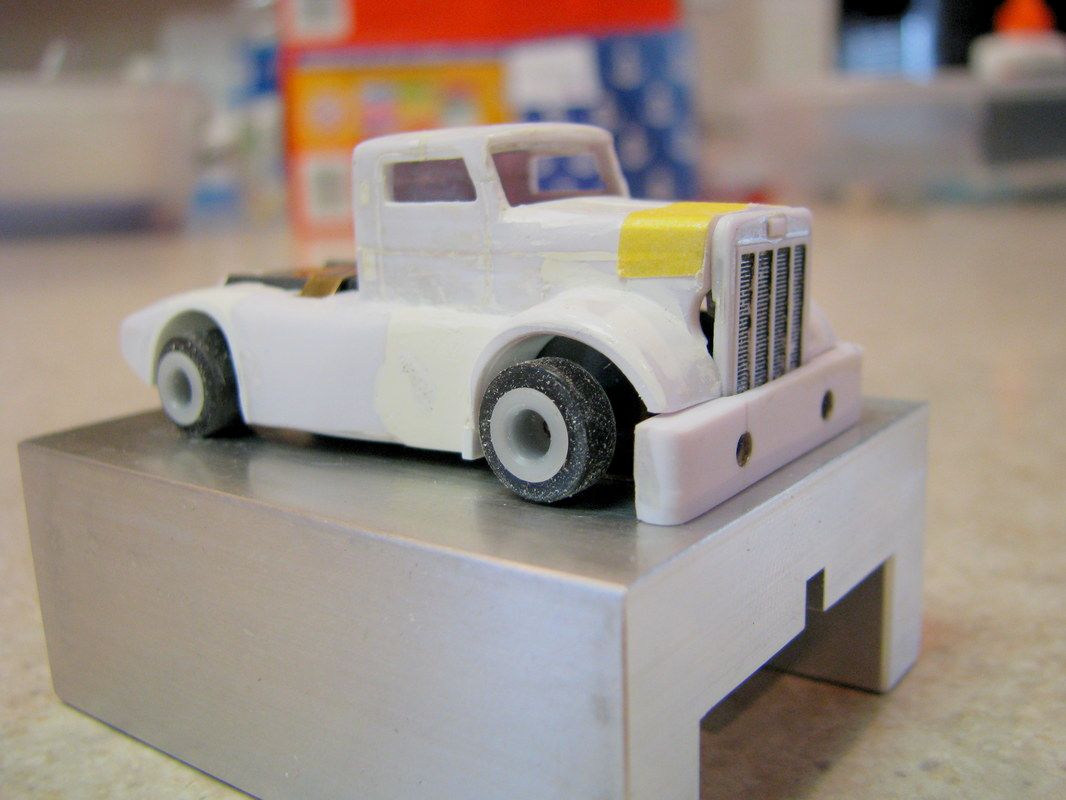
Next I installed the front screw post and filled in the side gaps on the nose of the truck.
While I had some putty made up (Milliput Putty) I also filled in the flaring on the back of the truck to make it look like it has some muscle.
As stated in other articles primer does more than prepare for the final coat of paint. It helps point out blemishes that need further work. The next two pictures demonstrate this. Can you see where more sanding is needed?

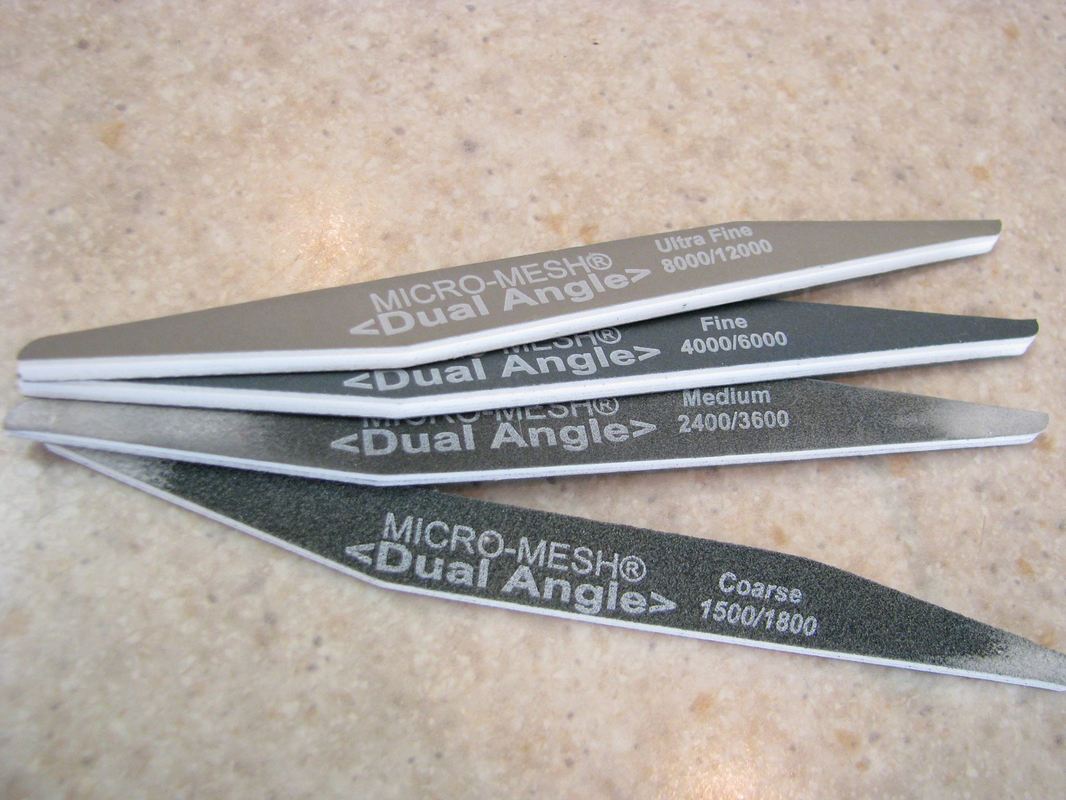
Went to the local hobby shop and picked up these sanding sticks made by micro mesh... Note the grits... They work really well..
The next picture is after sanding and another coat of primer. Notice how much smoother it is as compared to the photos above.

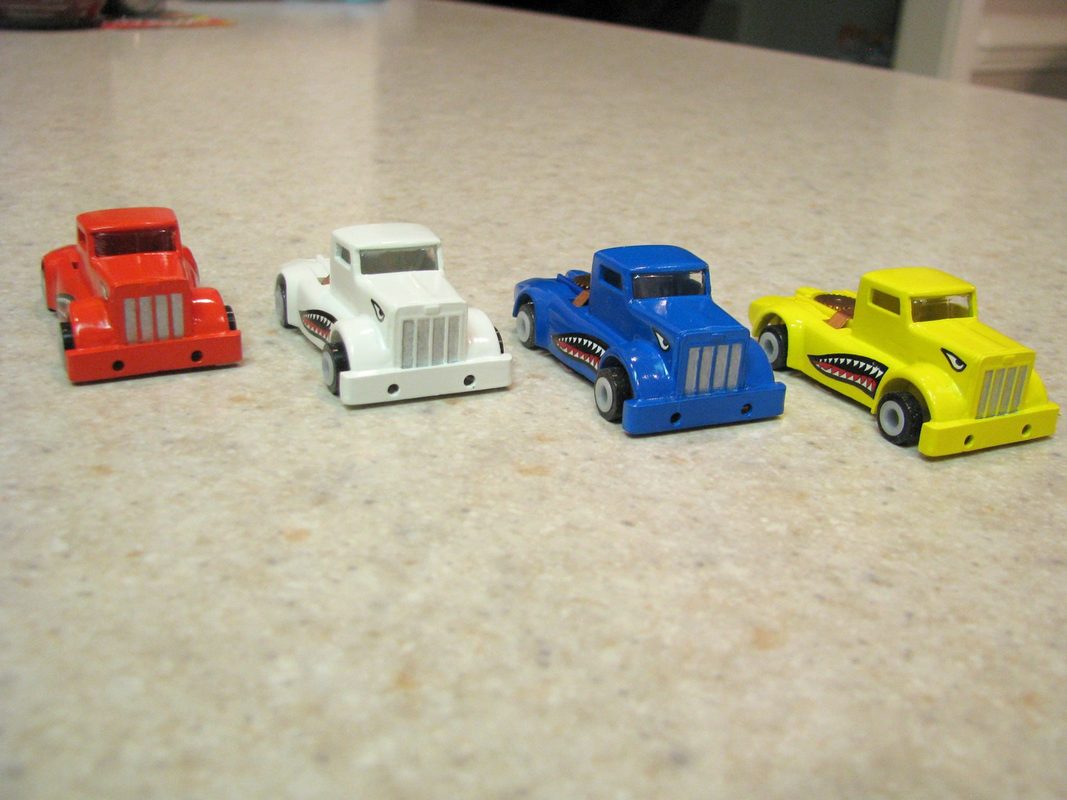
Did little detail work on the grill, created a silver wash and let the wash flow into the grill slots. Then applied the custom decals. If you would like more information on how I did this, it was identical to the Squash Bug project. You can find that here.


 RSS Feed