| I am working on an IROC set of Hot Rods, and I wanted to paint the nose of the cars with a black swoosh. I had done this once before on a lakes racer. You can read about that here. That said it was time to use the paint templates that I had created earlier. This time however, I was going to change a couple of things up in hopes of getting better results. If you're interested then click the read more link below. | 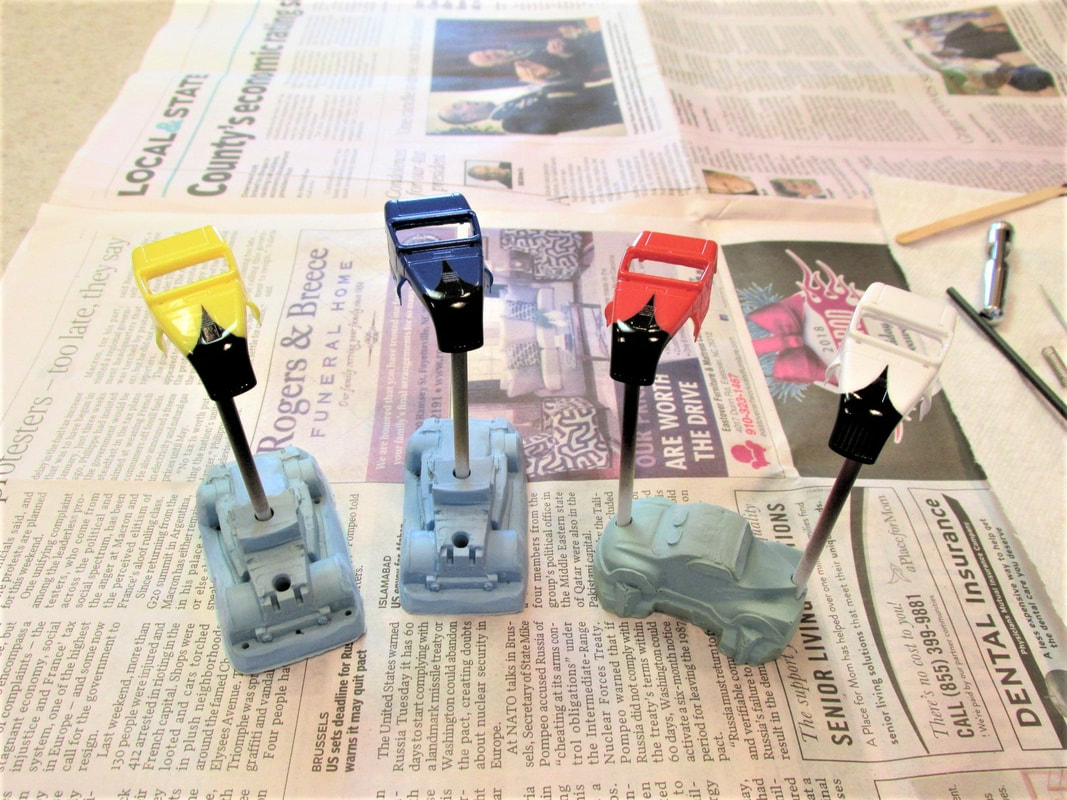 |
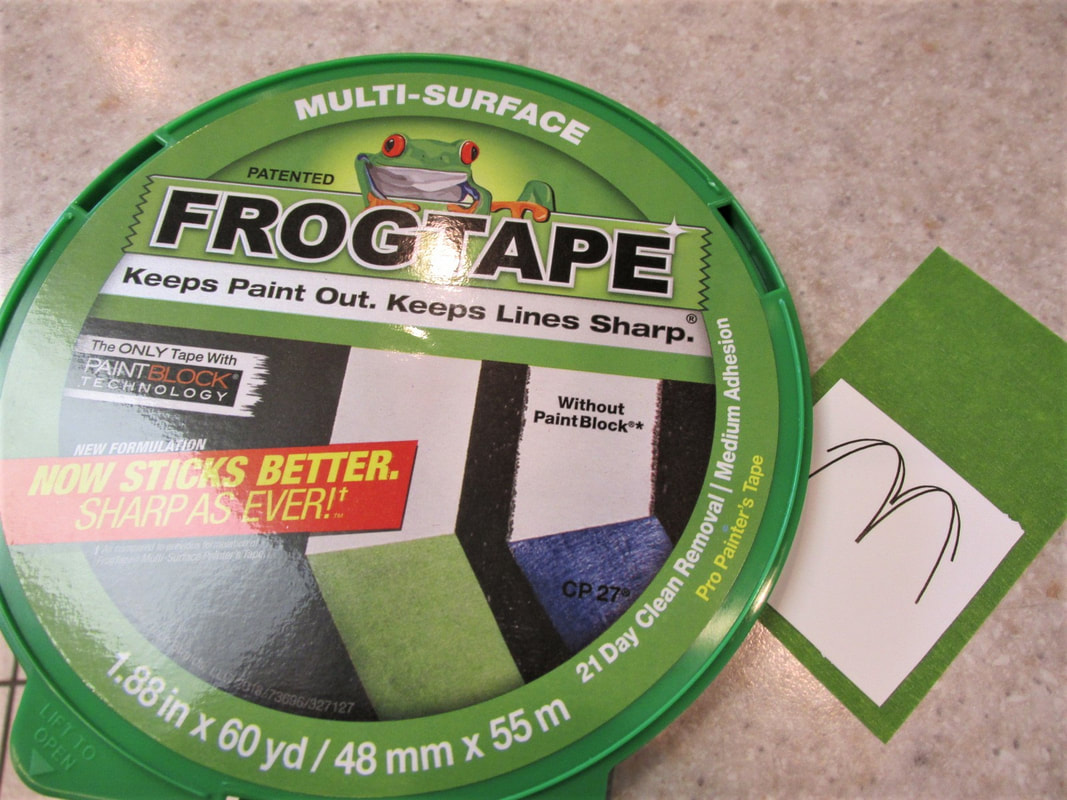
I was listening to the TV the other night while working on the computer. An advertisement came on for Frog Tape. During the ad they claimed a sharper paint edge without paint bleed as compared to other painting tape because of their paint block technology. This caught my interest... so since I was on the computer, I did a little research on Frog Tape.
According to the Frog Tape website, they treat their tape with a polymer that turns into a gel when it comes in contact with the water in the latex paint. This gel forms a barrier that seal the edges of the tape to prevent paint bleed. Well this got me to thinking about how great this would be when painting slot car bodies if it really worked.
According to the Frog Tape website, they treat their tape with a polymer that turns into a gel when it comes in contact with the water in the latex paint. This gel forms a barrier that seal the edges of the tape to prevent paint bleed. Well this got me to thinking about how great this would be when painting slot car bodies if it really worked.
I started reading reviews about Frog Tape and like everything else there were some good and some bad. In the process of this research I found a video on YouTube demonstrating how to make Frog Tape work great every time. They applied the tape then used a damp cloth or sponge and ran it up and down the edges of the tape to let the water activate the polymer gel to seal the edges. That's when it hit me this just might work!!! Activate the polymer using water before you actually paint.
So I created the pattern and printed it out on some Avery labels. I then cut the pattern out into a square. I then cut a piece of Frog Tape and applied it to the counter sticky side down and then applied the Avery label on top of the tape.
So I created the pattern and printed it out on some Avery labels. I then cut the pattern out into a square. I then cut a piece of Frog Tape and applied it to the counter sticky side down and then applied the Avery label on top of the tape.
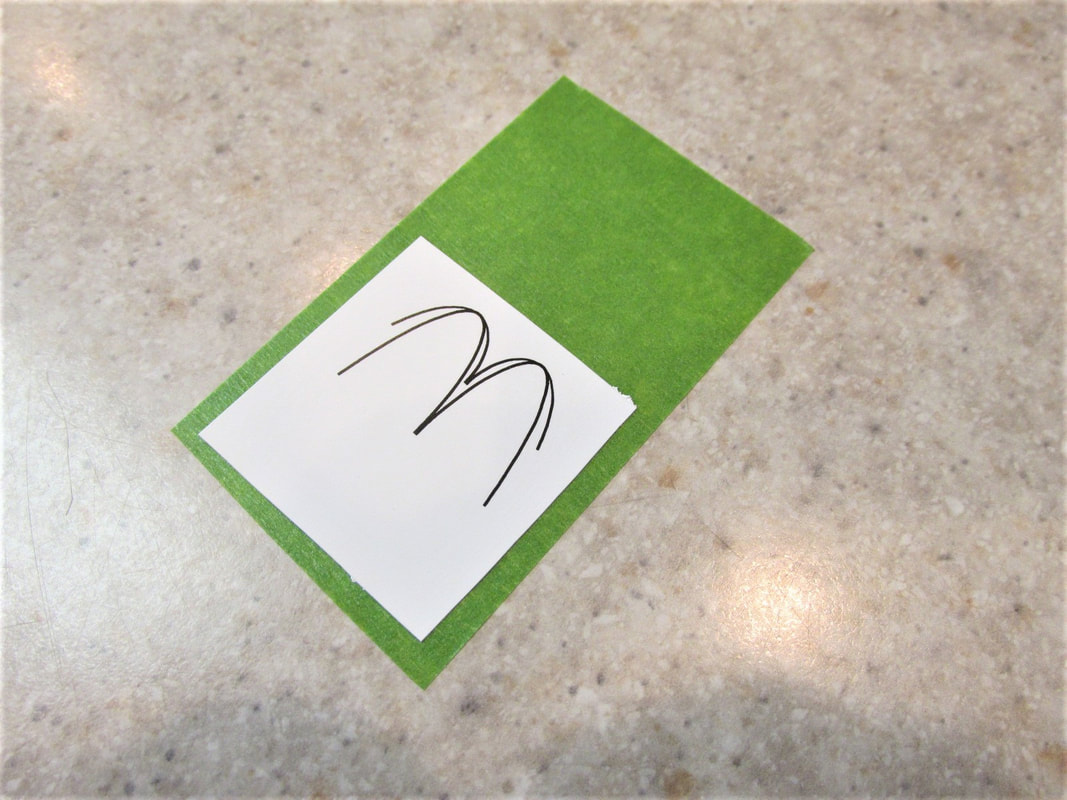
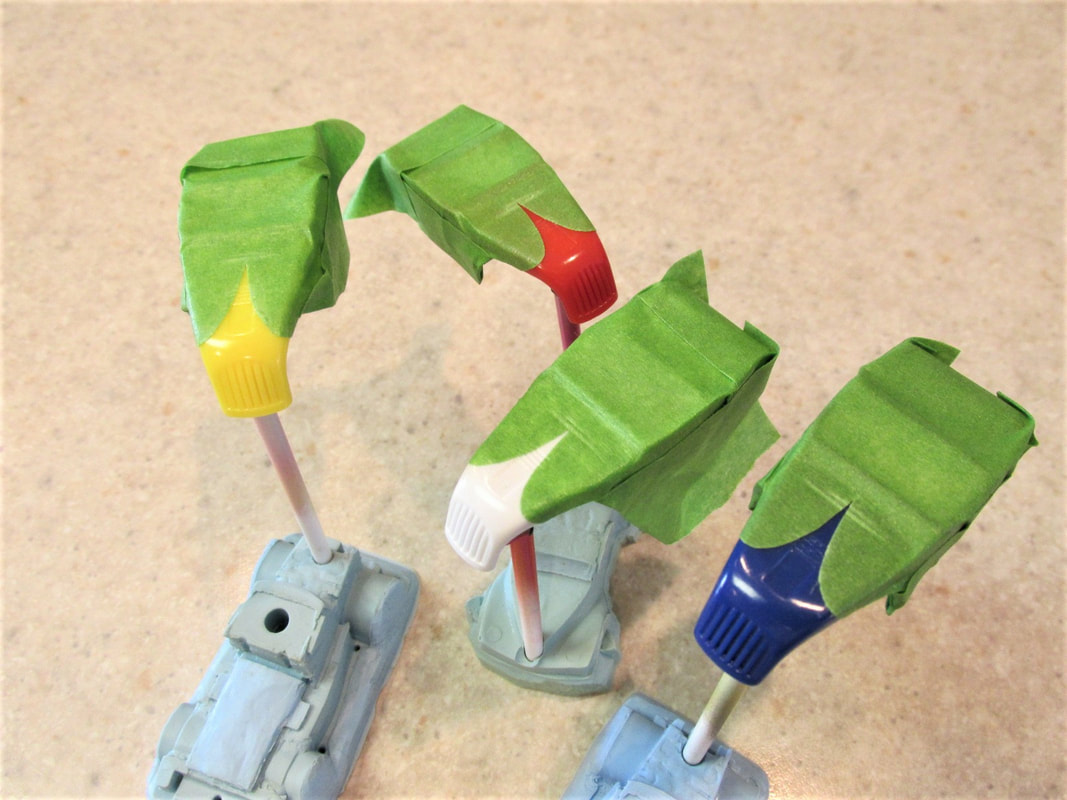
I then pulled up the tape with the Avery label and proceed to cut the pattern out. Once it was cut out, I then placed it in position on the car and gently pressed it on the car.
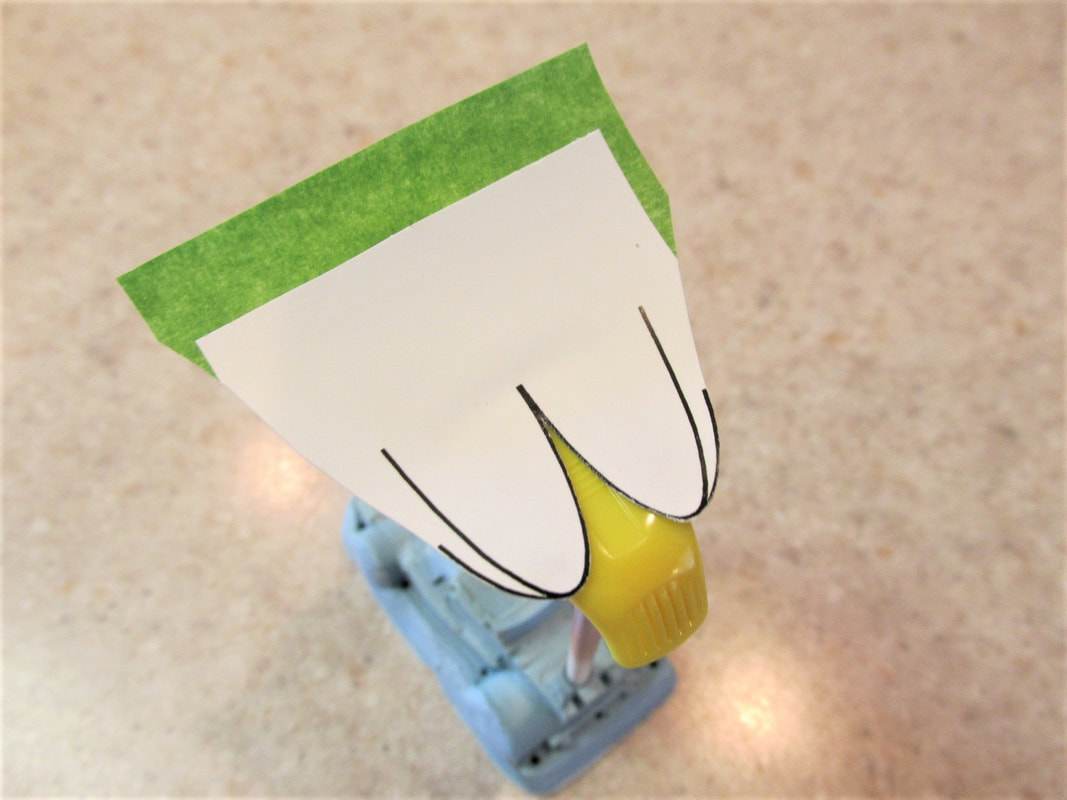
Once it was firmly in place I then removed the Avery label. I then did the normal things when taping... press the tape down, burnish the tape edges to make sure all edges were tightly adhered to the body and then I used a wet cloth and rubbed it over the Frog Tape to make sure the polymer was activated. I made sure the tape was damp and then removed any excess water that remained on the nose of the car.
Then it was off to the paint shop. Even though it was masked I tried to hold my airbrush and paint from from the back of the car or directly from the top of the car so the paint would be less likely to be pushed under the tape.
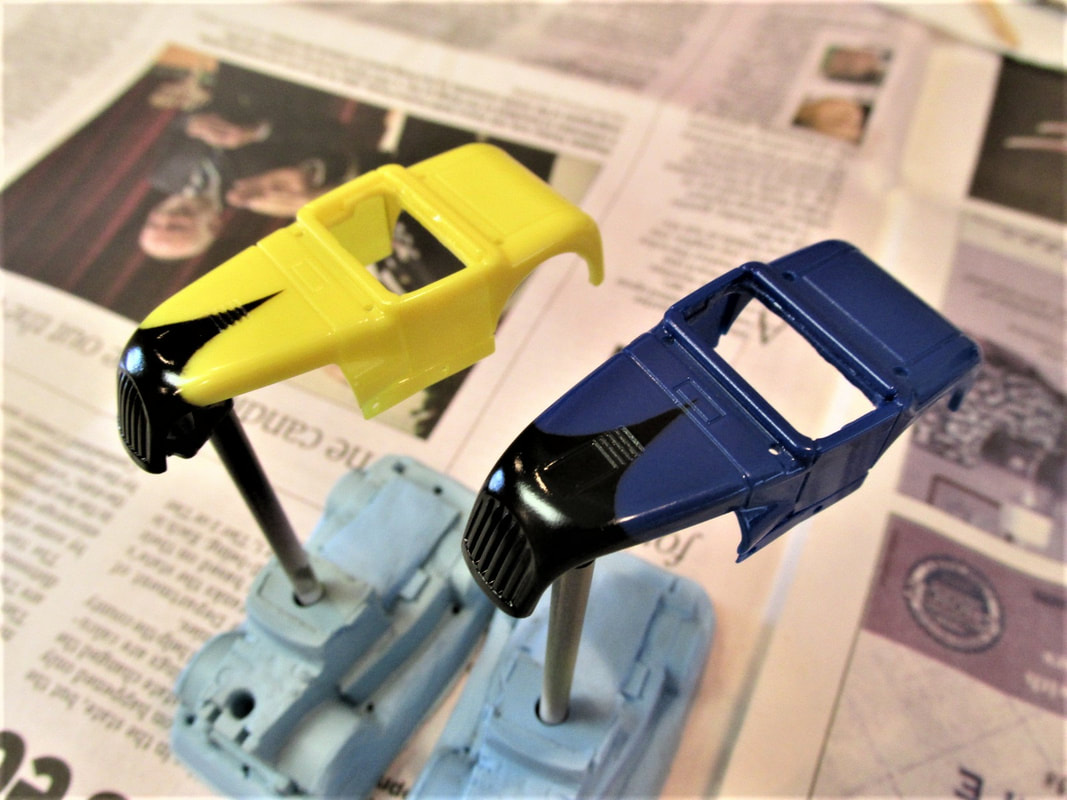
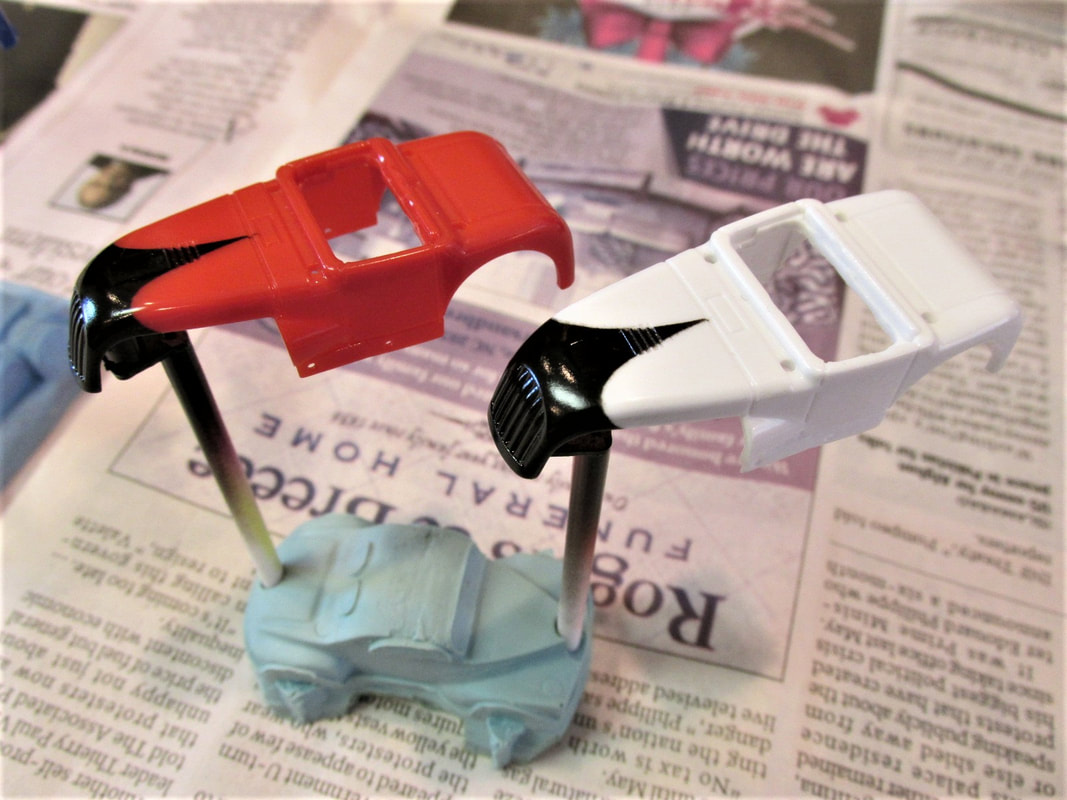
All four actually turned out pretty good. No bleeding and no clean up required!!! For me this worked really well.
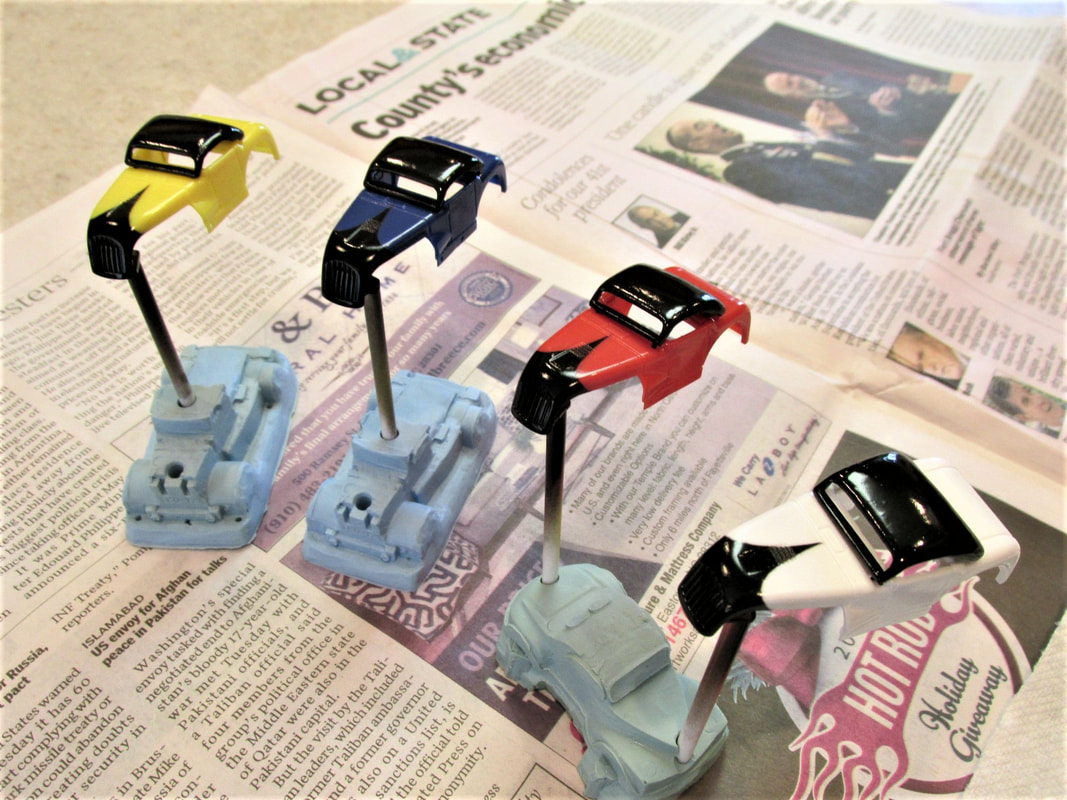
Anyway if you have been struggling with paint bleed this just might be your ticket. Get you some Frog Tape and take the leap...
 RSS Feed